The Key to Winding a Good Bobbin
How to properly situate thread between the bobbin winder tensioner discs & why it is important
The key to winding a good bobbin is simple: the thread being wound onto the bobbin must be under adequate tension.
If the thread we use to wind the bobbin is not under adequate tension, then the bobbin will end up being “loose” or “sloppy”. This is no good. A sloppy bobbin will cause all sorts of problems, particularly with stitch quality, but also has the potential to cause more traumatic events such as thread jams and needle crashes.
In this edition of The Sewing Machine Newsletter, I will hone in on the key to winding a tight and even bobbin, plus certain techniques you can use to consistently achieve good bobbin winding. In addition, I will go into further detail about why winding a good bobbin is important, as I’ve realized many readers have a thirst for “the why” and not just “the how.”
The Bobbin Winder Tensioner Discs
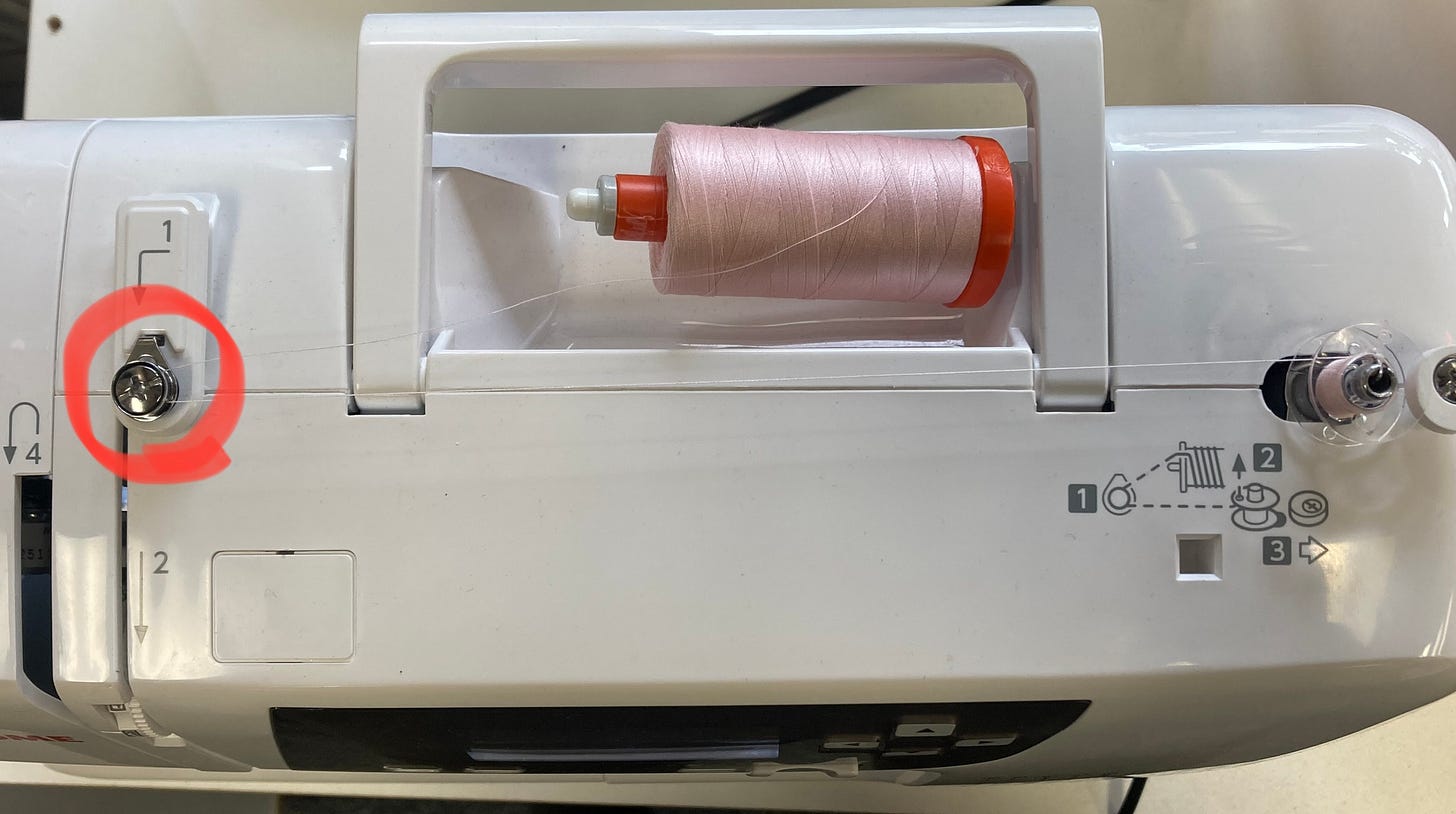
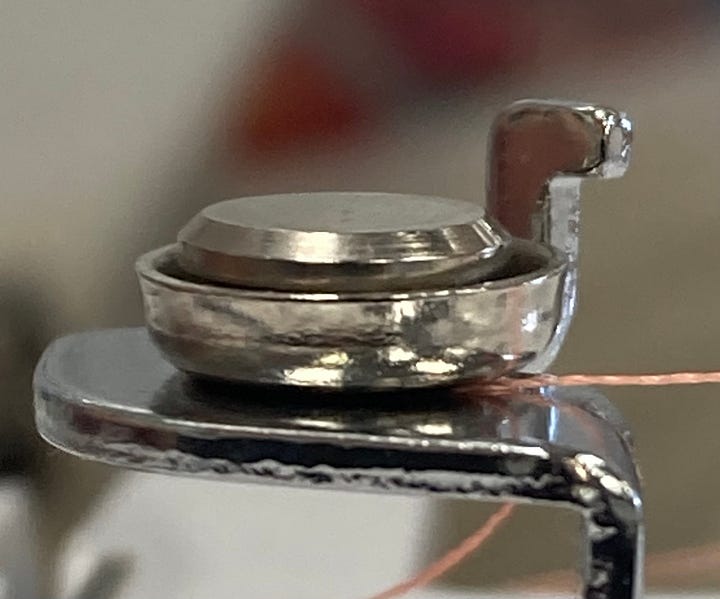
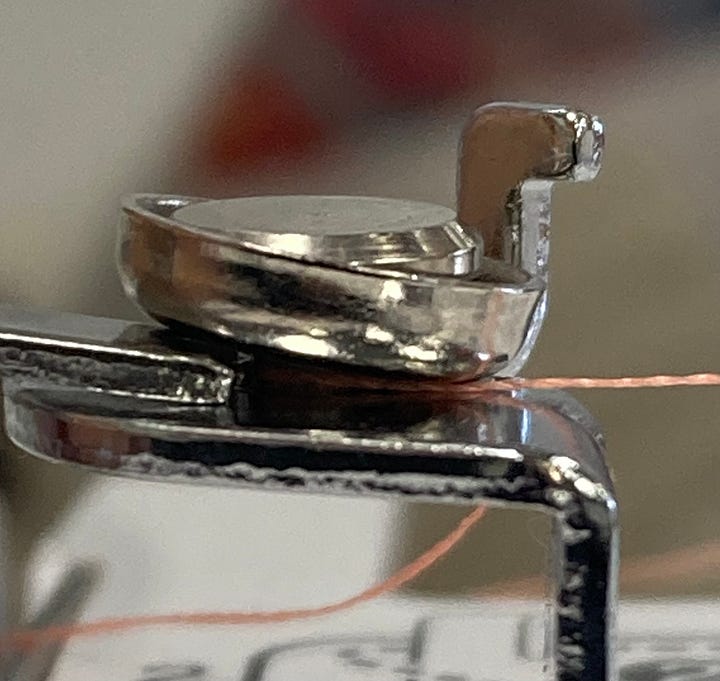
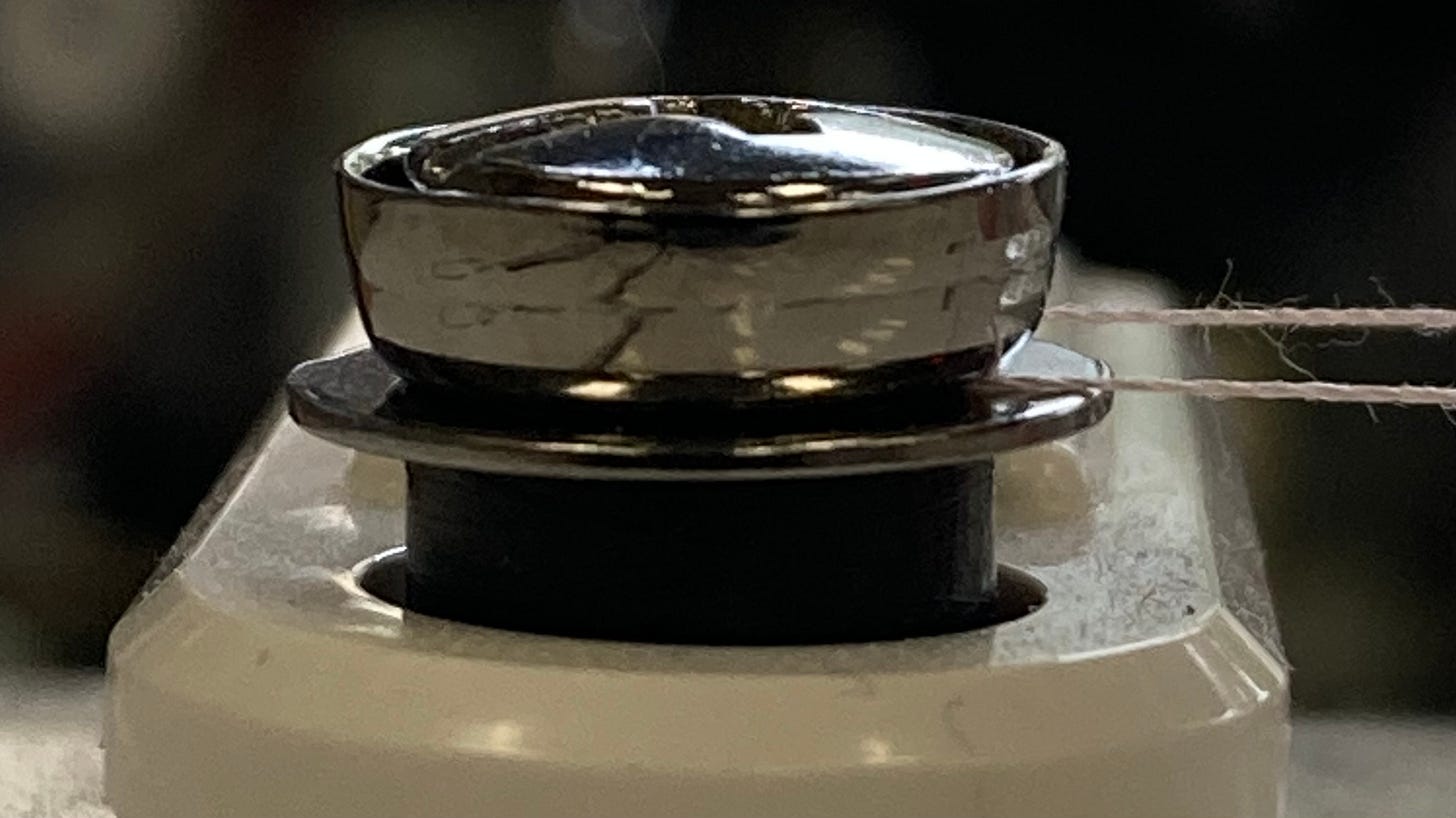
When it comes to winding a good bobbin, the bobbin winder tensioner discs is where the battle is won or lost. The thread you use to wind the bobbin must be sandwiched firmly between the tensioner discs before going on to wind the bobbin itself.

If the thread is not properly situated between these tension discs, then your thread will not be under tension as you wind the bobbin. This is no good. Without proper tension on the thread, your bobbin is doomed to be loose and uneven— AKA a sloppy bobbin— which is not conducive to good stitch quality.
Therefore, achieving adequate tension between these discs is absolutely crucial to successfully wind a bobbin that is tight and even.


How to Ensure Proper Bobbin Winding Tension
There are two techniques I suggest you try if you find yourself winding loose, uneven bobbins.
(1) Floss the Thread
When bringing the thread around the bobbin winder tensioner, you will be holding the thread in one hand. Once the thread is around the tensioner, take your free hand and grab the other end of the thread coming off the spool. Floss the thread back and forth into the tensioner discs, just as you would floss your teeth. This action should situate the thread firmly between the tensioner discs.
To test, simply pull on the thread. Do you feel some tension when you pull? If yes, then you have already won the battle and can move on to the next step, which is winding the bobbin itself. If you don’t feel tension when you pull, then you should not move on to the next step. Try flossing the thread again. If you’re still not getting tension after flossing, then try the second technique I explain below…
(2) 360 Degrees
In your machine’s instruction manual, there is a diagram of how the thread should go around the bobbin winder tensioner discs. Typically the manual won’t show the thread winding around the tensioner a full 360 degrees, but this is the action I recommend if you aren’t getting proper tension even after flossing the thread. Watch the video below to get a better idea of what I mean:
Why is it bad to get a sloppy bobbin?
In the recent newsletter about spool caps, I spoke about the importance of an unobstructed upper thread path. The same principle applies to the bobbin thread path— an obstruction in the bobbin thread path can cause stitch quality issues, thread breakage, and increase the potential for traumatic events to occur.
You want the thread to flow freely from the bobbin. There is a portion of the bobbin thread that is “next up” in the sense that it is the next portion of the bobbin thread that will be used to make a stitch. When you wind a good bobbin where the thread is tight and even, the portion of the bobbin thread that is “next up” should flow freely from the bobbin as it partakes in the stitch-making process. However, if you wind a loose sloppy bobbin (as seen in the photo above), the thread that is “next up” may be buried underneath other loose threads due to the bobbin being wound sloppy and uneven. Therefore, the thread that is “next up” has to pass through the thread it is buried under, which essentially acts as an obstruction in the bobbin thread path.
Note: I should also mention here that I do not recommend you wind multiple sources of threads onto a single bobbin. This can cause the same problems as a sloppily wound bobbin.
I hope you found this article helpful. If you feel so inclined, please share with your fellow sewists or leave a comment in the comment section.
Also, if you haven’t already, here are some other articles that The Sewing Machine Newsletter published in the past few months:
Thank you for reading.
-Cale


I really needed this article so thank you Cale! I have been the queen of sloppy bobbins forever and I plan to change that now!
Hi Cale
Thanks for the outstanding advice -as usual!
Pam Rogers