The function of a sewing machine is to stitch multiple pieces of fabric or material together with thread. The first step towards achieving proper function is threading the machine properly. This may sound like a simple task, but the sheer number of steps involved give us plenty of opportunities to make a mistake that can negatively affect stitch quality, or, worse, result in a traumatic event that renders the machine unusable.
The truth is that whenever you encounter issues while sewing, the first step of troubleshooting is to re-thread the machine properly and assess from there. Today I am going to cover two of the most common threading mistakes I see, both of which can prevented by simple actions that take place prior to touching the thread itself. If you can make these actions habitual, then you become one step closer to being a troubleshooting master yourself.
(1) Why it is necessary to raise your presser foot prior to threading the top half of your machine.
Because when the presser foot is in the raised position, the machine’s upper tension discs are open (separated). When the presser foot is in the lowered position, the upper tension discs are closed (pressed together).
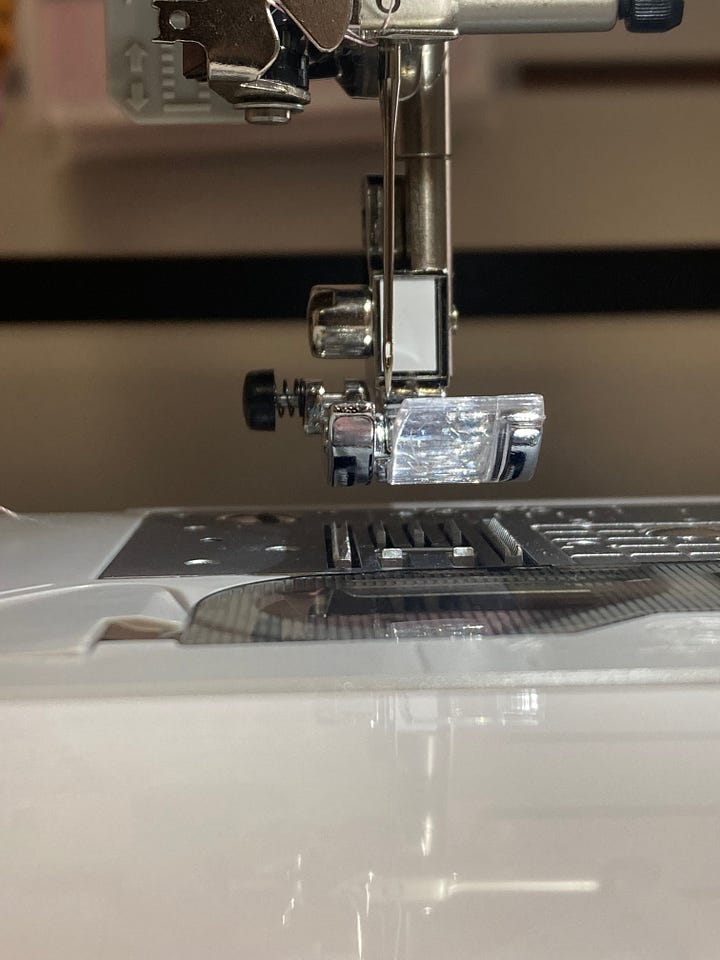
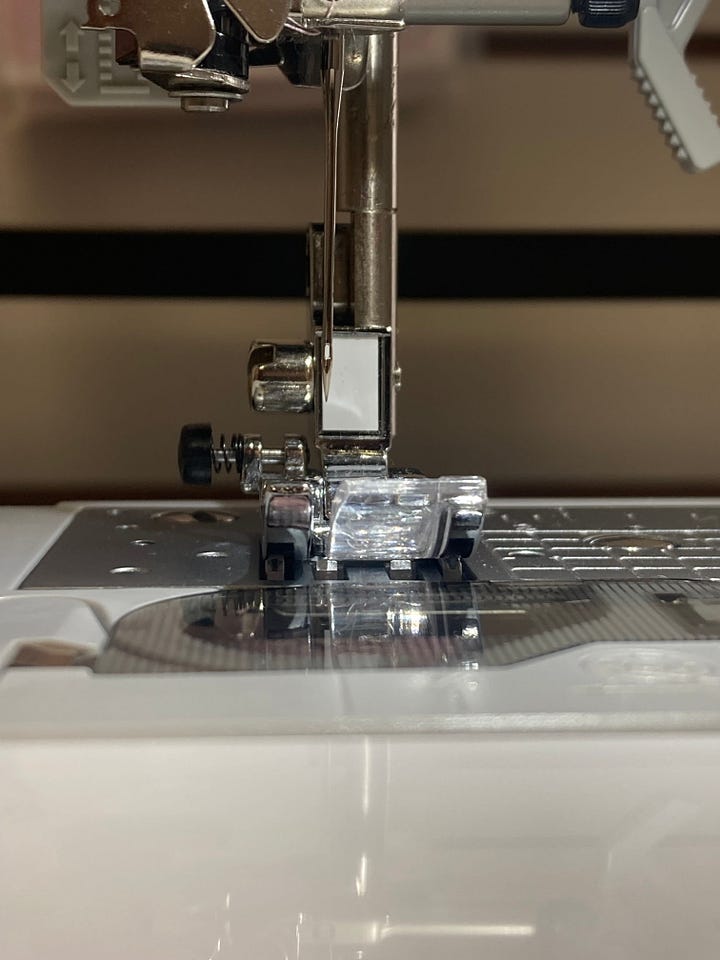
We want to thread the machine with the presser foot in the raised position because we want to thread the machine while the tension discs are separated. When the tension discs are separated, the thread is able to easily slide in-between the tension discs. Then, when we ultimately are ready to sew and lower the presser foot down, the tension discs will close (press together) with the thread in-between– meaning our thread will be under tension, which is a necessary condition for good stitch quality.
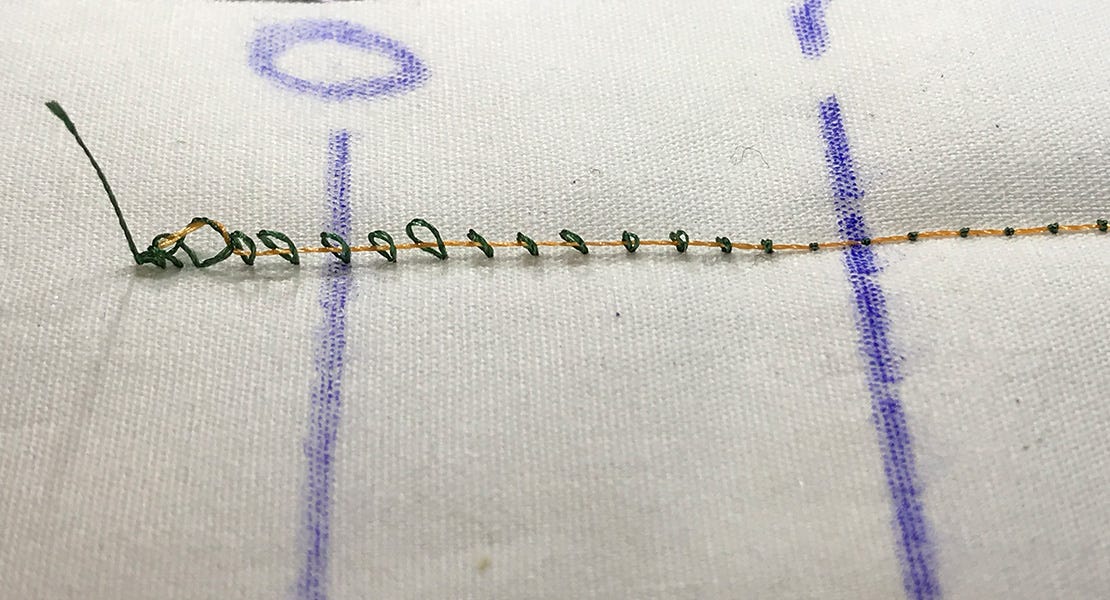
If we thread the machine with the presser foot in the lowered position, then we thread the machine with the tension discs closed together. With the tension closed together, it is very difficult for the thread to slide in-between the discs. Here, the likely scenario is that the thread sits atop the closed tension discs, meaning that the thread will not be under tension. If this mistake is made, it will likely result in small thread loops on the underside of the fabric when we sew.
(2a) Why it’s Necessary to Raise your Needle to the Highest Position prior to Threading the Top Half of the Sewing Machine.
(2b) Why it is Necessary to Visually Confirm that the Thread has slid into the Takeup Lever Eyelet.
Before you begin to thread the top half of your machine, it is important to raise the needle to the highest position.
Why?
Because when the needle is in the highest position, the take-up lever is in its highest position, which is the take-up lever’s ideal threading position.
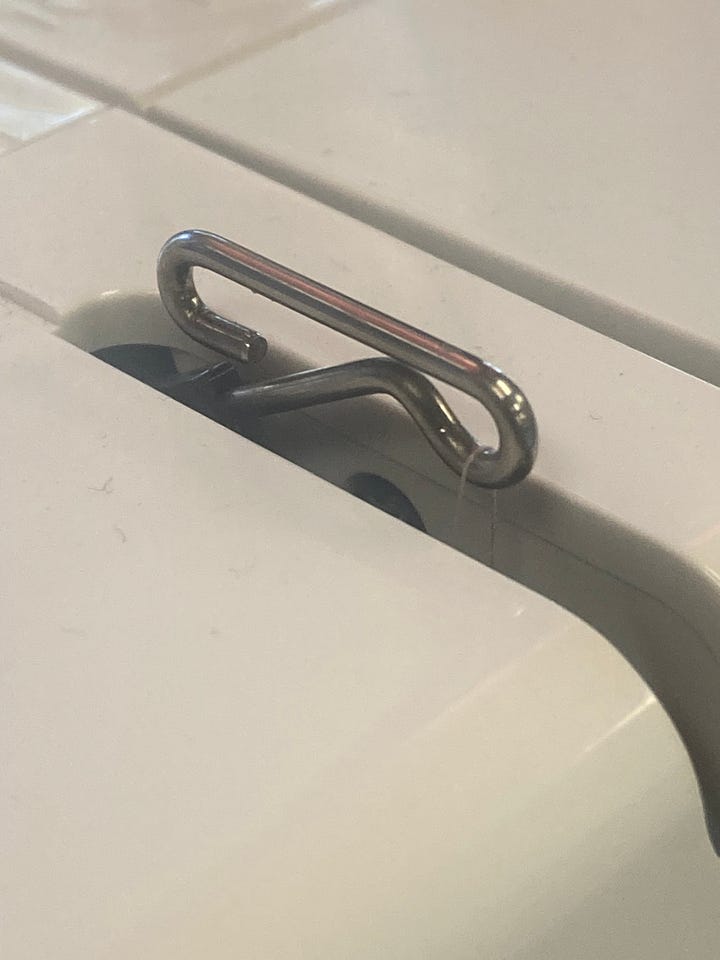
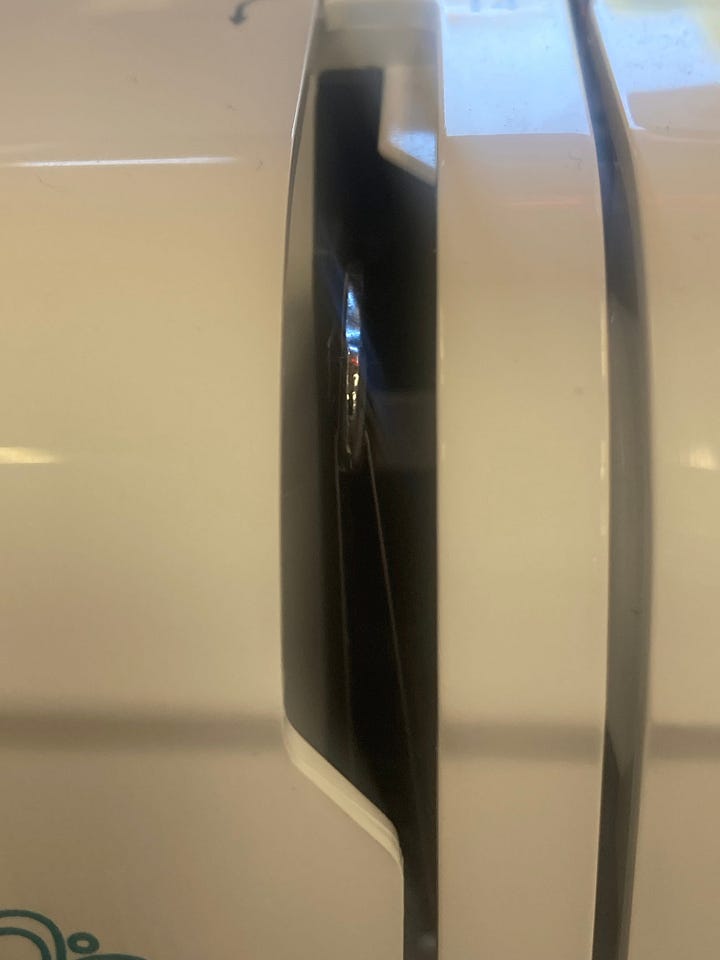
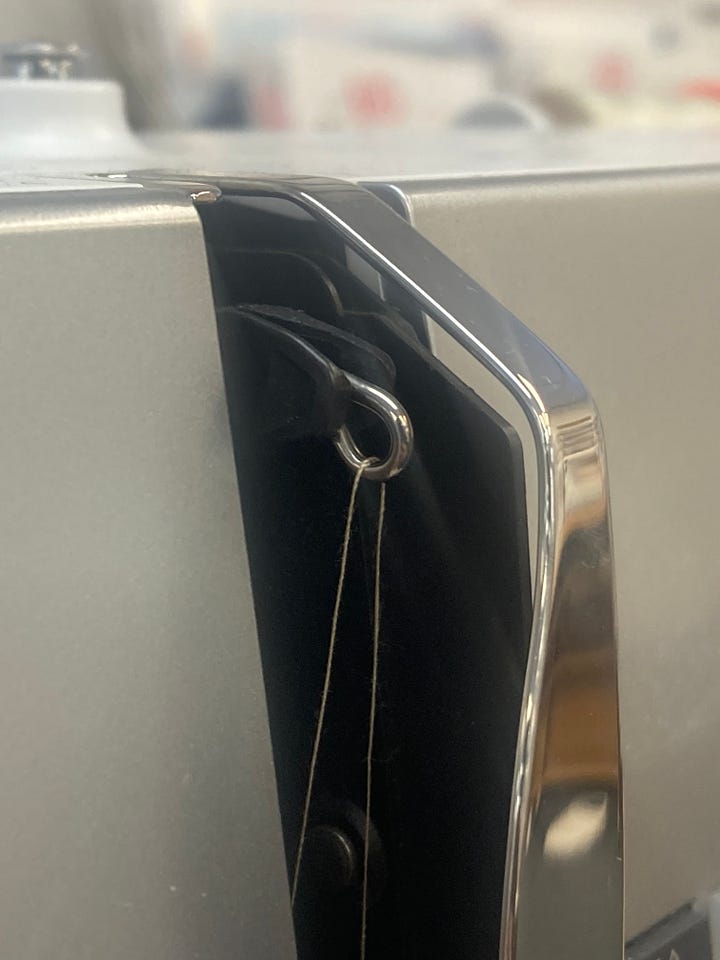
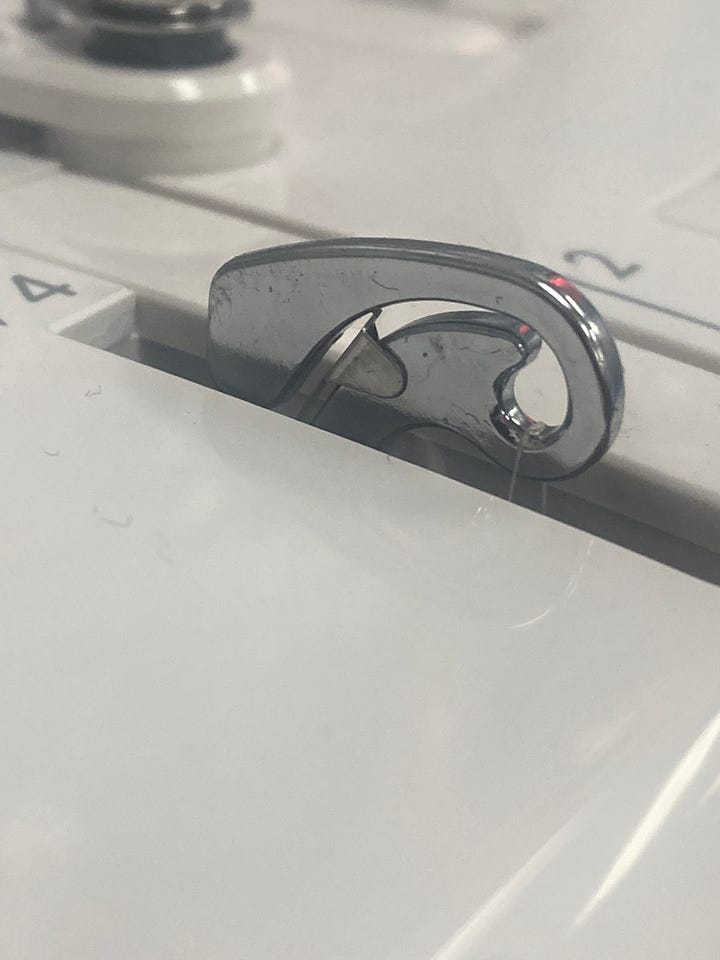
Failure to thread the take-up lever is perhaps the number one mistake I see sewists make when threading their sewing machine. The result is large loops on the underside of the fabric that could be accurately described as a “bird’s nest”, which can lead to additional problems such as thread jam in the area around the hook and bobbin case, or the machine going out of time.
When I say that the takeup lever needs to be threaded properly, I mean that the user ought to be able to visually confirm that the thread has slid into the takeup lever eyelet. After threading the top half of your sewing machine, if you cannot visually confirm that thread has slid into the takeup lever eyelet, then you are not ready to sew.

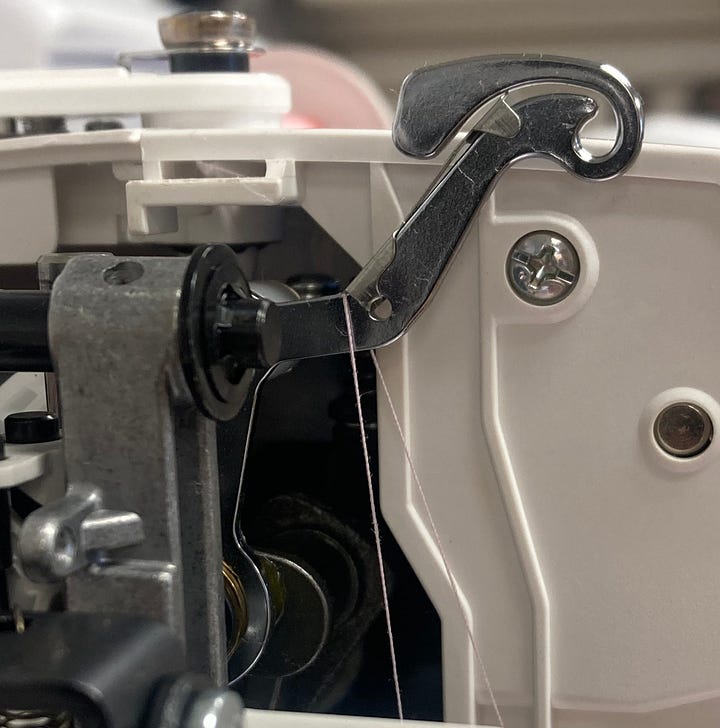
It’s easy to accidentally miss the takeup lever for a couple of reasons.
First off, because the takeup lever is constantly moving up and down, it is not always visible to the sewist. If it is hiding from us as we go through the motions of threading the machine, the thread will not slide into the takeup lever eyelet. That is why it’s wise to get in the habit of having the needle in the highest position prior to threading the machine, by use of the needle-up/needle-down button (electronic machines) or by turning the handwheel (mechanical machines). When the needle is in the highest position, the takeup lever will be in its highest position, which is also its ideal threading position.
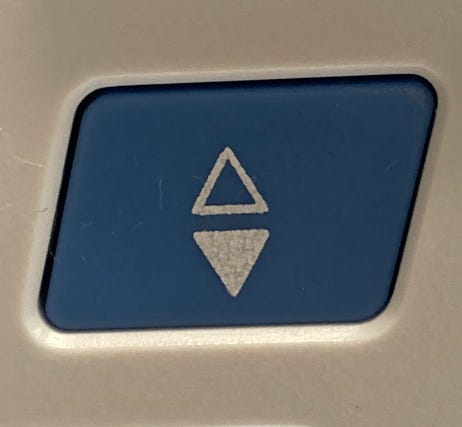
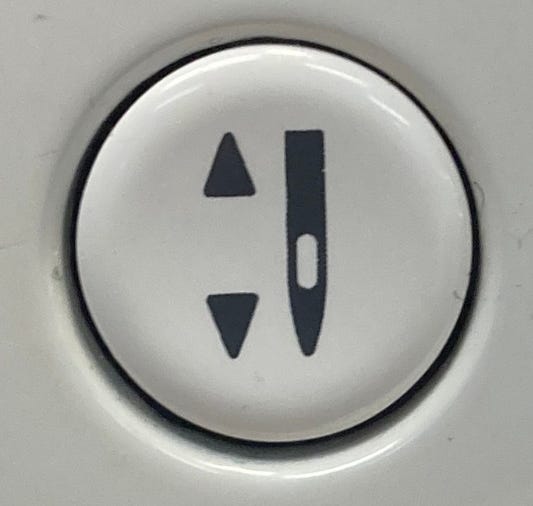
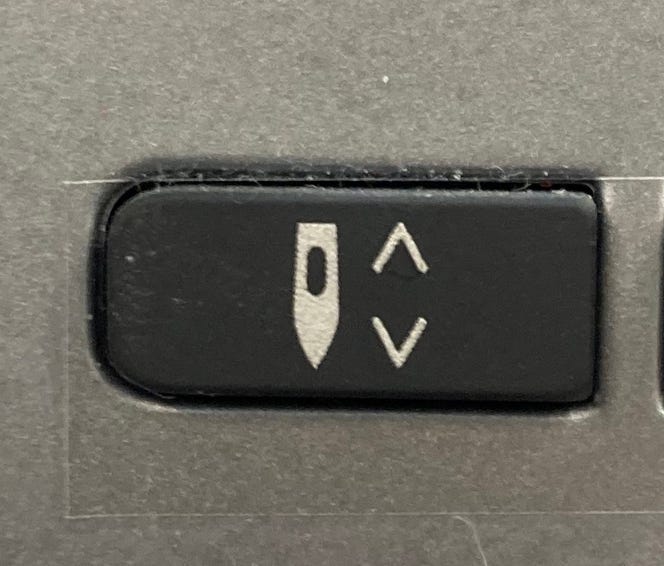
A second reason we may accidentally miss the takeup lever is because the design of the takeup lever is similar to that of a wasp trap– the takeup lever on many machines is designed so that it is sort of difficult to get the thread into the takeup lever, but once the thread has passed that threshold and slid into the eyelet, it is then impossible to slide out. Because of this wasp-trap design, you may feel some resistance on the thread as you slide he thread from right to left around the takeup lever (as most machines will instruct). If you feel this resistance and/or you are following instructions properly and the thread still isn’t sliding into the eyelet, I recommend the following: with your right hand, firmly pinch the thread coming off the thread spool between your thumb and index finger; meanwhile, simultaneously attempt to thread the takeup lever as previously instructed. It should now be easier for the thread to slide into the takeup lever eyelet. I refer to this technique as “flossing.”
Remember, failure to thread the takeup lever will result in large loops on the underside of the fabric (also known as “bird nesting”). For those who want to know why this happens, I will explain below:
The “stitch” made by a sewing machine is essentially a knot that is formed between the upper thread spool and the bobbin thread. The knot is formed in the bobbin case area beneath the needle plate, after the needle pierces the fabric and reaches its bottommost position and begins its trajectory upward. But if the thread knot is formed beneath the needle plate, how does it end up in the fabric? That is the role of the takeup lever. The takeup lever cinches the knot from down below the needle plate up into the fabric. So it is the case that if we fail to thread the takeup lever, then the knot never gets cinched up into the fabric, and the result is large loops on the underside of the fabric.
NOTE: there are certain machine designs where the takeup lever does not stick up out of the machine when the needle is in its highest position (as pictured earlier). In order to visually confirm that the thread has slid into the takeup lever eyelet, you may need to stand up and obtain a “bird’s eye” vantage. Regardless, the same core principle apply: before you begin to thread the top half of your machine, raise the needle to the highest position so that the takeup lever is in the ideal threading position.
Thank you for reading.
I cannot stress enough the importance of the points covered above. Master these simple actions, make them habitual, and you will be well on your way to becoming a master at troubleshooting sewing machines.
If you found this article helpful, please share with your fellow sewists and/or drop a comment in the comment section below!
-Cale



Thank you! Knowing the “why” of doing something is, to me, just as important as the how.
Thank you Cale for this informative post