Unless otherwise noted, the information that follows applies to both sewing machines designed with semi-automatic needle threaders and truly automatic needle threaders.
What causes the needle threader break?
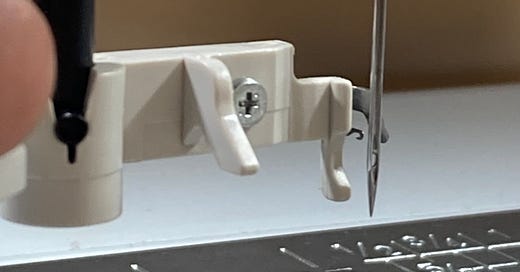
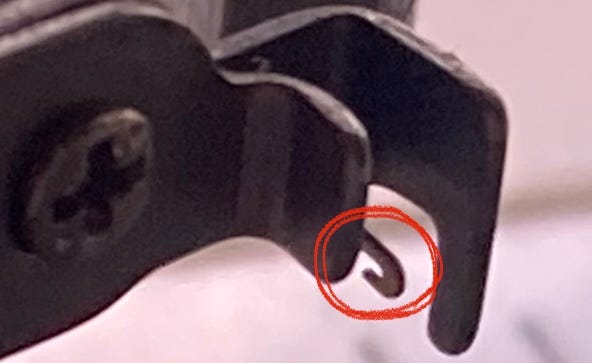
At the center of the needle threader mechanism, there is an extremely tiny hook that is critical to the success of your needle threader.
When you engage your needle threader, that tiny hook passes through the eye of the needle, from the back to the front. It passes through the eye of the needle and sits there, waiting for you to give it some thread that it can pull through the needle eye.
Our job is to deliver the thread to that tiny hook. If we do our job properly, then the tiny hook will pull the thread through the eye of the needle when the needle threader is released.
However, that tiny hook is very delicate and is prone to getting bent out of shape and rendering our automatic needle threader useless. In fact, broken/bent needle threaders are among the most common reasons people seek the help of a sewing machine repairman. Everyday I see machines where the needle threader’s tiny hook is broken or bent so severely that it cannot be straightened out. In such cases, the needle threader must be replaced, a part which costs anywhere between $12-$50 depending on the machine.
What causes the tiny hook to bend? 99% of the time it is because the wire hook has crashed into the needle instead of passing through the eye. Below I have listed the most common reasons needle threader bend/break and what you can do to prevent it from happening.
Using a needle with too small an eye
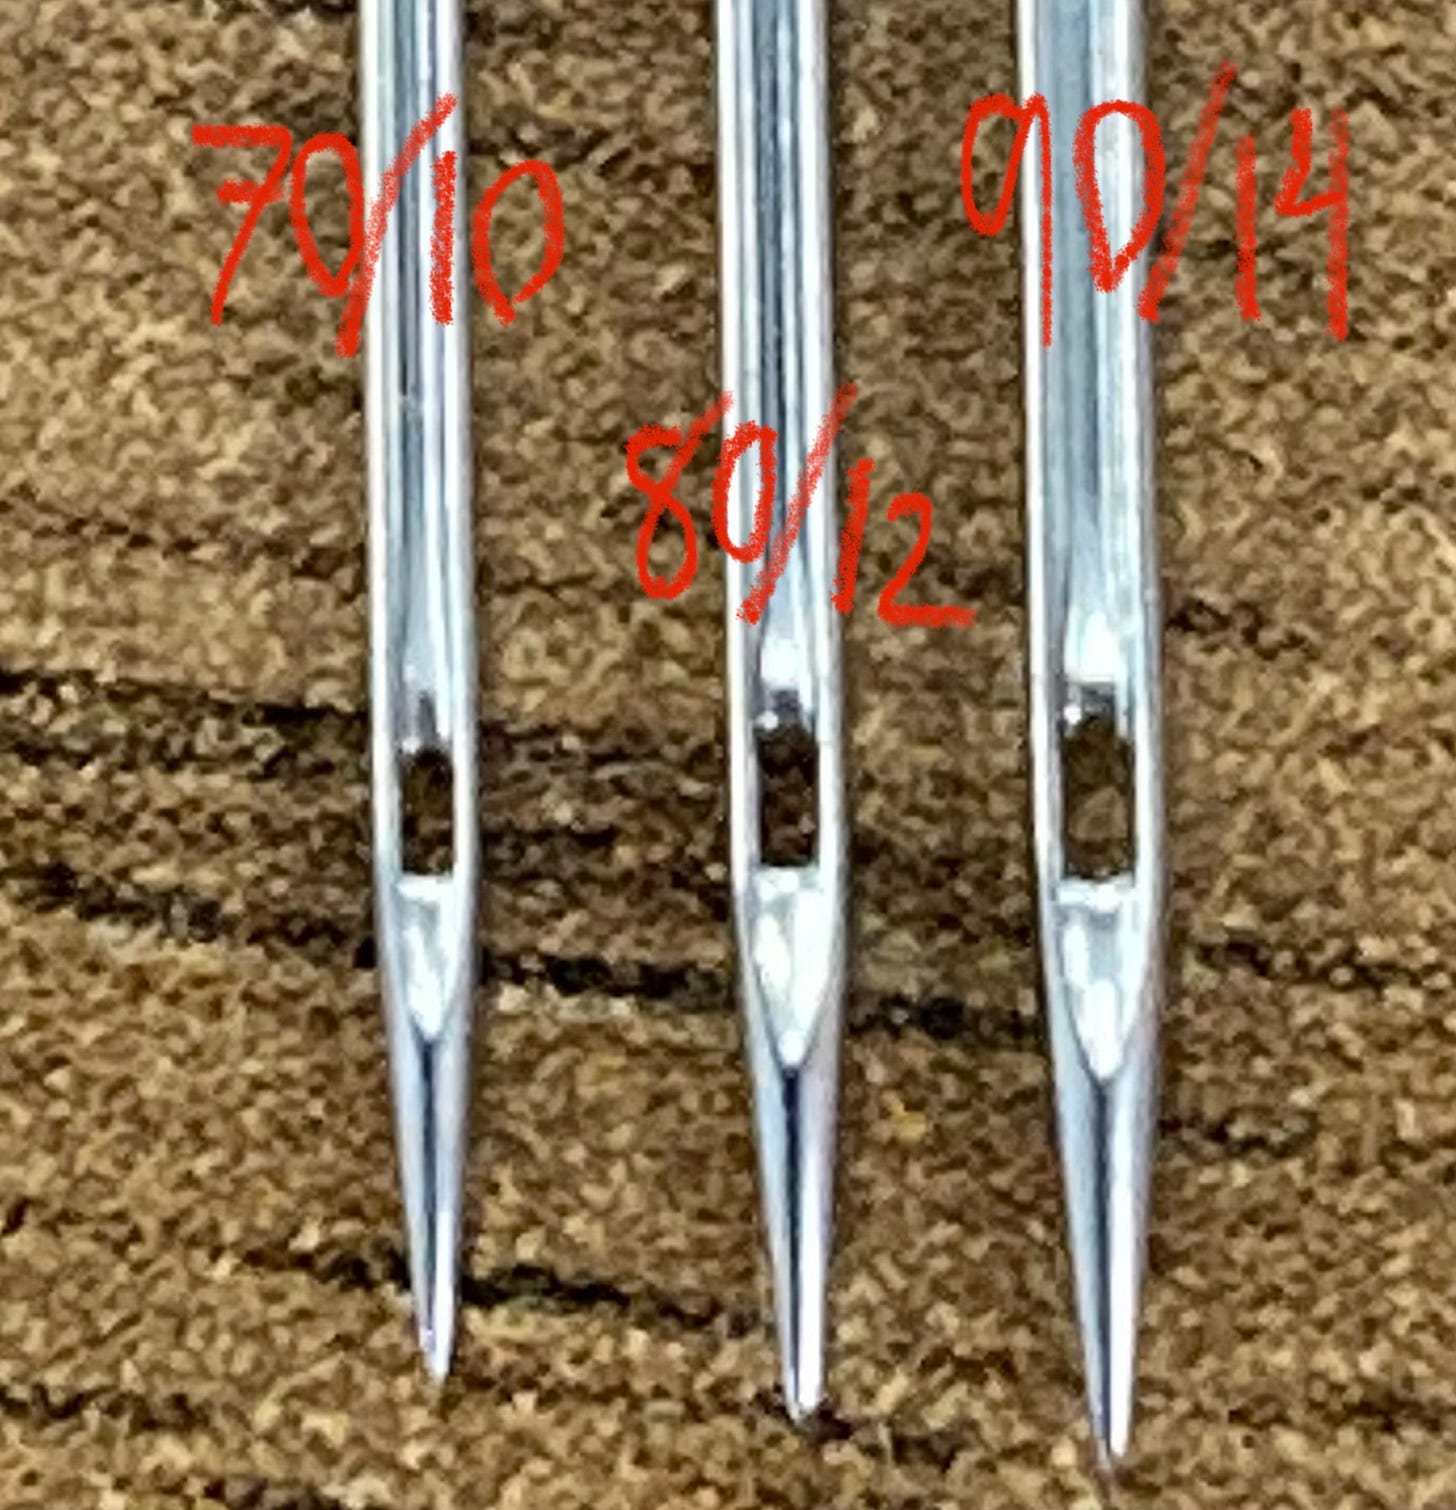
The larger the designated needle size = the larger the size of the eye of the needle.
For example, a 90/14 size needle has a larger eye than an 80/12 needle, and an 80/12 size needle has a larger eye than a 70/10 size needle.
There is a point where the needle eye is too small for the needle threader’s tiny hook to pass through successfully. If the needle eye is too small, the tiny hook will crash into the needle, bending the hook.
To be safe, I would recommend using needles sized 80/12 and up, though a 75/11 will technically work. However, any needle below size 75/11 has too small of a needle eye for the needle threader’s wire hook to pass through successfully. Needles sized 70/10, 65/9, 60/8, etc…. these needles are guaranteed to bend/break your needle threader’s tiny hook.
This doesn’t mean you can’t use needles below 75/11. You can, but if you do, then you ought to thread those needles by hand instead of risking the health of your needle threader.
Utilize your needle up/down button
The needle needs to be at a specific position in order for the needle threader’s hook to line up with the needle eye. If you pull the needle threader lever down when the needle is not in the highest position, the needle threader’s tiny hook may crash into the needle shaft and get bent/broken.
Fortunately, proper needle position can be accomplished by pressing the needle up/down button so that the needle is in the up position. I strongly recommend we get in the habit of pressing the needle up/down button prior to threading the top half of the machine. Not only will it position the needle in the ideal threading position, it will help you thread the take-up lever properly.
I strongly recommend you get in the habit of pressing the needle up/down button before you thread the top half of the machine. It will position the needle in the highest position (the ideal position for threading) and help you prevent the tiny wire hook from crashing.
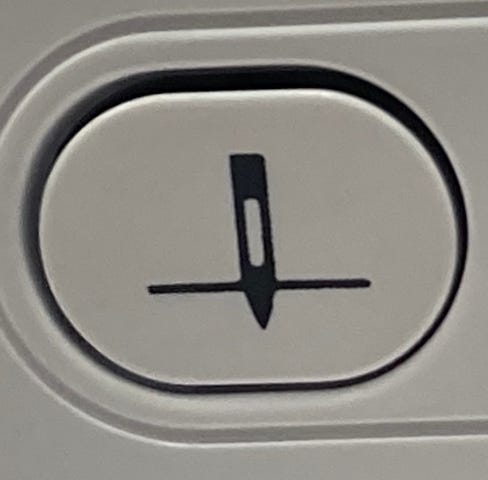
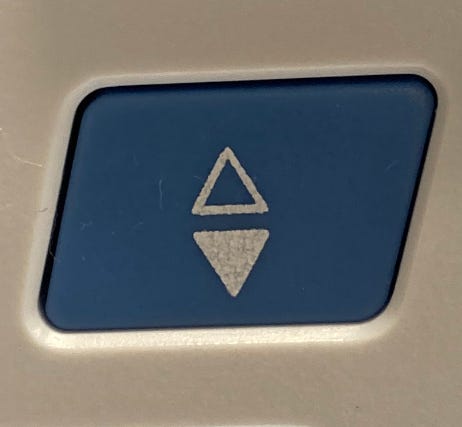
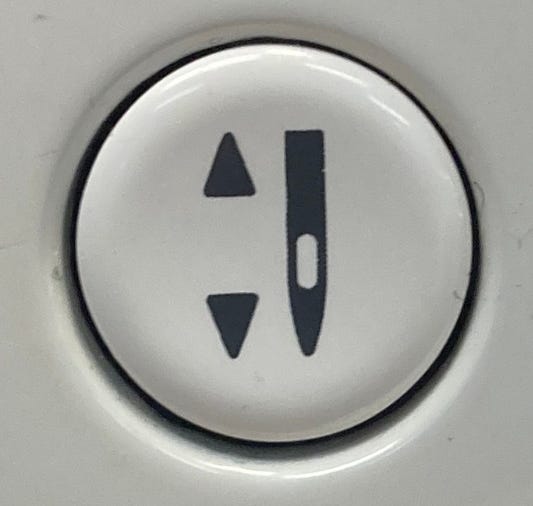
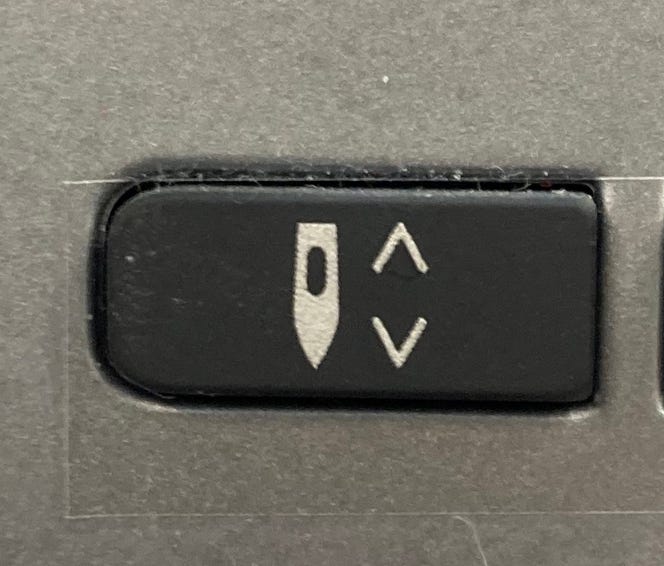
For those who don’t have a needle up/down button (e.g. mechanical sewing machines), you can properly position the needle manually by turning the hand wheel toward you until the take-up lever reaches its highest position.
Bent Needles
Imagine the needle threader’s tiny hook passing perfectly through the center of the needle eye.
Now imagine the needle is bent slightly to the left or right.
Instead of passing through the eye cleanly, the tiny hook may now rub up against the inside wall of the needle eye and bend before passing through. Or, it may crash into the needle shaft head-on and bend/break. Or, if the needle is bent more severely, the needle threader's tiny hook will miss the eye completely.
Any way you cut it, a bent needle is not conducive for needle threader success. If your needle threader isn’t working, insert a fresh needle and try again.
Changing your needle often will prevent the problems mentioned above.
Needles Not Fully Inserted
If your needle is not fully inserted into the machine, the needle threader’s tiny hook will crash into the needle shaft (above the eye) and bend/break.
How do I know if my needle is fully inserted?
When I insert the needle into the needle clamp, there is a pin that stops the needle from being pushed up too high. I must make sure that I insert the needle all the way up until it hits that pin.
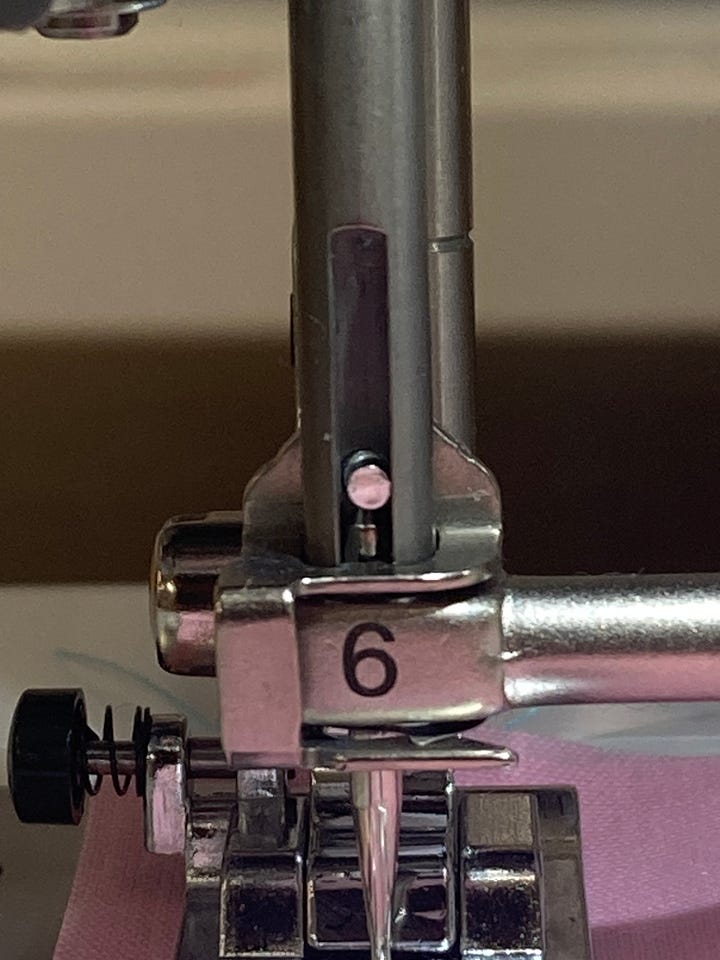
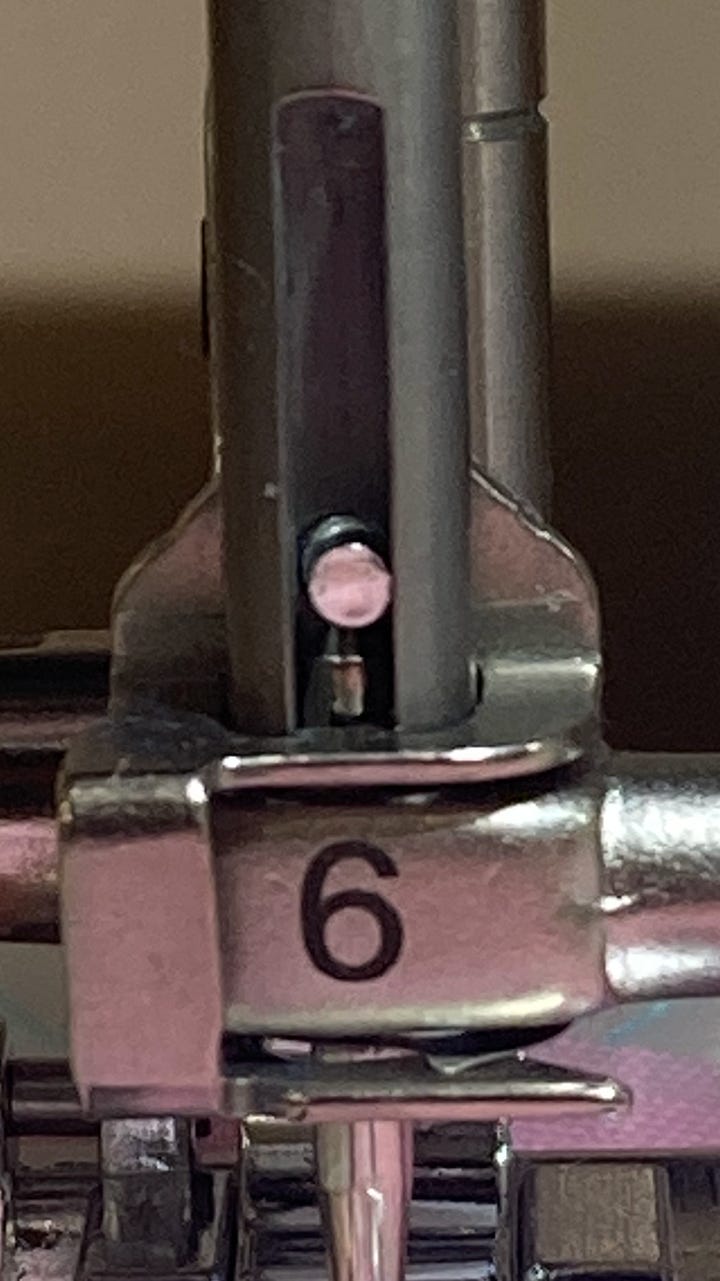
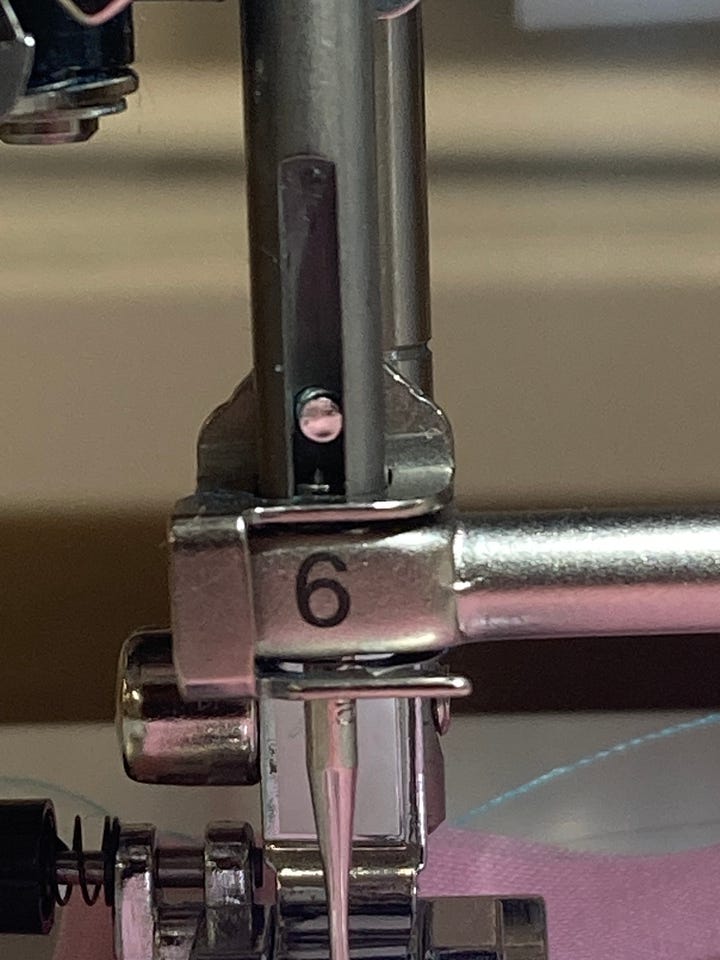
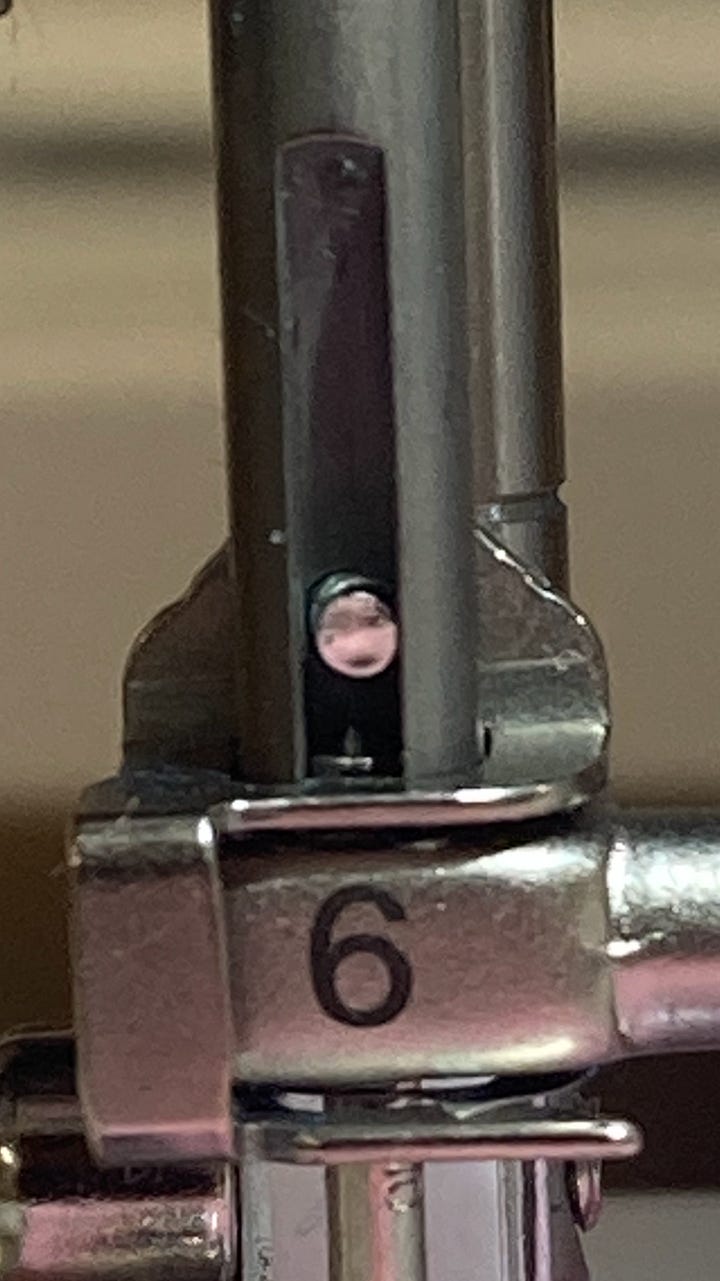
Above: the two photos on the top row show the needle inserted all the way up until it has hit the pin. The two photos on the bottom row show a needle that has not been fully inserted— you can see a little bit of daylight between the top of the needle and the pin and that daylight makes all the difference. If we were to attempt to use our needle threader, the tiny wire hook would crash into the needle (above the eye) and bend.
Pull the needle-threader lever straight down
This last point only applies to semi-automatic needle threaders, but it is worth noting.
When I pull down the needle threader lever, the telescopic shaft I lower is thin and flexible. If I accidentally apply lateral force, it may cause the needle threader wire to be pushed outside the eye and crash into the needle, or miss the needle completely. Therefore, it is important to pull the shaft straight down without any lateral force (typically it is lateral force to the right.
In the photo below, notice how my finger is positioned on the left side of the lever. The position of my finger creates lateral force to the right, which causes the needle threader’s tiny hook to miss the needle eye to the right.
In this next photo, my finger is positioned directly on top of the lever, pulling straight down with no later force whatsoever. In turn, the wire hook passes through the eye of the needle without a problem.
Thank you for reading.
If you found this article helpful, please feel free to share, comment, or explore the archive of other informational sewing machine articles.
-Cale





Also read your manual carefully, and follow the manufacturer's instructions precisely for using the needle threader. If you don't put the thread exactly where the manufacturer advises to place it, the needle threader won't work. The "I don't learn by reading, but by doing" philosophy quickly becomes costly when dealing with needle threaders.
Never thought about the lateral force one might be accidentally putting on the lever. SO helpful. Thanks