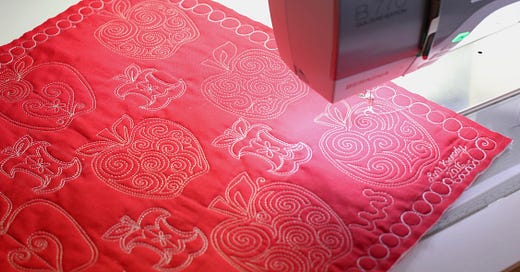
One of the most common complaints we receive from customers is that their machine is not performing adequately while doing free motion quilting. To understand the difficulty of free motion quilting we must first understand what we are asking the machine to do.
During normal sewing, all sewing machines are designed to make a stitch with the fabric feeding a pre-determined stitch length while the needle is out of the fabric. This is referred to as "feed timing" and is an adjustment that we always check during a tune and service. In addition, sewing machines are engineered to feed fabric away from the sewer and will always have the best stitch quality while doing this. Try sewing in reverse (fabric moving towards you and notice how drastically your tension changes causing the bobbin thread to show on the top).
When a sewer free motions, they move the fabric while the needle is in the fabric so the machine has to form stitches while the fabric is moving— this is no easy task. In addition, the sewer is moving the fabric in multiple directions which, as noted above, changes tension characteristics constantly. The bottom line is that we need to compromise and I will give you some great tips to get beautiful quilt stitches.
1 - The thinner the thread the better. The idea in all sewing is to hide the knot between top and bobbin thread. The thinner the thread the smaller the knot. I see a lot of quilters using fairly thick thread on both free motion and piecing. We really like Aurifil thread. It is thin yet strong and is very high quality. If you have to use thicker thread for effect, counter this with a very thin thread on the bottom.
2- To get uniform stitch length, you must keep the speed of the machine constant and move the fabric at a constant speed. It is impossible to move fabric at a constant speed, but it is possible to keep your machine constant by setting your maximum speed slider (most modern machines) at your desired speed and pressing your foot control all the way down (max).
3- Keep your stitches between 2mm and 3mm as best as you can. This is the stitch length at which we balance tension and how most machines are pre-set at factory. Long stitch length leaves small loops on the underside and tiny stitches bring the bobbin thread to the top. It is especially important to keep your stitches from getting too long while doing curves as this really causes the eyelashes on the underside.
4- Run a test prior to starting your quilt. First sew just away from you and towards you- back and forth. Then sew just from left to right back and forth several times. After observing your stitch, you can now make your final tension adjustment. Remember that tension stitch quality will not be the same as it will change as we change directions and as stitch lengths vary. We are making a grand compromise to put it in an acceptable range. If the top thread is too loopy on the underside, then we must increase top thread tension. If bottom thread is coming to the top, wemust reduce top tension.
I hope this helps you understand the dynamics of free motion sewing.
-Dan Schoenberg
If you want read more about free motion quilting, specifically about stitch regulation and how this tool can help you achieve near-perfectly even stitches during your free motion sewing, please read the article below:


I have had so many quilting classes- never have been given this important technology explanation or such great coaching on troubleshooting! Thank you👍🏻
thank you, i’ve found my people!