Stitch Regulator, Explained
What is a stitch regulator? Why is it useful for free motion sewing? Let's break it down.
Greetings everybody,
Today I want to talk about a technology that has had a massive impact on the sewing machine landscape: the stitch regulator.
The Basics
When you sew a straight stitch, the presser foot holds the fabric down against the gripped feed teeth (AKA feed dogs). The needle goes down, penetrates the fabric, and then travels below the needle plate where it does the dance with the hook and bobbin thread. Then the needle journeys upward, up out of the fabric and the needle plate, and rises above the fabric. As the needle is in the up-position, the feed dogs rise above the needle plate and make contact with the bottom layer of fabric. Essentially, the fabric is sandwiched between the gripped teeth on the bottom and the presser foot on top. The feed dogs then move from the front of the needle plate toward the back of the needle plate, and the fabric moves along with them. The feed dogs move the fabric to a designated length between every stitch— also known as stitch length. The majority of home sewing machines have a stitch length range of 0 to 5 millimeters.
As the needle journeys back downward, the feed dogs slip down below the needle plate surface. By the time the needle penetrates the fabric, the feed dogs are all the way down below the needle plate, not making contact with the fabric at all. When the needle is down in the fabric, the feed dogs should not be feeding the fabric. If the feed dogs are above the needle plate surface feeding the fabric while the needle is down in the fabric, then you have a problem— the machine’s feed timing is out of whack and needs to be adjusted.
Take a look at the video below, which shows how a sewing machine makes a stitch, and pay attention to the feed dogs:
Free Motion Sewing
Free-motion sewing is a technique where the sewist disengages the feed dogs so that they remain below the needle plate, even when the needle is in its highest position. In other words, the feed dogs are out of the picture. They no longer touch the fabric, and therefore they no longer feed the fabric. Instead of the feed dogs feeding the fabric forward, the sewist moves the fabric manually with their hands.
When the feed dogs are engaged, the fabric can be fed forward and backward. Generally speaking, feed dogs cannot feed left to right or diagonally (though there are some exceptions). Unlike regular sewing, free motion sewing allows you to move the fabric in any direction you want. You can stitch to the left, you can stitch to the right, you can go diagonally if you please. Here is an analogy: free motion quilting is like drawing with a pencil on paper, where the pencil (needle) is stationary and the artist (sewist) draws by moving the paper (fabric) underneath the pencil.
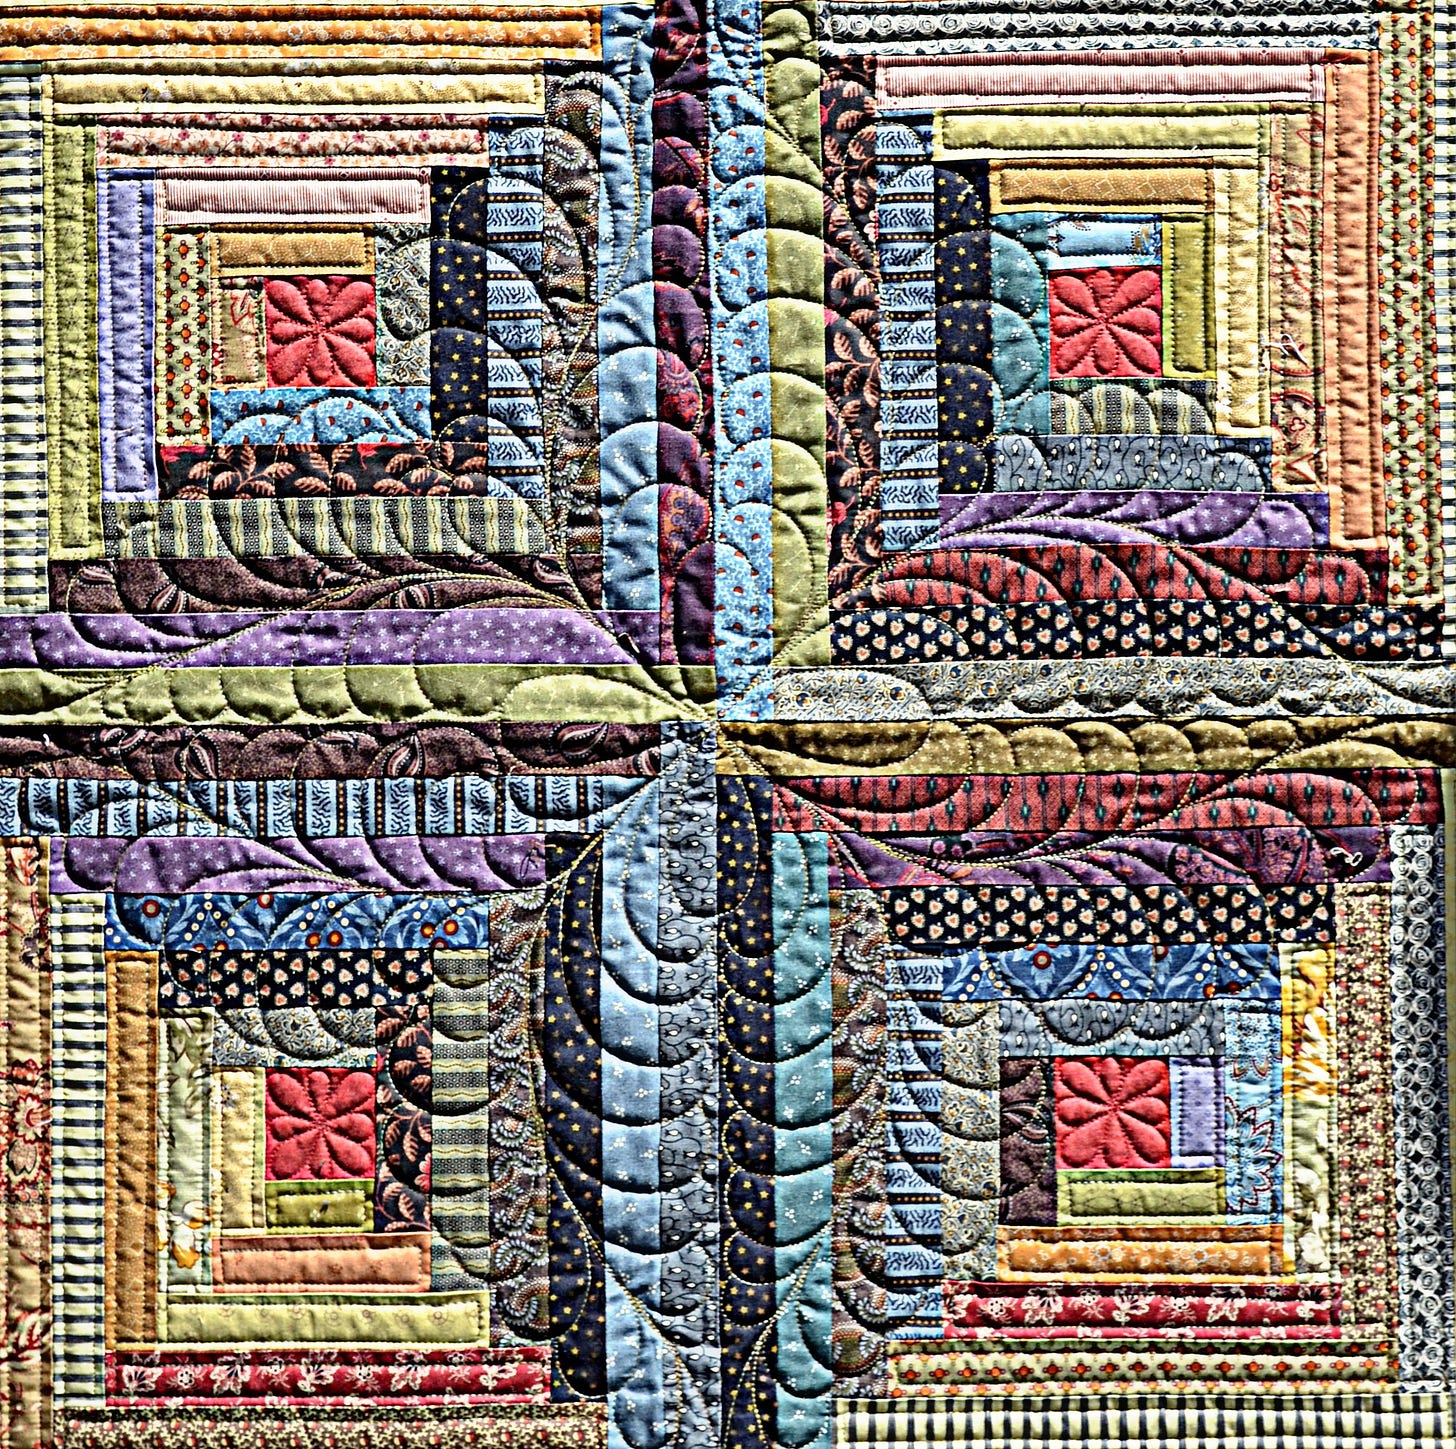
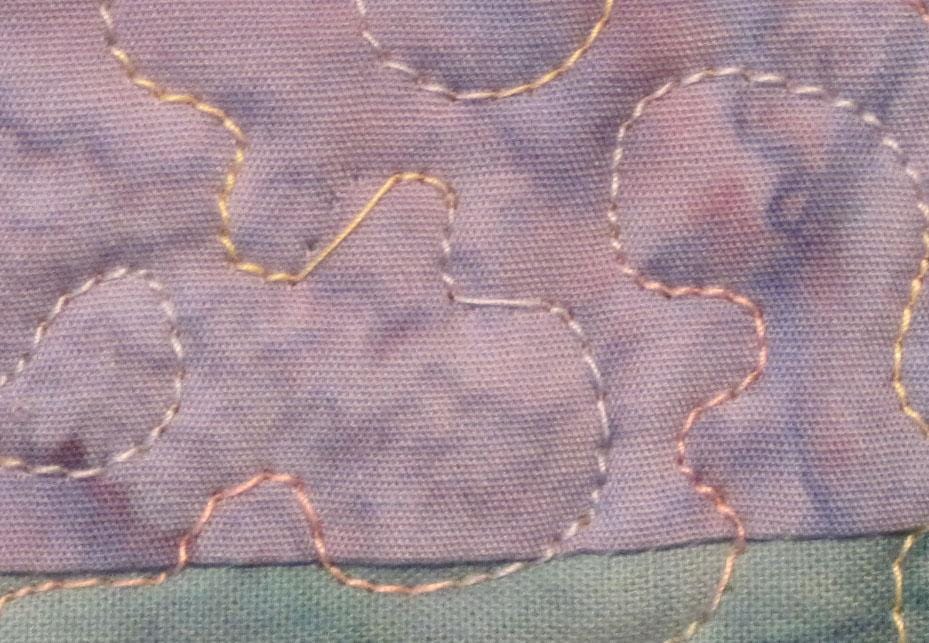
Free motion sewing allows sewists— especially quilters— to create incredible designs and textures on their work that you couldn’t otherwise achieve with a typical straight stitch. I do not quilt myself, but my understanding is that it allows for a certain level of improvisation and increased creativity while quilting. I’ll post a few photos of free-motion quilting so that you can better see what I mean:

Challenges of Free Motion
The most common problem that people experience with free-motion sewing is achieving consistent stitch length.
With regular sewing, stitch length is controlled by the gripped feed dog teeth. If we set our stitch length to 2 millimeters, then the feed dogs will feed the fabric 2 millimeters between every stitch. If we set our stitch length to 3.5 millimeters, then the feed dogs will feed the fabric every 3.5 millimeters. However, we disengage the feed in order to do free motion sewing. Without the feed dogs in play, stitch length is controlled by the user, not the machine. If I want the stitch length to be 2 millimeters, then I have to manually move the fabric 2 millimeters between stitches.
Here is where the problem arises. I am an imperfect being, and it is impossible for me to consistently move fabric 2 millimeters between every stitch, especially with a machine that sews at a speed of 400-800 stitches per minute. It gets even more difficult when I try to do curves and turns on a large swathe of fabric like a quilt, where I am prone to accidentally jerk the fabric and end up with random bouts of 5 millimeter stitch length when I am trying to execute a stitch length closer to 2 millimeters. Or, even worse, skipped stitches.
Sewists don’t like skipped stitches. They don’t like inconsistent stitch length.
Thus, enter the stitch regulator.
The Stitch Regulator
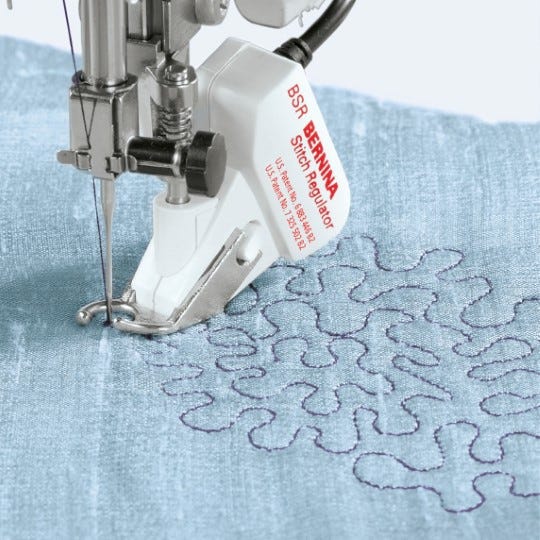
A stitch regulator is a device that detects how fast the fabric is being moved underneath the presser foot and then adjusts the speed of the needle going up and down accordingly in order to achieve a consistent stitch length.
With a stitch regulator you don't need to worry about how fast you move your fabric during free motion, nor do you need to worry about how fast you are running the machine. Put your foot all the way down on the foot pedal— even if it is all the way down, pedal to the metal, the needle will move very slowly.
The sensor of the stitch regulator senses the movement of the fabric. Based on the speed that the fabric is moving, the machine will either speed up or slow down. Move the fabric faster, then the needle moves faster. Move it slower and the needle moves slower. Stop moving the fabric and the machine stops sewing. It's magic: free-motion sewing with consistent stitch length that you can control.
While the stitch regulator is an incredibly helpful tool for achieving precise stitch length during free-motion sewing, it is not perfect. If you move the fabric super fast and in a jerky motion, you can still get skipped stitches and inconsistent stitch length. It does not fix the problems one experiences when sewing with a bent needle. It does not overcome poor-quality thread.
In my opinion, in order to achieve the best results possible with a stitch regulator, you ought to pretend as if you don’t have a stitch regulator. If you get lazy and jerk the fabric around, problems may still occur. Try your best to move the fabric evenly and at a consistent speed, and the stitch regulator will make up for any human error.
What Machines Are Compatible With A Stitch Regulator?
For a long time, Bernina was the only company to offer home sewing machines with stitch regulation capability. If I am not mistaken, the Bernina Aurora 440 was the first machine equipped with BSR (Bernina Stitch Regulator) when it was released about 15-20 years ago. These days, Bernina models B435, B475, B480, and B735 are all compatible with BSR. If you buy these machines new, they don’t come with the stitch regulator itself, but you can buy BSR and attach it to the machine (new BSR costs ~$800-1,000). The Bernina B570, B770 Plus, and B790 Pro are compatible with BSR and come with BSR in the box if you buy one of these machines new.
Bernina is no longer the only company to offer stitch regulation. Last year Janome made a splash when they released the M17, a sewing-embroidery combination super-machine that comes with Janome’s own stitch regulator that they dubbed ASR (Accurate Stitch Regulator). I personally love the M17’s stitch regulator and would argue that it’s actually an improvement on the BSR. The problem with the M17 is that it costs $15,000+, plus it comes with embroidery and not everybody wants embroidery. However, Janome just released two new machines that are equipped with their ASR system: the Continental M8 and the Memory Craft 9480, each of which is a fraction of the price of the M17 super-machine.
You will also see long-arm quilting machines with stitch regulation. Juki makes a relatively cost-effective long-arm called the J-350, which is designed with direct-drive technology and stitch regulation. Bernina makes an absolutely beautiful longarm machine, the Bernina Q-Series (Q-16, Q20, Q24), which is one of the only machines still made in their factory in Switzerland.
Thank you for reading.
I hope this article was helpful in explaining stitch regulation and why it is helpful for free-motion sewing.
Appreciate you all.
-Cale


I always look forward to your articles, they are so well written and informative. Learning how the stitch regulator works made me realise why I was struggling with fmq. I don't have a stitch regulator so will just have to keep practicing.
Awesome article! I got a BSR thrown in for free when I bought my bernina 480 (I guess they really wanted to make the sale) and I’ve never used it. Understanding how it works is making me want to dust it off and give it a try. Thanks!