Spool caps serve two general purposes. . . . .
The first is fairly obvious, which is that the spool cap holds the thread spool onto the spindle and prevents the spool from rattling around or falling off.
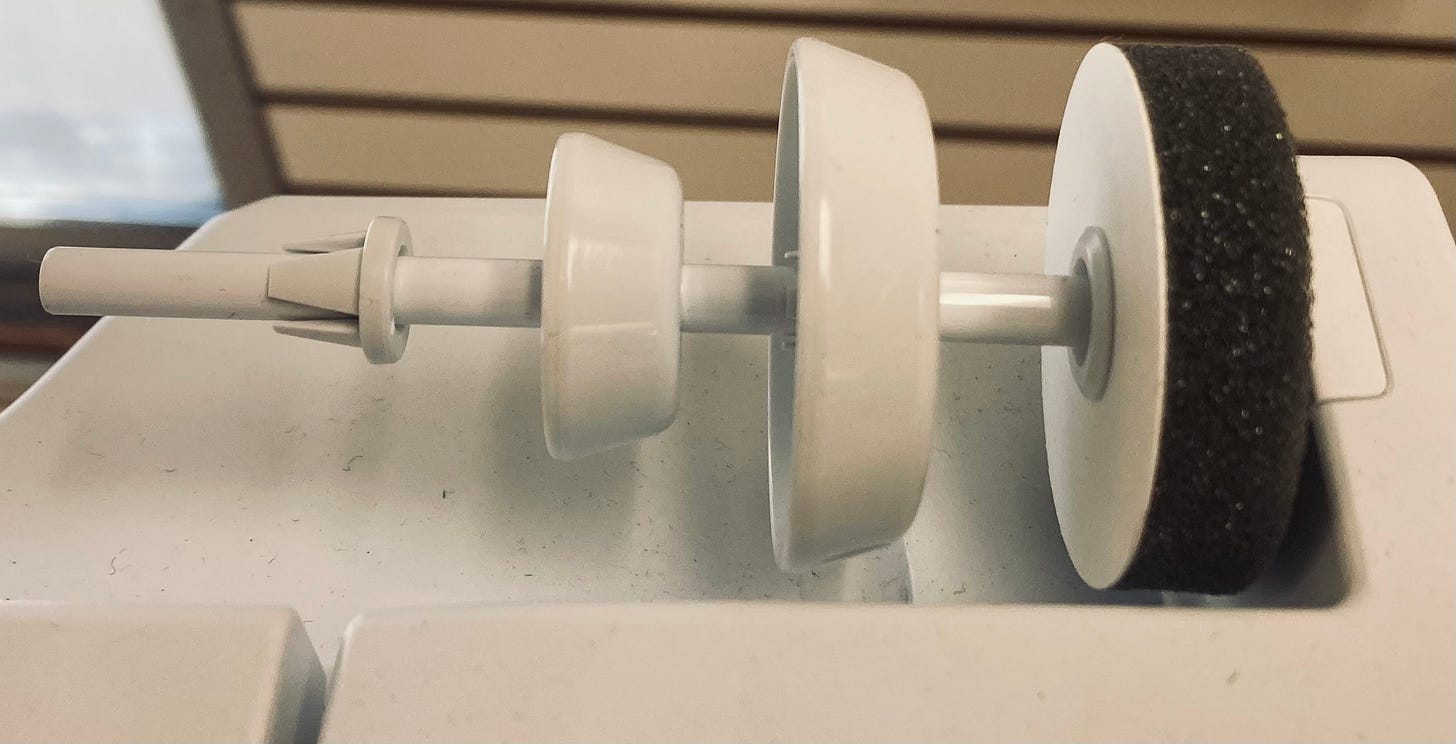
The second purpose is less obvious and is what I want to focus on today. You may have noticed that most new sewing machines come with a variety of differently-sized spool caps in the bag of machine accessories:
The reason for all the different spool caps is that different thread companies produce thread spools in a variety of shapes and sizes. Different spool shapes call for different spool caps. You want to match the spool cap to the spool of thread.
How do you know which size spool cap to use?
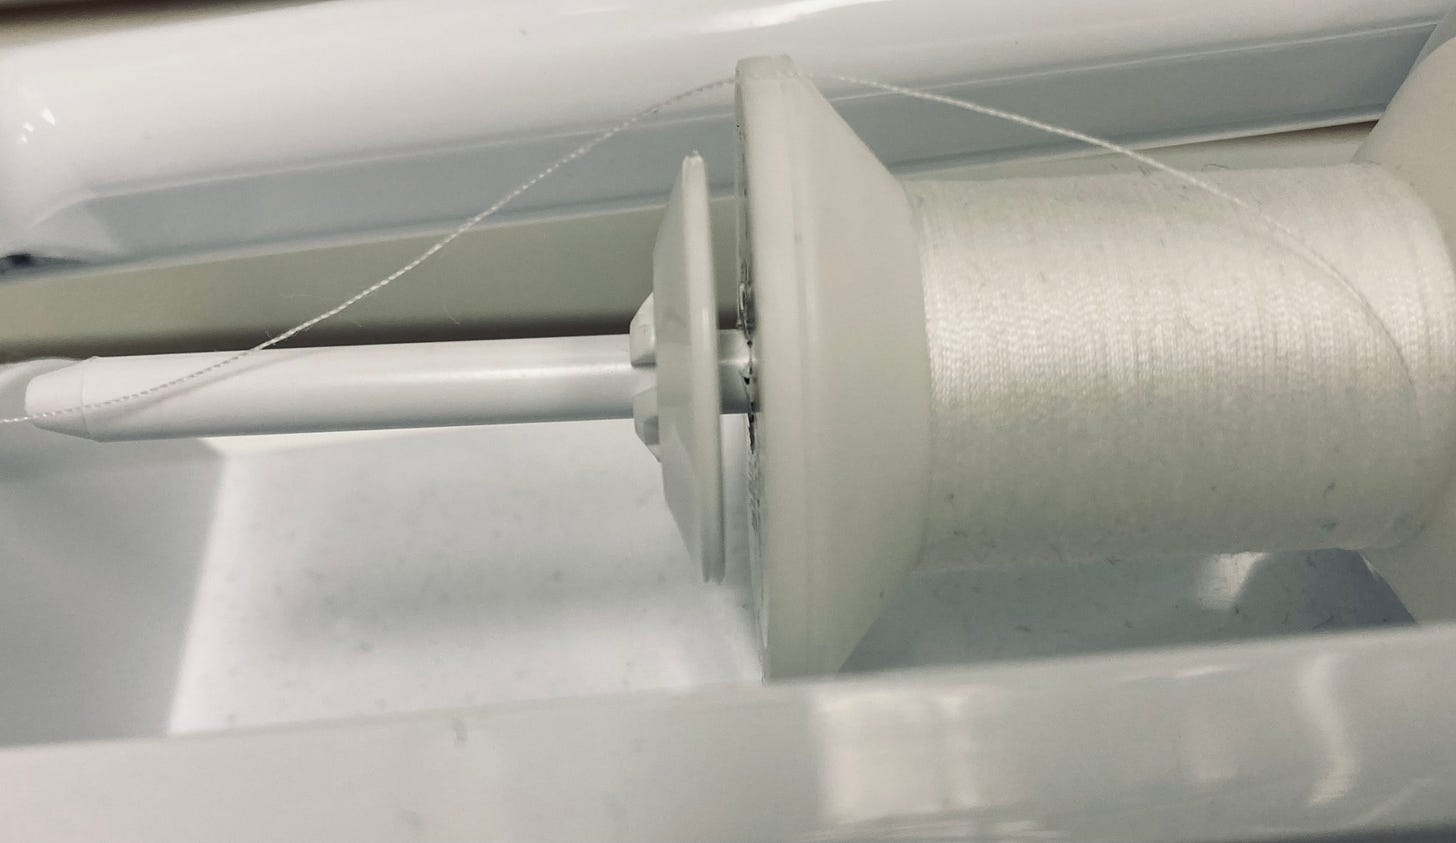
The general rule is that the spool cap ought to be slightly larger than the plastic end of the spool itself.
Why?
If you examine a spool cap carefully, you’ll notice that it is made out of extremely smooth plastic. I would go as far as to say that the plastic is actually soft. Compare that to the plastic end of the thread spool itself— it is a rougher plastic, often with slight imperfections that can potentially snag the thread and cause problems with our stitch.
The spool cap should be slightly larger than the plastic end of the spool itself because we want the thread to pass over the perfectly smooth plastic instead of the imperfect rough plastic. If the thread passes over rough plastic, it is susceptible to snagging and/or breaking. If it passes over the smooth plastic of the spool cap, we avoid that potential problem.
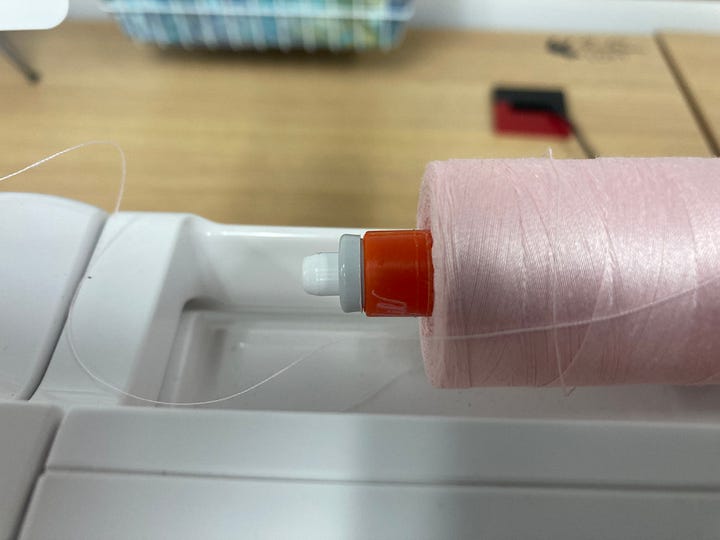
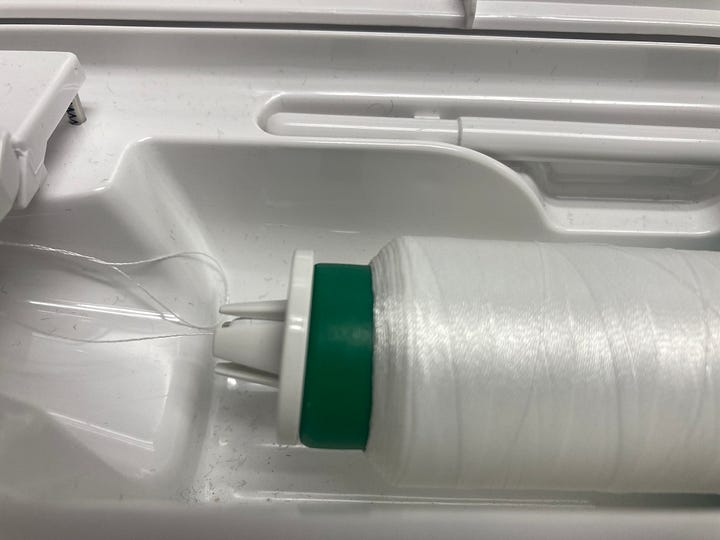
A caveat to that point is that you also don’t want the thread to pass over an unnecessarily large spool cap. You want the spool cap to be larger than the end of the thread spool, but you also want the path of least resistance. Don’t make the thread pass over a mountain when it doesn’t have to. Too large a spool cap may cause the thread to behave strangely and potentially snag.
The Bigger Picture: Unobstructed Upper Thread Path
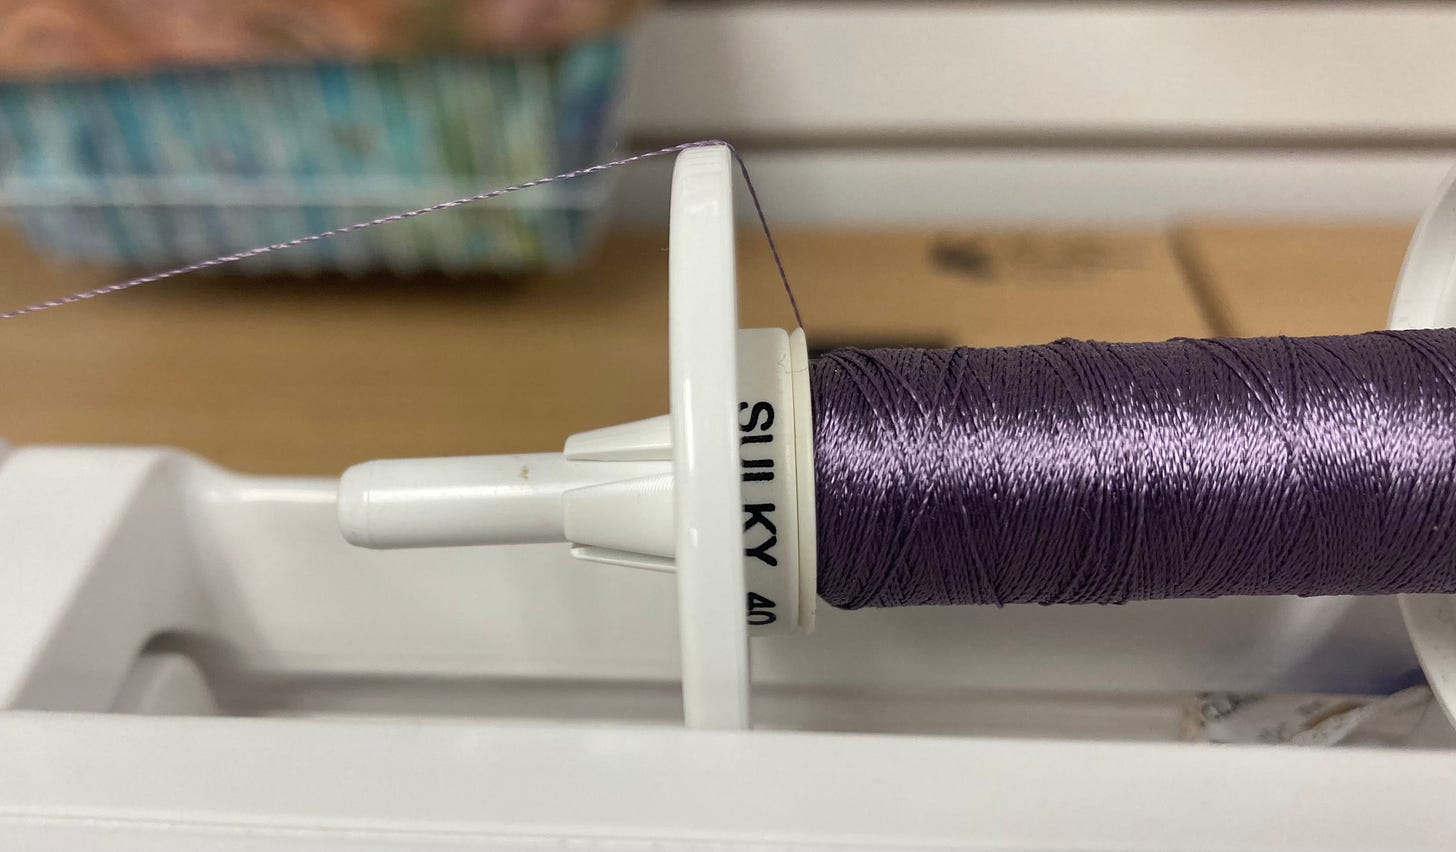
The reason spool caps exist as they do — extremely smooth and in a variety of sizes — is so that the upper thread does not snag as it travels along its path from the spool to the needle eye. We can extrapolate this idea and tie it into a more general principle about the importance of an unobstructed upper thread path. An obstruction along the upper thread path is guaranteed to cause problems. The obstruction could be a ball of tangled thread, a buildup of compacted lint, a nick in the machine’s plastic cover that snags the thread, or a spool cap that does not correctly match the size of the thread spool.
Now, the engineers who design these machines take pains to ensure that the thread does not snag along this path. The spool cap is a prime example of this, but there are other measures as well. If you look at your sewing machine and examine the path that the upper thread travels along, notice the parts of the machine that the thread touches. If the machine is designed well (not all of them are), then the thread will only touch extremely smooth surfaces, usually made of some kind of metal.
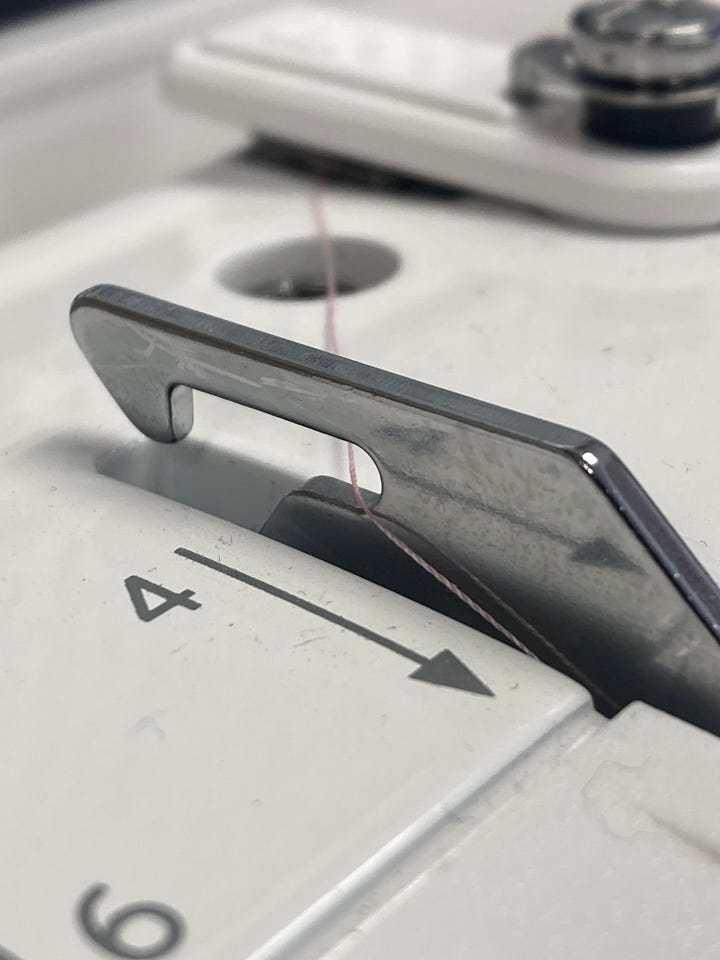
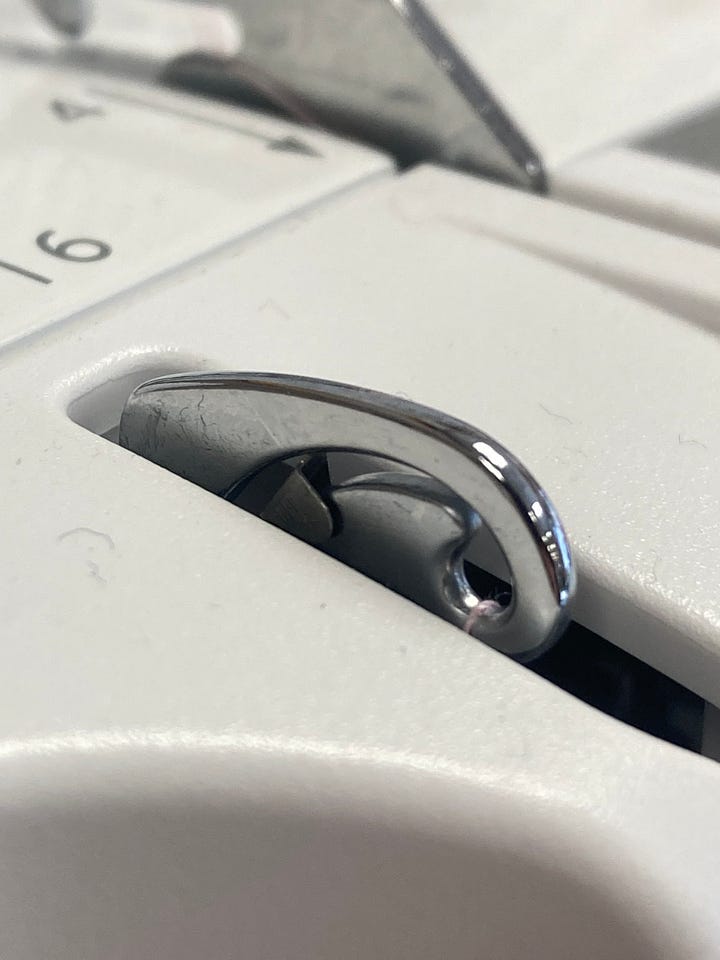
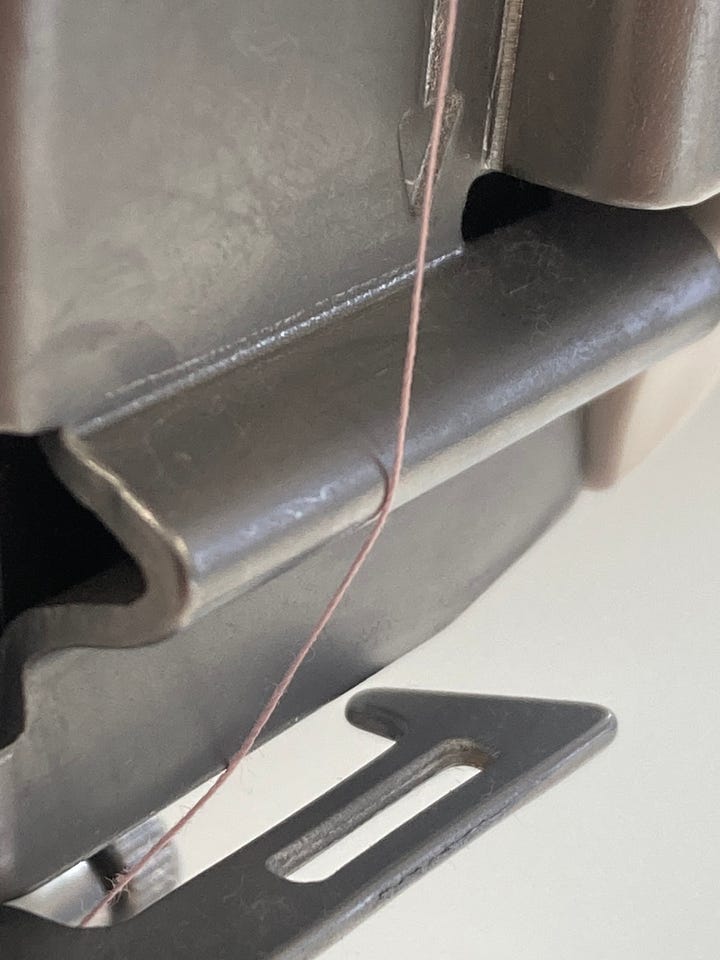
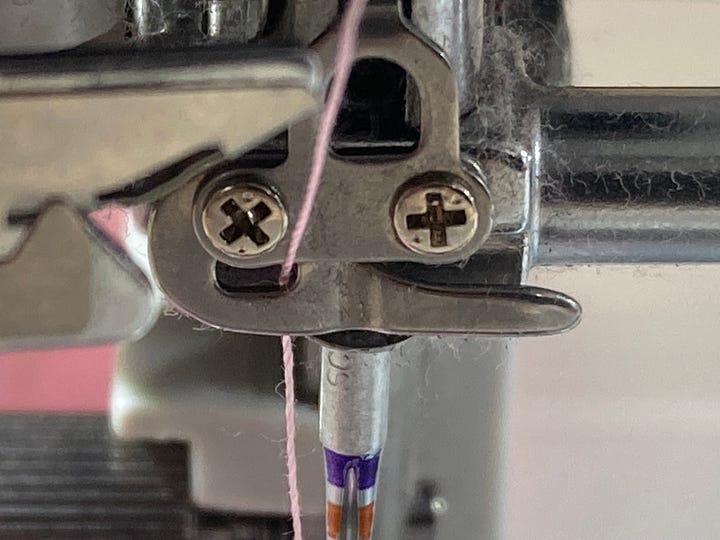
Despite the attention to detail in the machine’s design, upper thread path obstructions can still occur for a variety of reasons. Here are two common manifestations of an upper thread path obstruction:
The needle becomes un-threaded every time you use the machine’s automatic thread trimmer feature. If the trimmers cut the thread while the thread is snagged on some sort of obstruction, this causes the thread to recoil and slingshot out from the eye of the needle. It’s very frustrating. The most common culprit for this issue is the thread getting snagged on the spool’s rough plastic due to using incorrect spool caps, but I’ve also seen sharp nicks in the machine’s plastic cover or spool cap itself cause the snag that un-threads the needle.
Small loops on the underside of the fabric. This often occurs when a ball of compacted lint or tangled thread finds its way between the upper tension discs. Such an obstruction prevents the tension discs from closing all the way and creates a zero-tension condition on the upper thread. To fix the problem, lift the presser foot to the raised position and clear the obstruction by cleaning between the tension discs with canned air, tweezers, or a lint brush. Then rethread the top half of your machine with the presser foot in the raised position. I have written about this particular issue before in greater detail in an article titled The Pull Test.
Thank you for reading.
If you found this article helpful, please share it with fellow sewists.
-Cale



I have always been told not to use canned air because it will blow the lint and dirt back farther into the machine and cause more problems. Is this not true?
The first picture shows a foam disk. I rarely use one, but thought that the foam side would face the spool. I think of it as something for use on the vertical spool pin. Am I wrong?