
Fabric Puckering Explained
Understanding the mechanics behind wrinkled, puckered seams

From the archives: I wrote this article over a year ago, and it’s still one of the pieces of advice I point people to most often when fabric starts misbehaving.
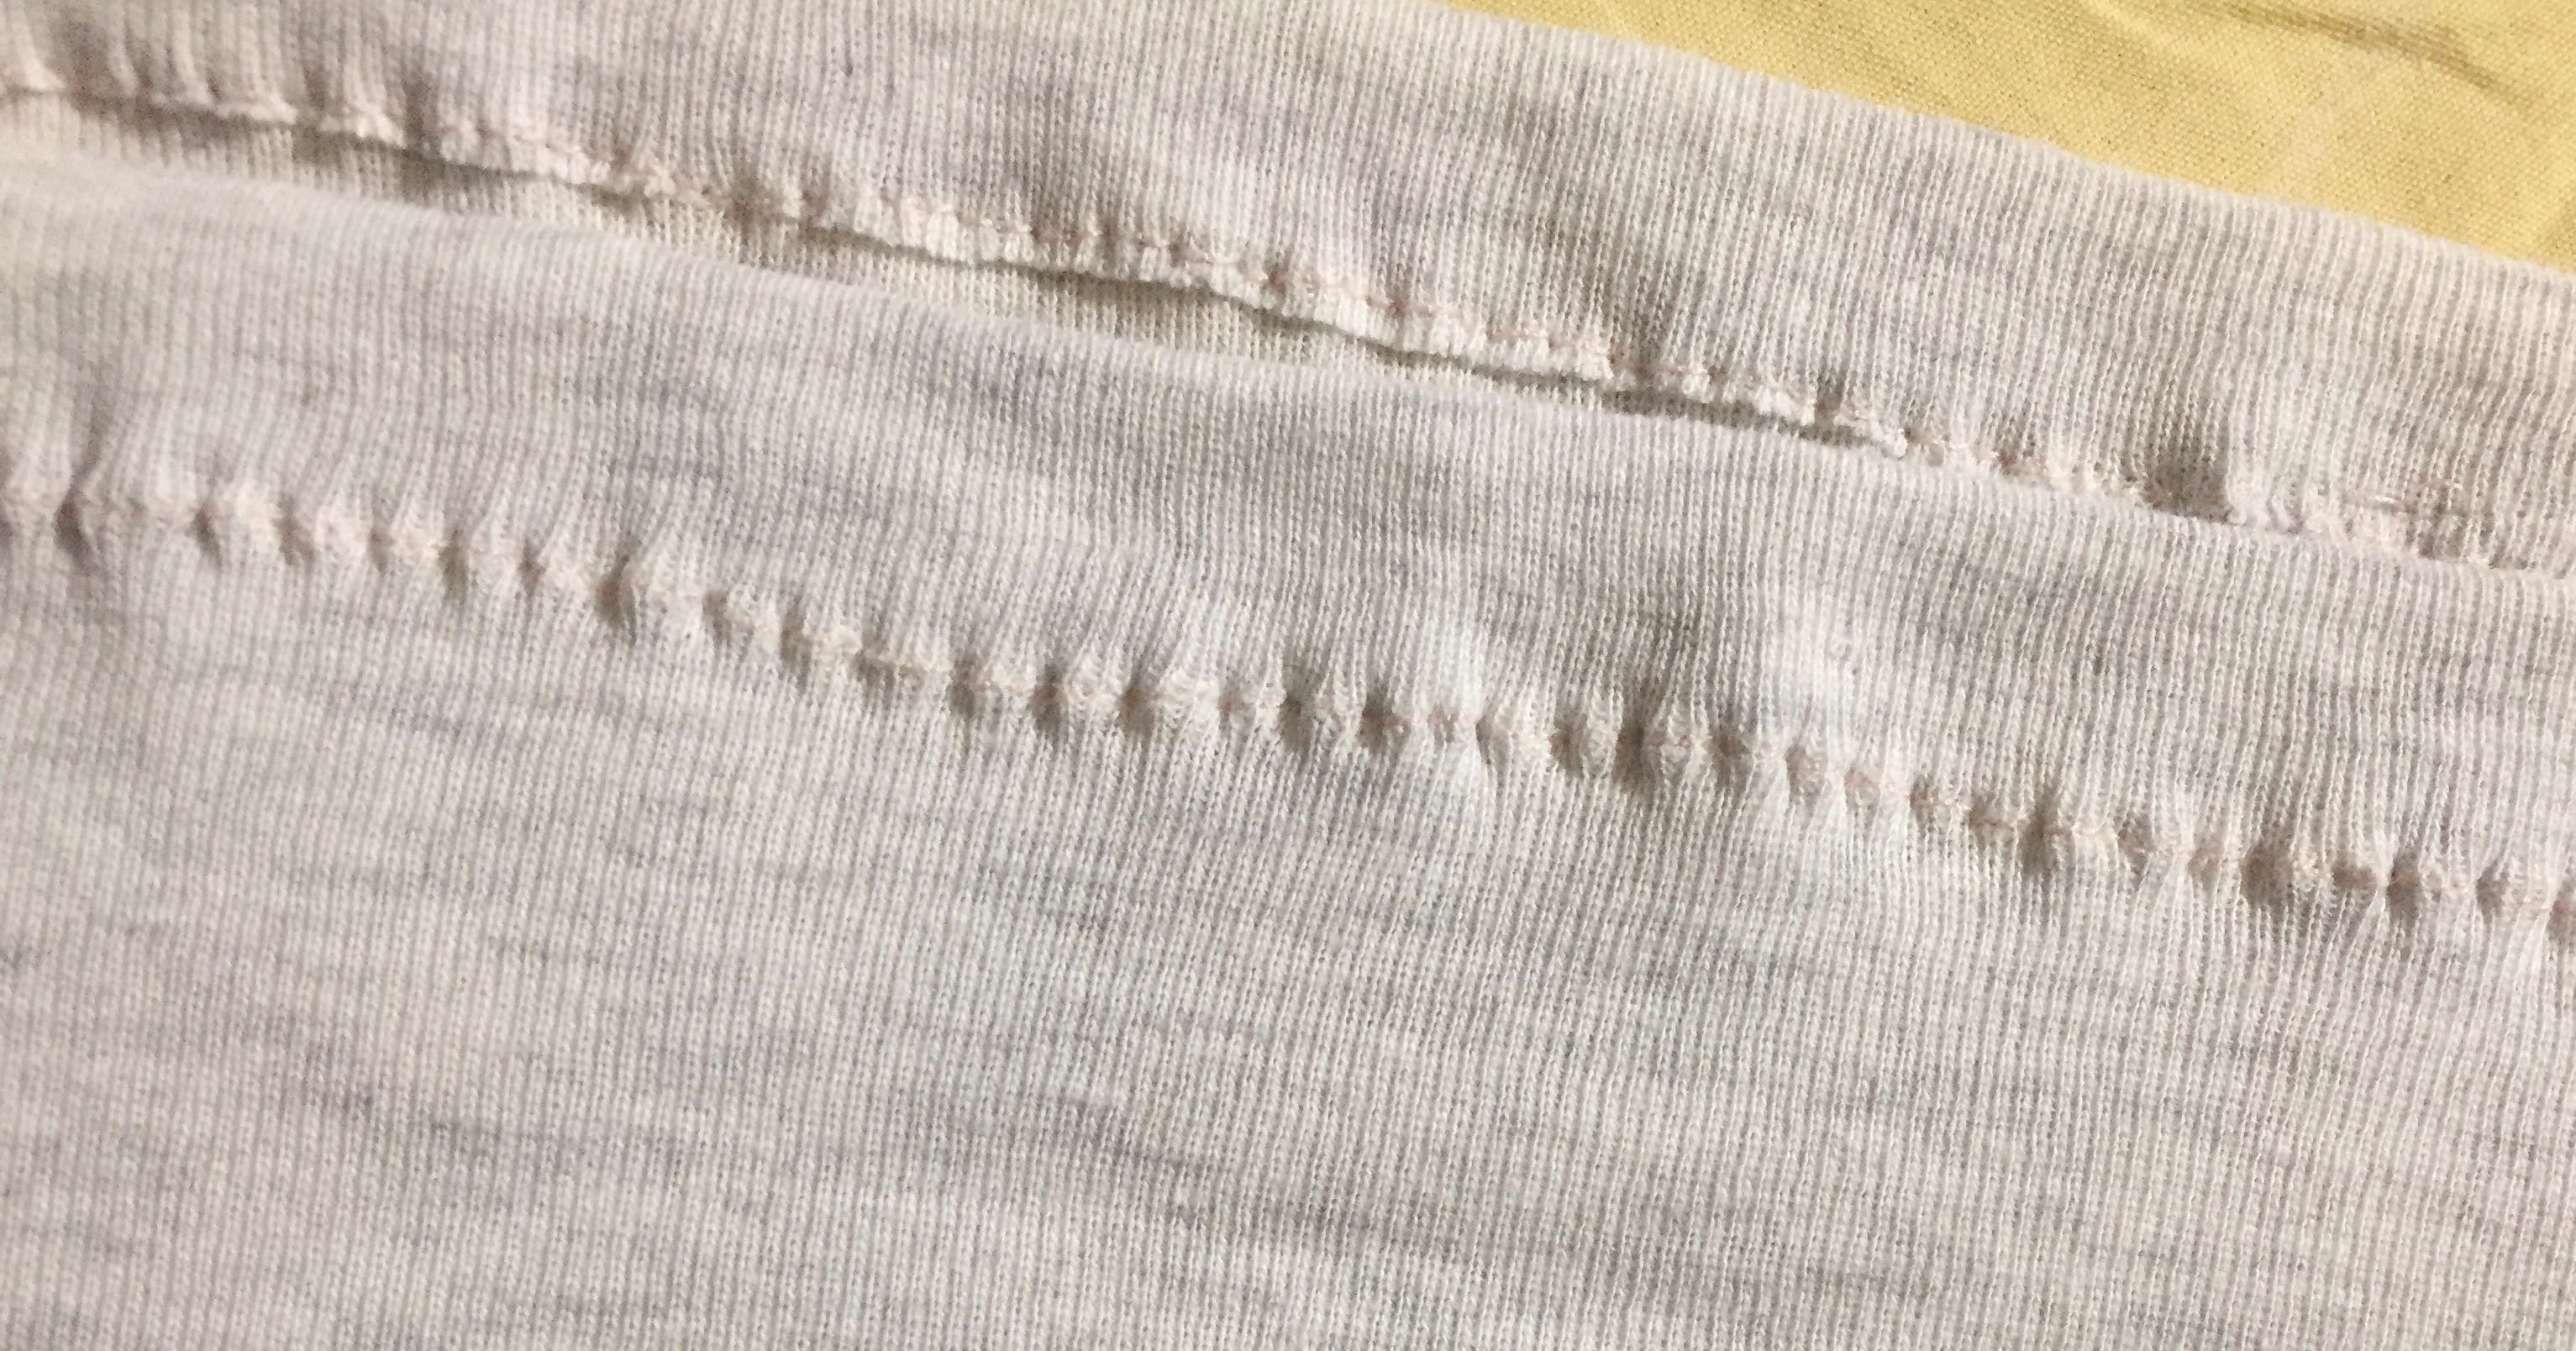
Fabric puckering is one of the most common and most frustrating problems sewists run into. It distorts the fabric as you sew, leaving ripples and wrinkles where you wanted clean, flat stitches. Quilters, crafters, and garment-makers all encounter it eventually.
In today’s edition of The Sewing Machine Newsletter, I want to walk through why puckering happens and share a handful of practical troubleshooting solutions that work:
Support delicate fabric with stabilizer
Use straight-stitch needle plate
Match needle type to your fabric
I hope you find it helpful.
—Cale
What Causes Fabric Puckering?
In order for a sewing machine to make a stitch, the needle travels downward and pierces the fabric, then continues downward through the needle plate hole and down below the needle plate. Down here, the needle and hook do a little dance that results in the formation of a knot between the needle thread and bobbin thread. Then the needle rises up out of the fabric, the knot gets cinched tight, the fabric is fed forward, and the process repeats.
Puckering occurs near the beginning of this process, when the needle pierces the fabric and travels downward through the needle plate hole. If the fabric gets pushed down into the needle plate hole after the needle pierces the fabric, and the knot is tied while the fabric remains pushed down into the needle plate hole, then it will maintain that pushed-down— puckered— shape.
The key is to avoid a scenario where the fabric gets pushed down into the needle plate hole as the stitch is being made. There are a few ways we can avoid this scenario.
(1) Straight-Stitch Needle Plate
The vast majority of modern sewing machines are designed with a maximum stitch width of either 5.5mm, 7mm, or 9mm. This means the needle plate hole has a corresponding width of either 5.5mm, 7mm, or 9mm. It also means the machine has the ability to sew decorative stitches or monogramming stitches at a maximum width of either 5.5mm, 7mm, or 9mm.
The downside is it also means that there is a hole of either 5.5mm, 7mm, or 9mm that your fabric can get sucked down into.
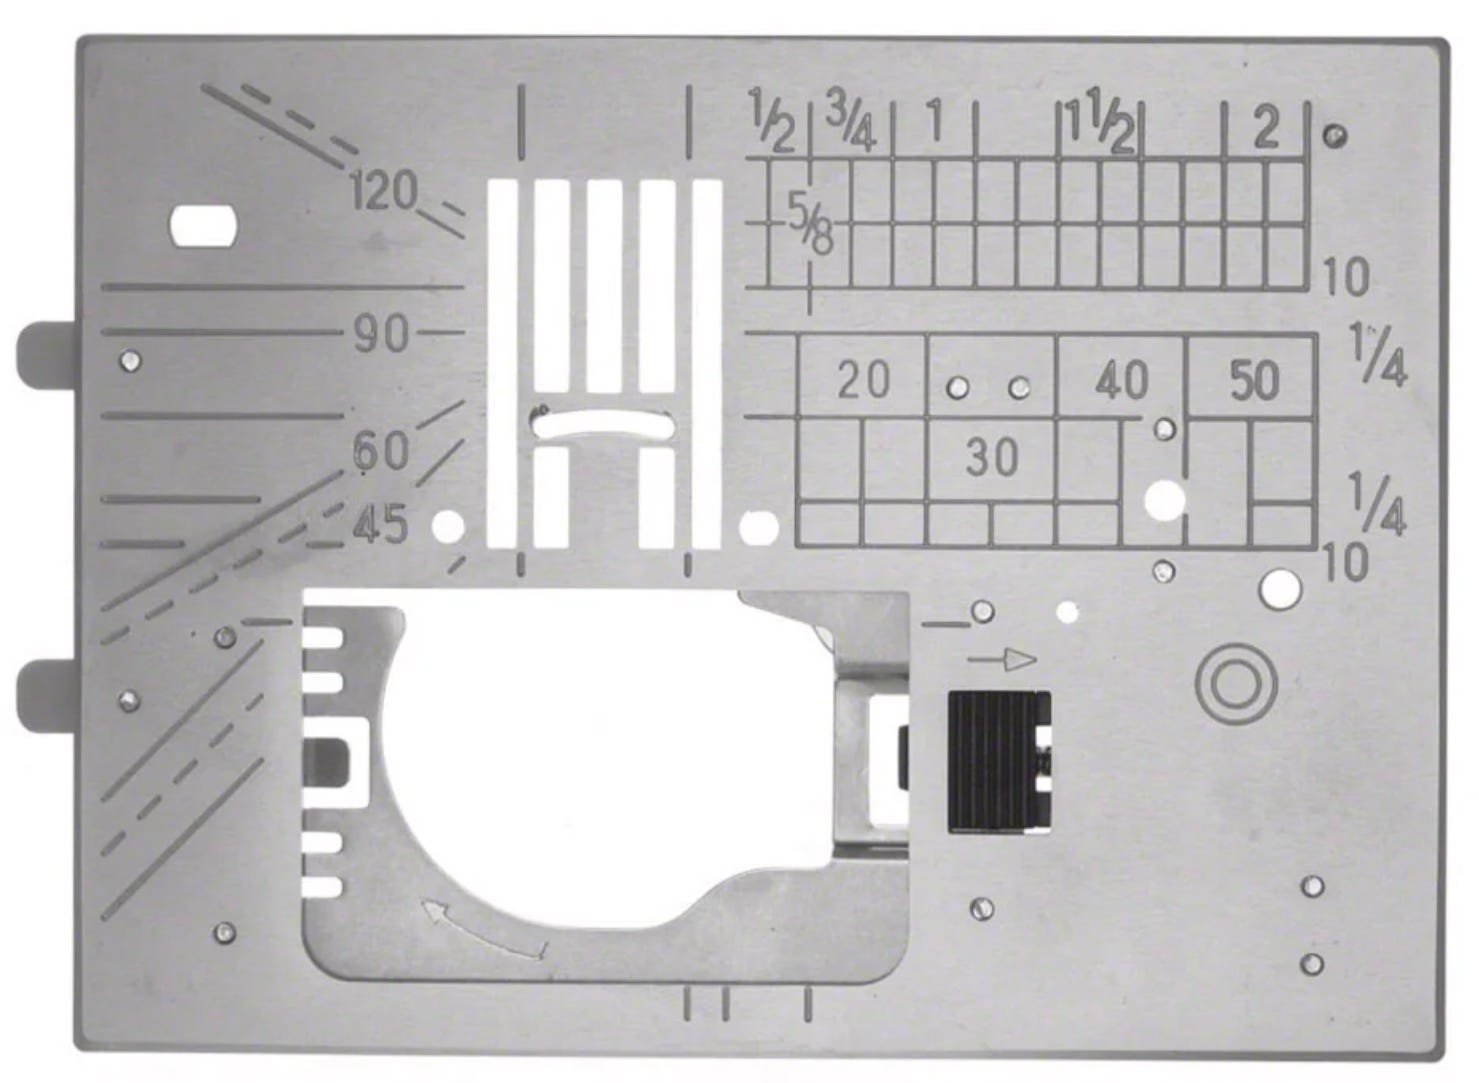
In theory, the wider the needle plate hole, the more susceptible the machine is to puckering fabric. Thankfully sewing machine manufacturers are aware of this, which is why they make straight-stitch needle plates for nearly every machine.

With the small straight-stitch needle plate hole, the fabric we’re sewing is better supported. There is literally less space for fabric to get pushed down into, so puckering is far less likely to happen. Some manufacturers will even put 3 small holes on their straight stitch plate so that sewists can avoid puckering while sewing with the needle in the far left or far right position. If you occasionally experience fabric puckering and you don’t have a straight-stitch needle plate for your machine, I highly recommend it as a solution.
(2) Stabilizer
Sometimes a straight stitch needle plate will not solve the puckering problem. What if we are experiencing fabric puckering on a zig-zag stitch, such as a buttonhole, a decorative stitch, or monogramming?
The answer is stabilizer.

Fabric puckers when it gets pushed into the needle plate hole. It gets pushed into the needle plate hole if the fabric is not sufficiently supported. Think of stabilizer as fabric support.
When we do a zig-zag/decorative stitch pattern, the number of stitches per centimeter is much higher than the stitches per centimeter when sewing a straight stitch. Think about it: whereas a straight stitch requires 1 stitch every 2 millimeters (given that our stitch length is 2 mm), some decorative stitches require 5-10 stitches every 2 millimeters. That is a lot of holes being poked into a small area of fabric, weakening the fabric’s stiffness and weakening the overall support— and making it more likely that the fabric will get pushed down into the needle plate hole and pucker.
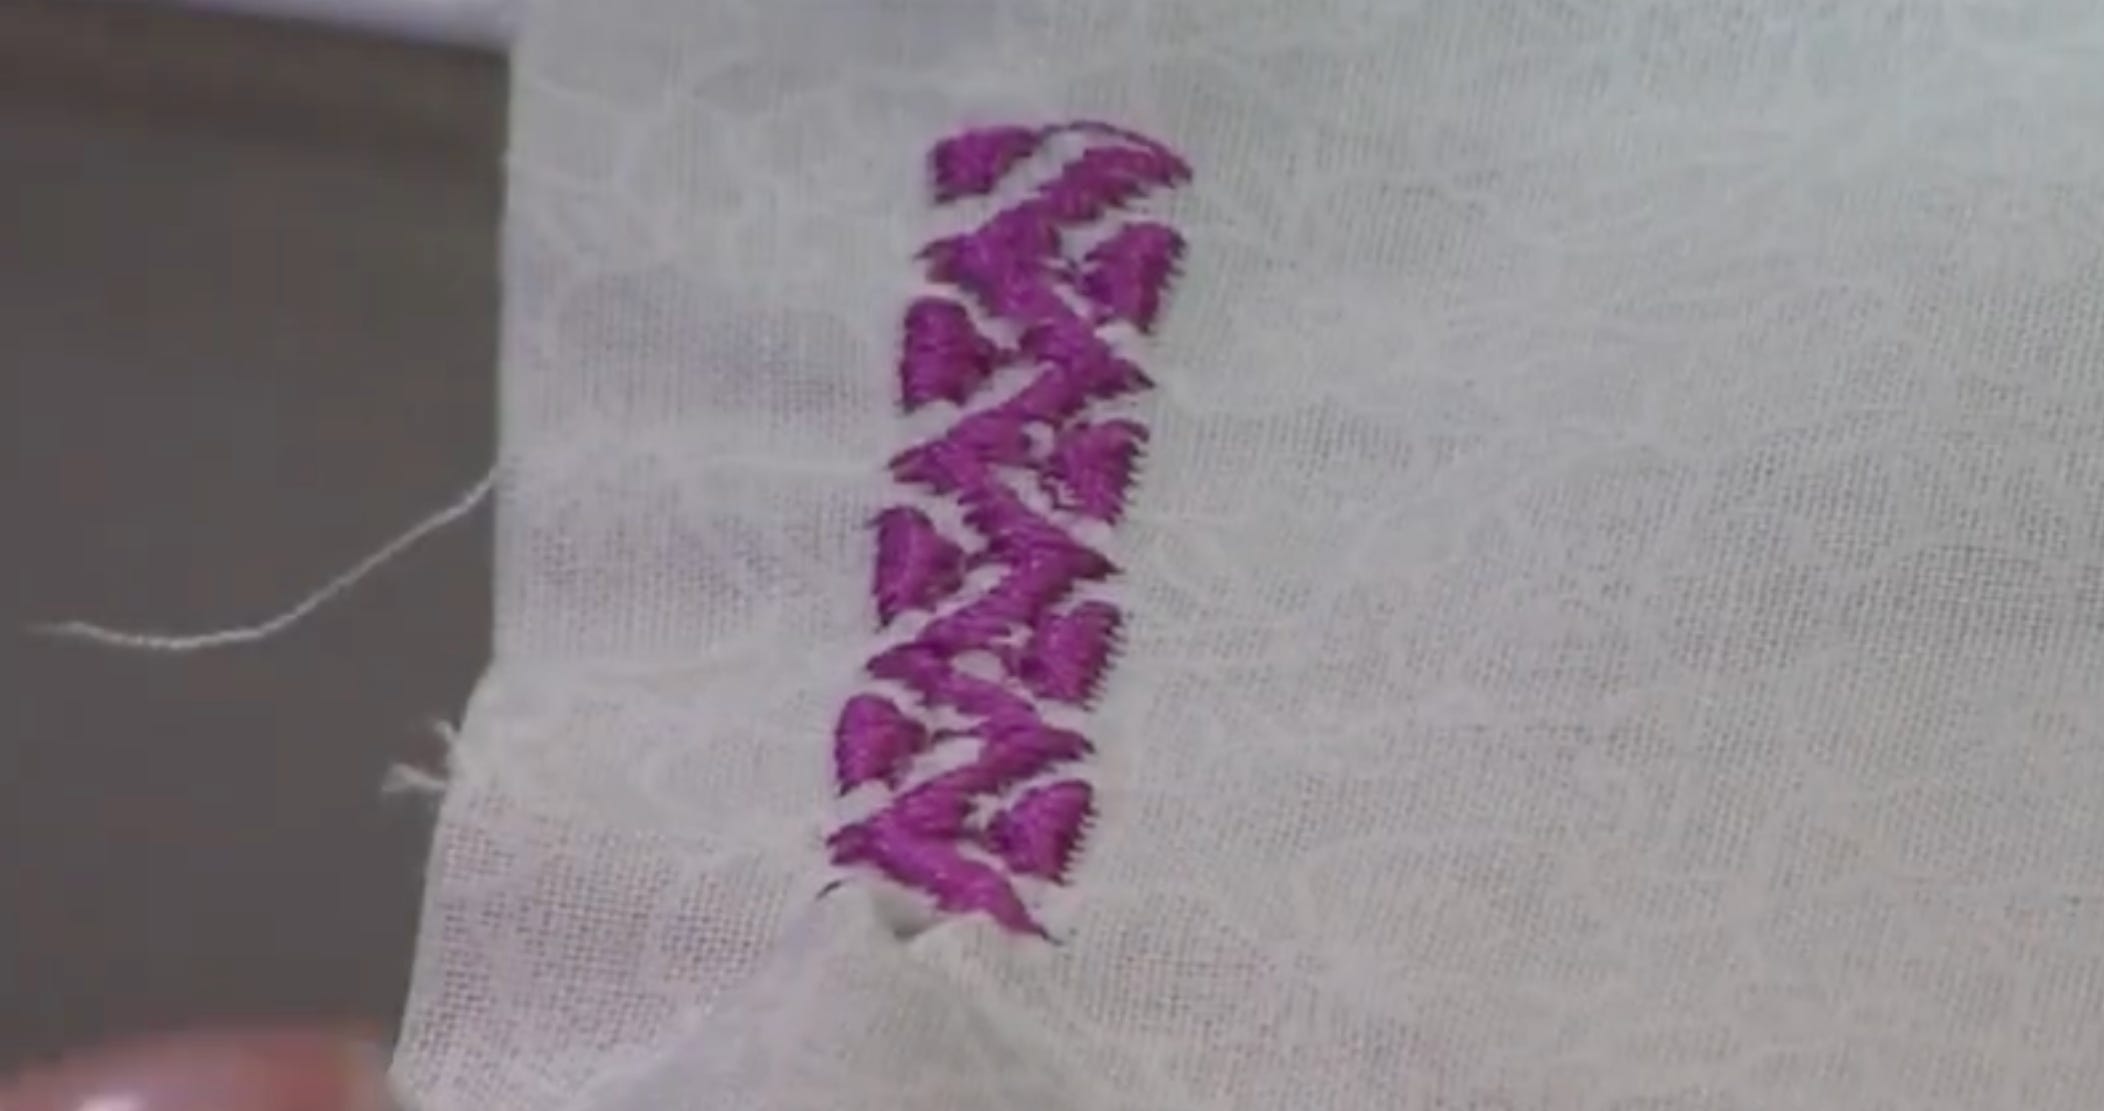
Leather generally doesn’t pucker because it’s stiff and naturally supportive. Denim doesn’t really pucker either for the same reason. If you are sewing thinner fabric and it’s puckering during a zig-zag or decorative stitch, add a sheet of stabilizer underneath the fabric to provide support .
(3) Matching the Needle to the Fabric
Depending on the fabric one is sewing, the wrong needle can cause puckering if it’s not piercing the fabric as easily as it ought to. Remember, the key to avoid a scenario where the fabric gets pushed down into the needle plate hole as the stitch is being made.
For example, if we are using a ballpoint needle (with a rounded needlepoint) to sew on a tightly woven cotton, it may not pierce the fabric crisply. Instead of piercing crisply, the needle may push the fabric down into the needle plate hole before poking through the fabric, and this can cause puckering.

A dull needle can cause puckering for the same reason. A dull needle won’t pierce the fabric crisply and instead will push the fabric down into the needle plate hole before poking through the fabric.

I have already written a handful of articles on needles and the importance matching the needle to the fabric, so I will link those articles below for anybody who is interested in learning more:


Thank you for reading!
If you find my work valuable, please upgrade to become a paid subscriber. All revenue supports my family and goes a long way in helping me to continue to write.
You will unlock the full archive of over 140 similar sewing machine educational essays and articles.
All support is hugely appreciated.
—Cale
Thank you for this illuminating post. Does the presser foot fit into this equation in some way? I have a straight stitch presser foot with a small round hole for the needle (old Bernina 1230) but no straight stitch needle plate.
Is this the only reason for puckering? Tension is also obviously a factor. But I have this old Singer D300 and it's always puckered worse than the beautiful newish DDL-8700-7 machine at my job. So I know it's possible to get a good stitch with the thread and needle that I'm using!
I've tried everything I know. I have the smallest needle plate hole I could find. I've tried all kinds of needles, and all kinds of thread. It puckers even on stiffer fabric like light canvas when I backstitch. I've adjusted the top tension asm and the bobbin tension. I sent it for maintenance and replaced the tension assembly.
When I worked professionally as a mechanic I asked several seasoned mechanics how to fix this issue and never got a satisfying answer. They always regarded the problem machines as "good enough."
My main theory now is if this problem can have anything to do with feed timing?