


How to Balance Thread Tension on a Sewing Machine
A basic guide of how to balance the stitch tension on your sewing machine

Greetings everybody,
In today’s edition of The Sewing Machine Newsletter, we’re talking about thread tension— what it means for tension to be balanced or unbalanced, and how you can fix poor tension at home.
I hope you find it helpful.
–Cale
What do we mean when we say the tension is unbalanced?
A sewing machine uses two threads to form each stitch:
The needle thread (upper thread)
The bobbin thread (lower thread)
Each time the machine makes a stitch, it ties a tiny knot between these two threads. That knot is what holds your fabric layers together.
When tension is balanced, that knot sits neatly between the layers of fabric, hidden and secure.
When tension is unbalanced, the knot gets pulled too far toward one side. You might see loops on the top or bottom of the fabric, notice the stitch feels loose or bumpy, or find that the thread can be pulled out too easily.
How to Balance Tension
The thread that goes through your needle (called the upper thread) starts at the spool and passes between the machine's upper tension discs.


The bobbin thread, on the other hand, passes between the tension discs in the bobbin case.


While it's technically possible to adjust both the upper and bobbin thread tension, I strongly recommend only adjusting the upper tension when trying to balance your stitches. The bobbin tension is controlled by a tiny screw that’s very sensitive and difficult to fine-tune. In contrast, the upper thread tension is easy to access and adjust using a numbered dial— usually marked from 1 (very loose) to 10 (very tight).


Think of thread tension as a tug-of-war between the needle thread and the bobbin thread. Our goal is for that tug-of-war to end in a draw—so the knot lands neatly between the layers of fabric.
If the knot is poking out on the top side of the fabric, that means the upper tension is too tight and is pulling the knot up. In this case, lower the upper tension slightly (for example, turn the tension dial from 4 to 3) to allow the bobbin thread to pull the knot downward.
If the knot is showing on the underside of the fabric, that means the bobbin tension is winning. To fix this, increase the upper tension (for example, turn the dial from 4 to 5) so it pulls the knot back up into the fabric.
Patience is key. Balancing tension takes trial and error. Sew a seam, check where the knot sits, and adjust the tension accordingly. Don’t be afraid to use the full range of your upper tension dial.

“Automatic Tension”
Many modern machines tout "automatic tension" as a feature.
If a machine has automatic tension, it means the upper tension discs adjust themselves based on the stitch pattern you've selected. For example, your machine might automatically set the upper tension to 4 for a straight stitch and 3 for a zig-zag stitch.
These adjustments are based on research by the manufacturer’s development team. Essentially, they’ve programmed the machine to apply what they believe to be the ideal tension for each stitch type—straight, zig-zag, decorative, and so on.


While I appreciate this feature, I find the term "automatic tension" a bit misleading. It doesn’t mean the machine actively monitors or responds to how the stitch looks. It can’t sense thread thickness, fabric weight, or real-time stitch quality. It simply applies preset values.
So if you have a machine with automatic tension but you're getting unbalanced stitches, I recommend setting the upper tension to 4 and sewing a straight stitch. Then, use the tug-of-war adjustment method I described earlier to manually dial in the proper balance.
One Last Note. . . .
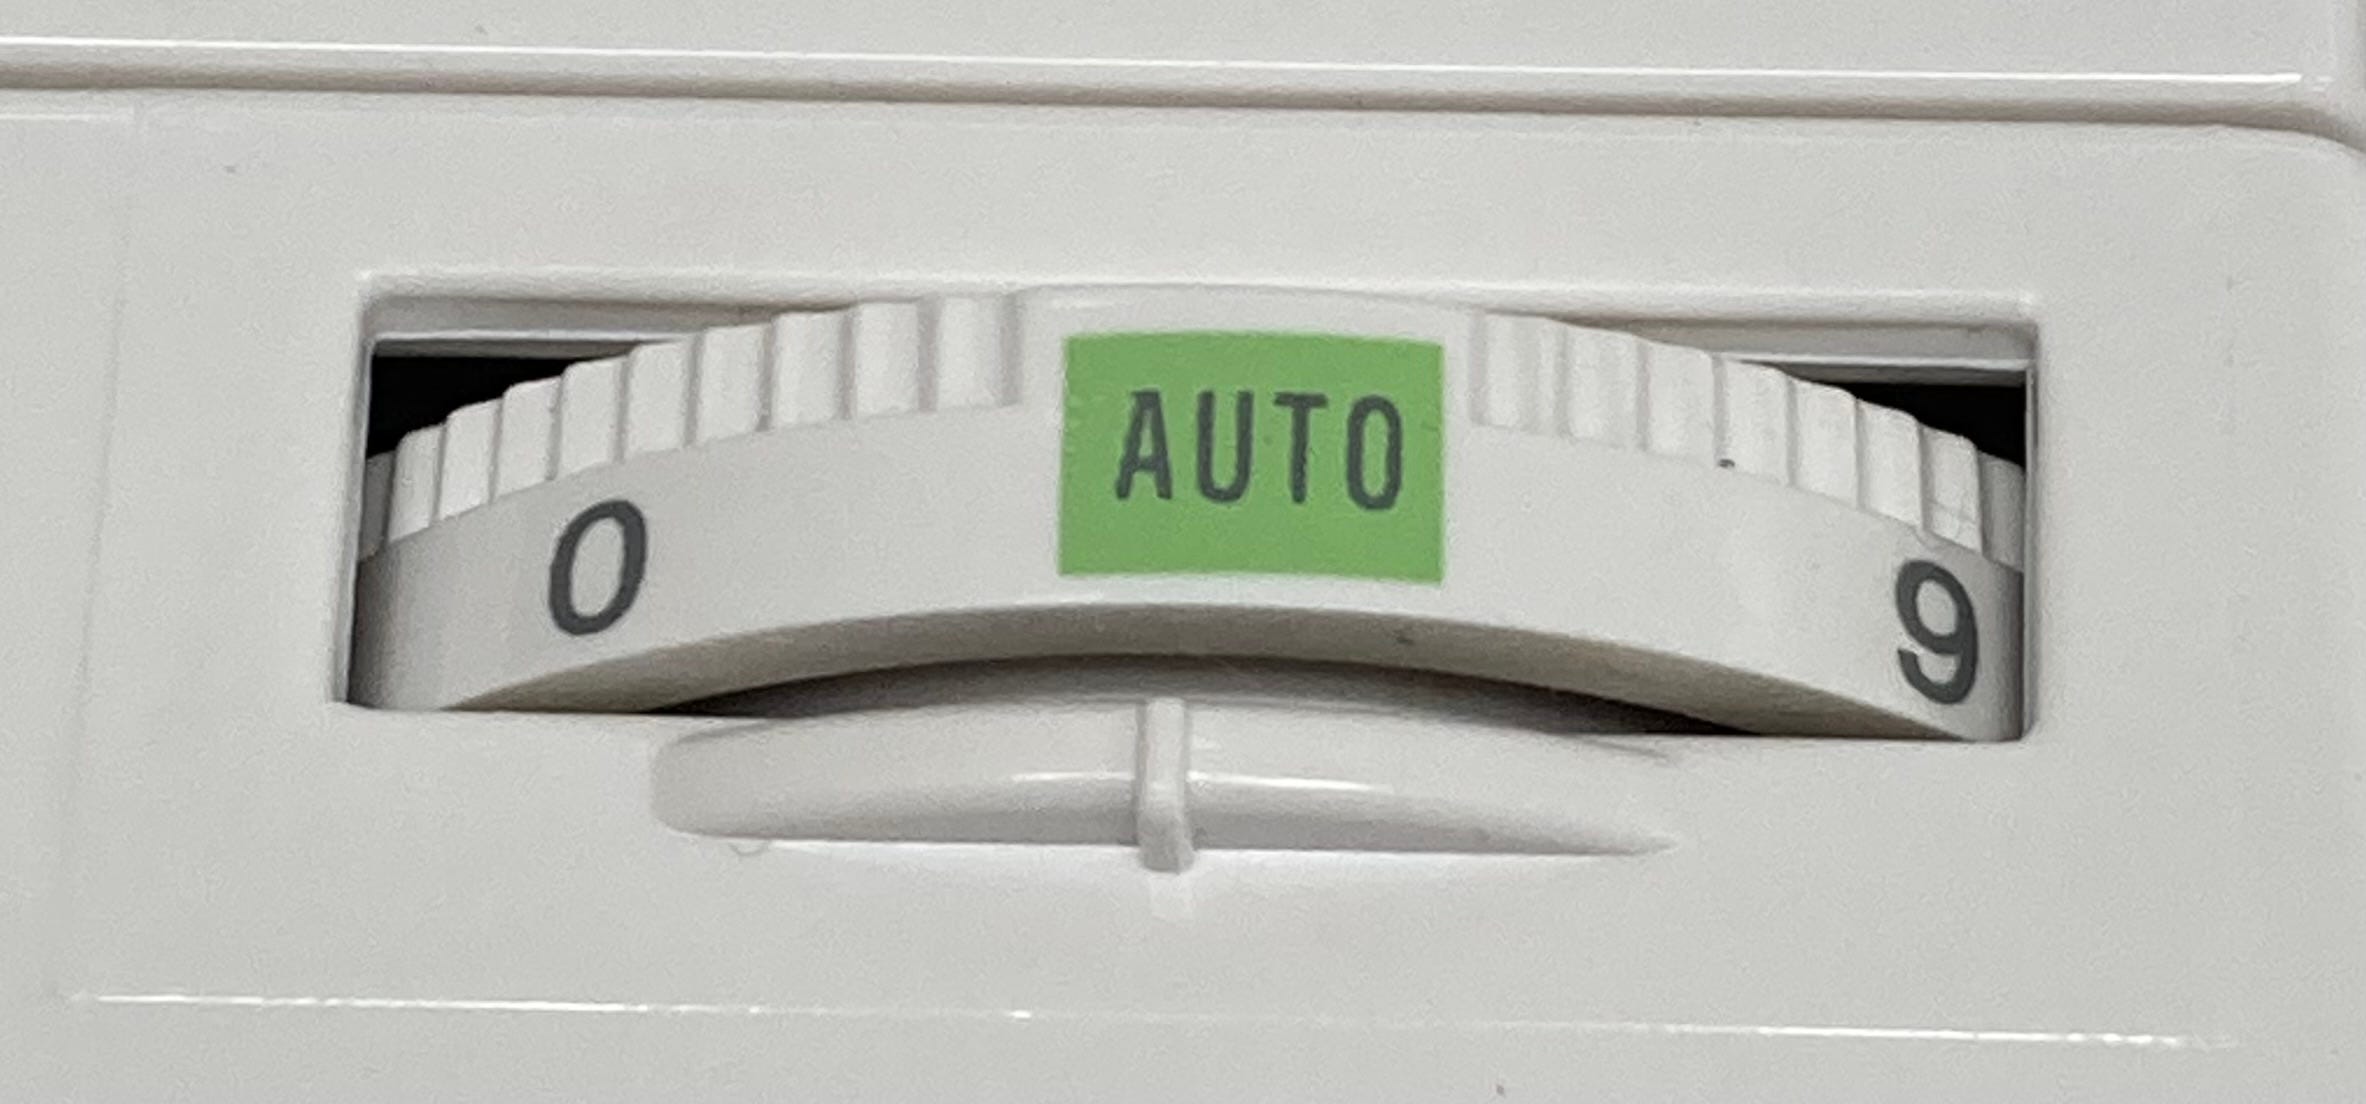
The upper tension dial on your machine ranges from 0 to 10. In most cases, you can achieve balanced tension with the dial set somewhere between 3 and 6. However, on rare occasions, you may need to turn the dial all the way up or down to get a clean stitch.
In my experience, you shouldn’t be afraid to explore the full range when balancing tension at home. That 0–10 span exists for a reason— to help you sew even when something isn’t quite right.
It’s okay to turn the dial down to 0, 1, or 2—or up to 8, 9, or 10, if that’s what it takes to get a good stitch. Just know that if you're regularly operating at those extremes, it likely means something deeper is wrong with the machine. At that point, it’s worth bringing it in to a technician to diagnose the issue.
Thank you for reading!
If you’d like to dive deeper into stitch quality and troubleshooting from home, here are a couple companion articles worth keeping in your back pocket:


Also, if you like this article, or the newsletter as a whole, please share it with your sewing community. Your support it greatly appreciated.
—Cale
Terror struck my heart when I read the title of today’s newsletter. Tension issues give me tremendous tension 🤪. My heart rate slowed down as I read the article and delighted in your pictorial of how to address tension issues. Thread tension has caused me to violently throw a machine in the trash. It was not my first response, but after multiple attempts to correct the problem and trips to the service technician failed, I knew it had to go! Now many decades later my machines have only had the occasional thread tension issue.
Again, thank you for explaining this problem in a cohesive, easy to understand format.
Your devoted reader,
Karen Fox