Importance of Fabric Stability While Sewing
"Flagging" & how it causes skipped stitches
Greetings everybody,
Apologies for my sabbatical. I was quite busy over Christmas traveling to see family, but I’m more excited than ever for 2025, and looking forward to get back to our regular schedule of publishing 1-2 sewing machine articles per week.
Whether you celebrate Christmas, Hanukkah, or anything else, I hope you all had a great holiday and happy new year.
Thank you for your continued support.
-Cale
Importance of Fabric Stability While Sewing
Fabric stabilization is key to the stitch-making process. By fabric stabilization, I mean that it’s important the fabric does not move while a stitch is being made.
This may appear intuitive as face value. It’s fairly obvious that we don’t want the fabric moving left to right as we’re sewing, because if the fabric moves laterally while the needle is in the fabric, the needle will bend and/or break.
However, less intuitive is the idea that we don’t want the fabric moving up and down as we’re sewing. This type of movement is more subtle, but results in skipped stitched by way of a concept my dad calls flagging.
In today’s edition of The Sewing Machine Newsletter, I will explain how flagging can happen, why it causes stitch quality issues, and what we can do to prevent it.
Flagging as an Impediment to Loop Creation
A sewing machine concept we keep coming back to is the importance of loop creation.
I mentioned loop creation a couple times over the past few months (articles linked above), but let’s quickly review the concept:
The function of a sewing machine is to stitch cloth together by tying a knot with two sources of thread (the upper thread spool and the bobbin thread). Regardless of what machine you have, the knot is formed below the needle plate when the needle goes down below the needle plate hole, where the bobbin thread is laced through the upper thread loop.
As you sew, the needle goes down and the needle goes up, over and over again. As the needle goes down, the upper thread that you’ve threaded through the needle eye is taut. When the needle goes down below the needle plate and reaches its bottom-most position— what sewing machine technicians call bottom dead center— the thread is still taut. But, as the needle begins its path upwards, a thread loop forms just above the eye of the needle.
Just as this thread loop is formed, the hook point of the machine’s hook mechanism comes along and passes through thread loop. The hook point “catches” the thread loop and takes it along a 360 degree path around the bobbin case. While riding along this path, the upper thread forms a loose knot with the bobbin thread. Then, as the needle reaches its high point, the action of the take-up lever cinches the knot [formed below the needle plate] up into the fabric we are sewing. That, in short, is how a successful stitch is made.
A necessary condition for loop creation is a change in the relationship between the eye of the needle and the fabric– specifically, a shortening of distance between the eye of the needle and the fabric.
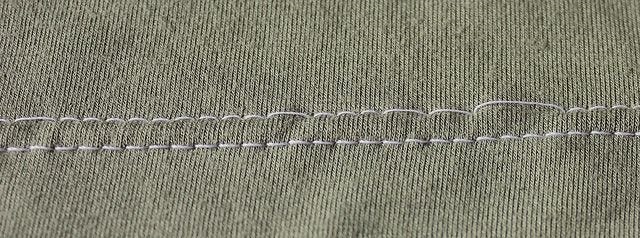
However, if the fabric rises upwards with the needle, then there is no change of relationship (in terms of distance) between the fabric and the needle. If that distance does not shorten/decrease, then the loop will not form. And, if the thread loop doesn’t form, or if it is distorted in such a way so that the hook does not pass through it, then the stitch will not form and you will get skipped stitches.
My dad refers to this phenomenon as “flagging”, because the fabric is sort of billowing up and down with the movement of the needle like a flag in the wind (the needle is the wind).
What causes flagging?
Below I will detail a 5 common causes that come to mind, as well as solutions to each specific situation.
(1) Free Motion Quilting
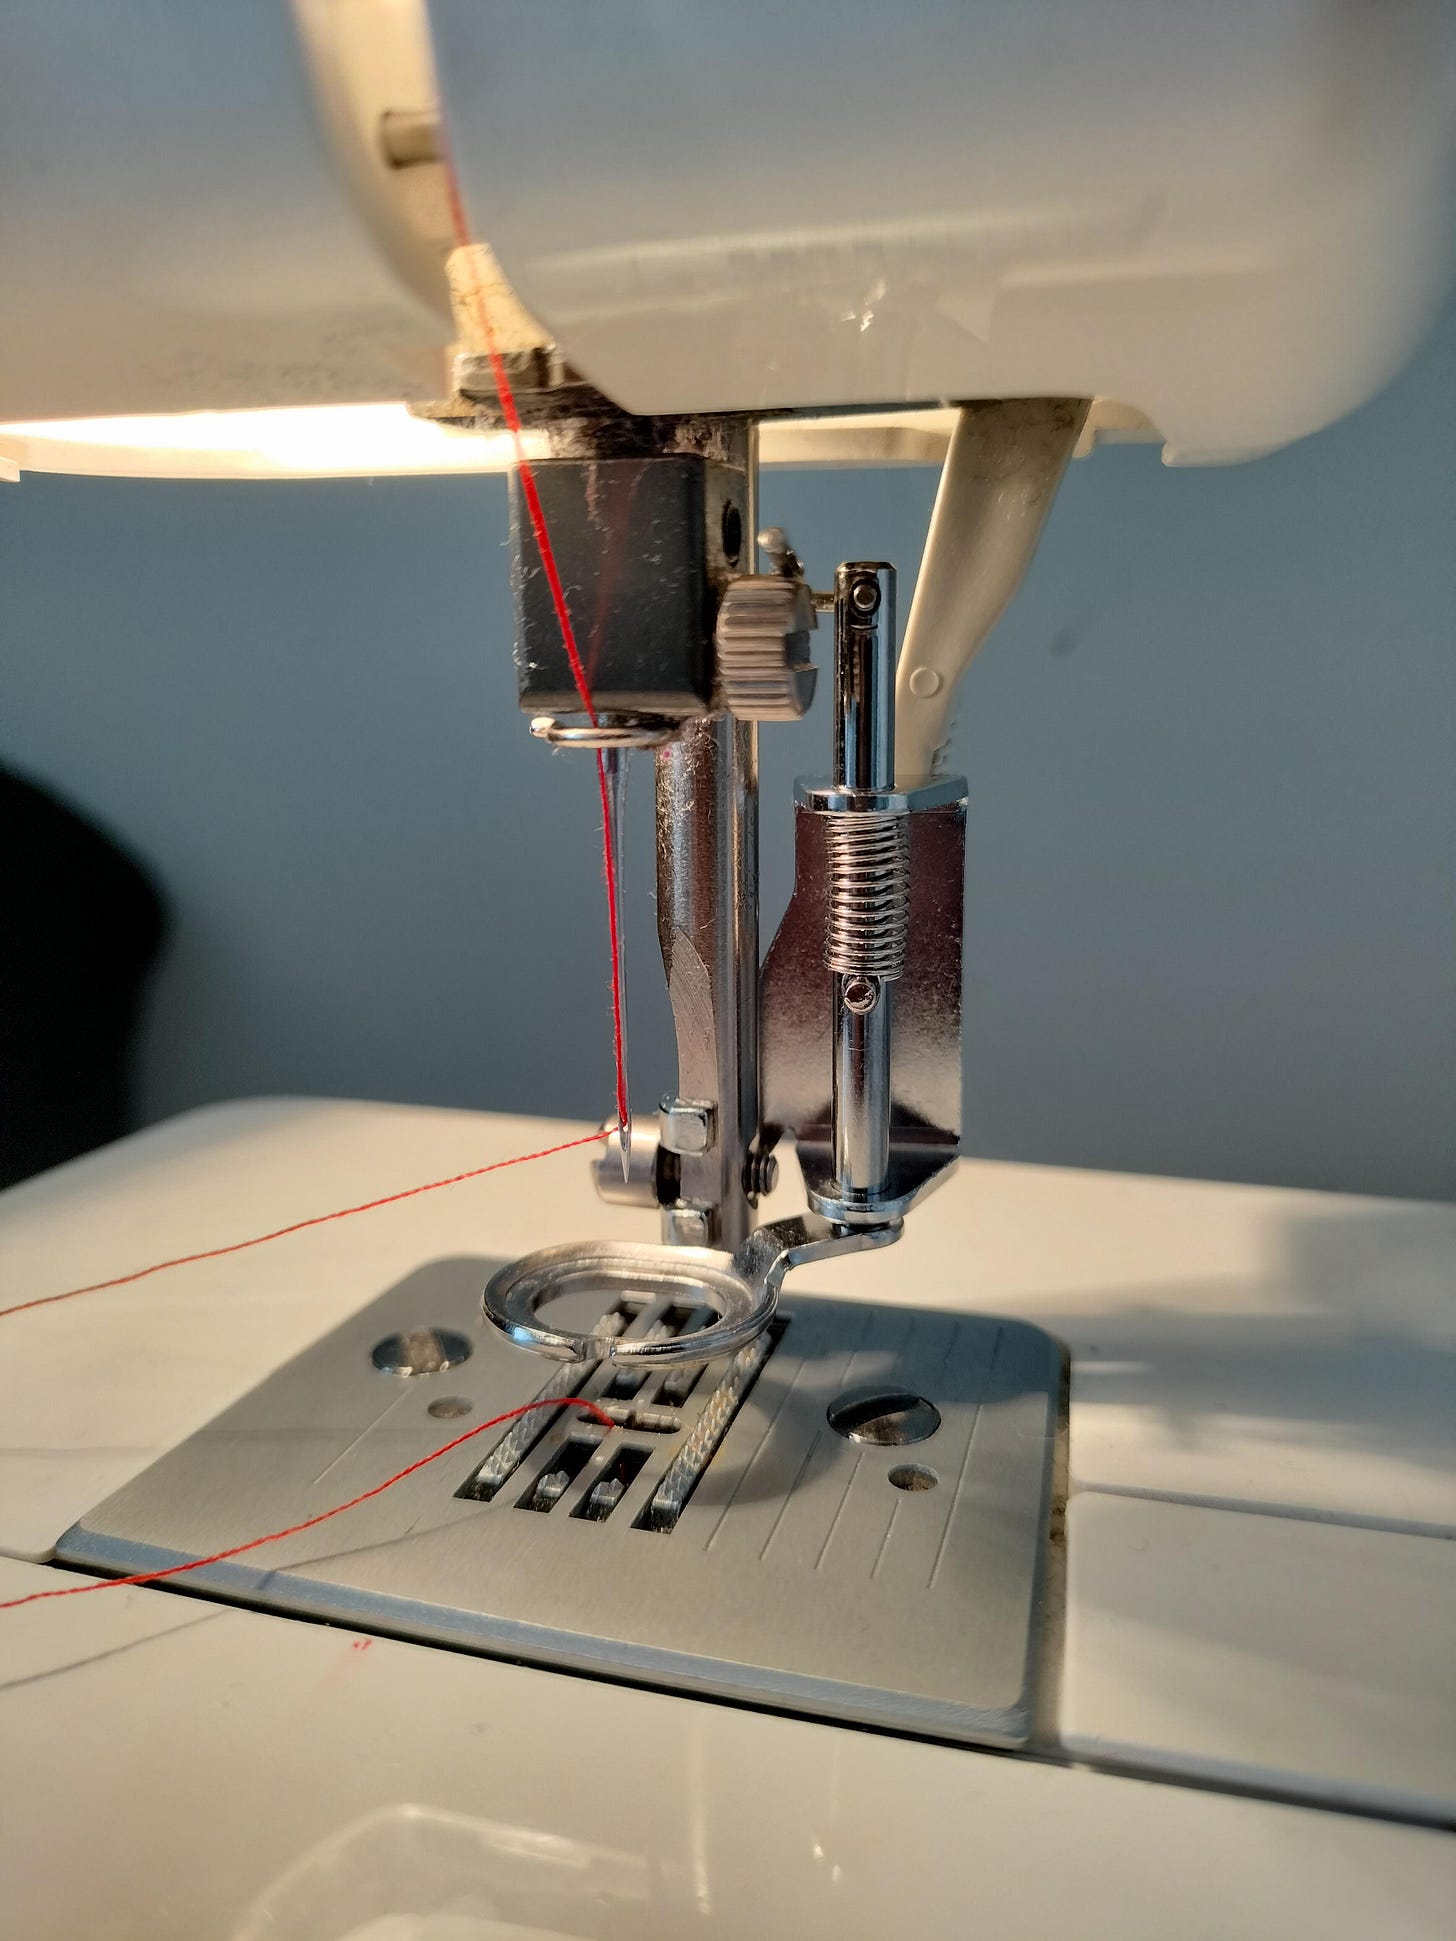
As the needle rises from its lowest position below the needle plate, the fabric will naturally rise with it. That is one of the main reasons why sewing machines are designed with a presser foot— to hold the fabric down as the needle rises up. Without the presser foot, the fabric would rise with the needle and the loop would never be created, which always results in skipped stitches
Now, nobody tries to sew without a presser foot, so most of the time presser foot is able to do its job. However, free motion sewing requires a unique presser foot that is designed in such a way so that it does not extend down all the way down to the needle plate. It is also less robust in the sense that the surface area of the foot contacts less fabric.
This design is necessary for free motion sewing because the user needs to be allowed freedom of movement. However, freedom of movement means the sewist is responsible for holding the fabric down as she sews, and failure to hold the fabric down with adequate force may result in flagging.
That’s all to say, if you get skipped stitches during free motion sewing, make sure you are exerting some downward force on the fabric. Also, many modern machines allow you to adjust the height of the foot during free motion in order to control drag— this is an awesome feature, but make sure it isn’t hovering too high above the fabric to where it provides zero support.
For more information on free motion quilting:
(2) Misuse of Presser Foot Pressure Adjustment
Most modern sewing machines above the $500 range have a dial that gives the user the ability to adjust their presser foot pressure.

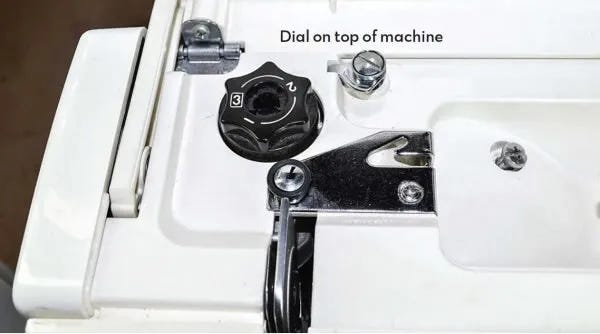
This adjustment controls a spring inside the machine that dictates the force the presser foot exerts down onto the fabric. Essentially, you can control how hard the foot is pressing the fabric down against the needle plate and feed dogs.
From my experience, I have come to believe that the presser foot pressure adjustment is best remained untouched. It’s not really unnecessary, except in certain cases when you are sewing something super super thick and must lighten the adjustment, or ultra ultra thin and must increase the adjustment. To illustrate the superfluousness of the feature, consider the fact that vintage Pfaff and Bernina machines didn’t give you the option to adjust presser foot pressure, and those machine perform beautifully.
Anyways, if you have your presser foot pressure adjustment set too light, then there is a chance the fabric won’t be held down against the needle plate with adequate force and vertical movement is possible. This is another potential instance where flagging may occur.
Typically, you want your presser foot pressure adjustment set somewhere in the middle (e.g. if it ranges from 0-10, then keep it between 4-6; if it ranges 1-6, then keep it at 3).
(3) Dull Needle or Wrong Needle
Using a dull needle or the wrong needle type can cause flagging if it doesn’t pierce the fabric easily and pushes the fabric down into the needle plate hole before piercing through.
You could say that this is a unique case where what goes down may come back up. If fabric gets pushed down into the needle plate hole when the needle enters the fabric, then there is a chance the fabric will move vertically upward, back above the needle plate surface during the stitch making process. Such a situation puts us in “flagging” territory.
Using a dull needle can potentially have this effect and cause flagging. So, if your needle is dull, insert a fresh needle.
Using the wrong needle type may cause flagging, especially on stretchy fabrics that slingshot back up above the needle plate surface after being pushed downward. If you are getting skipped stitches on stretchy fabrics, I recommend using a Schmetz Stretch Needle.
Additionally, a straight stitch needle plate has a smaller hole than a zig-zag needle plate, which will reduce the chance of flagging because there is less space for the fabric to get sucked down into. In other words, a straight-stitch needle plate provides more fabric stabilization.
For more information on needles:
(4) Decorative Stitch Patterns
When we sew a decorative stitch pattern, the number of stitches per centimeter is much higher than the stitches per centimeter when sewing a straight stitch. Whereas a straight stitch requires 1 stitch every 2 millimeters (given that our stitch length is 2 mm), some decorative stitches require 5-10 stitches every 2 millimeters.
That is a lot of holes being poked into a small area of fabric, weakening the fabric’s stiffness and weakening the overall support. This increases the chances the fabric will get pushed down into the needle plate hole and potentially start flagging.
The answer to this problem is fabric stabilizer. As the name implies, fabric stabilizer is designed to stabilize the fabric, which reduces the chance that the fabric weakens and flags.
(5) Embroidery
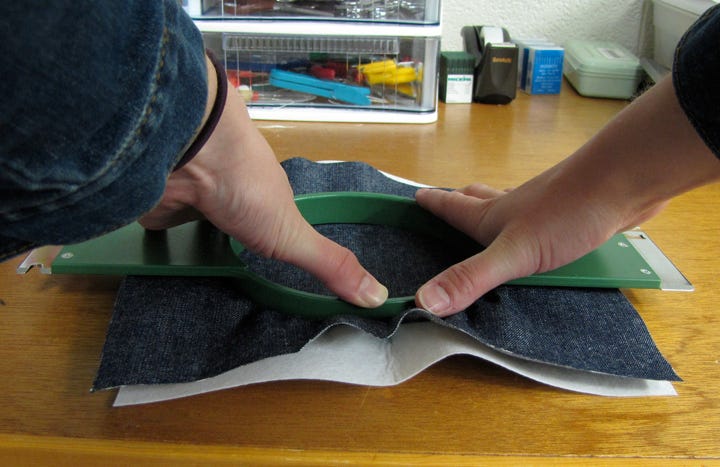
Machine embroidery is particularly susceptible to flagging because the fabric is hooped and does not have the needle plate directly underneath to stabilize it. Therefore, when you place the fabric in the embroidery hoop, the fabric must be hooped tightly (taut) so that no vertical movement is possible. We don’t want the fabric flapping up and down every time the needle goes to make a stitch.
In addition, we are again dealing with extremely dense stitch patterns, so fabric stabilizer is absolutely necessary.
Thank you for reading.
As always, feel free to like, comment, or share the article with a friend!
Also, don’t forget to explore our archive of past articles.
I appreciate you support,
-Cale






I disagree you shouldn't adjust the presser foot pressure. I'm a garment sewest, and I adjust it all the time. I sew a lot of stretch woven and knit fabrics. If there's too much pressure, the top layer of fabric will stretch more than the bottom layer, especially with stretch fabrics, and by the end of the seam the top layer of fabric will be too long. If there's not enough pressure, I get flagging. I'm always looking for the balance.
My two primary sewing machines are a vintage Pfaff 6091 and a modern Bernina 570. The Pfaff has IDT and no presser foot pressure adjustment. The Bernina has both dual feed and pressure adjustment. The Pfaff never has issues with the top layer of fabric stretching out, but it is more prone to flagging. On the other hand, the Bernina never flags but always stretches the top layer of fabric out (even with dual feed) unless I reduce the presser foot pressure from the default, which I always do. I think the Pfaff has fixed light presser foot pressure, which works well with the IDT unless you have a fabric prone to flagging. The Bernina seems to calibrated so the default pressure works *without* dual feed. Any time I sew something shifty, like a lightweight silk, I sew it on the Pfaff because I know it won't stretch out the top layer of fabric. Any time I sew a fabric prone to flagging and skipped stitches, like a dense, stretchy ponte, I sew it with the Bernina. I guess if you always sew non-stretch fabric you wouldn't need to change it, but that's not me.
The Bernina default presser foot pressure is set to 70 out of 100 (except I think it goes negative instead of starting at zero?) which is way too much for anything I sew, and it resets to the default every time I turn the machine off. If you could ask the Bernina folks to add a permanent presser foot pressure setting to their next firmware update for me, that would be amazing!
It’s wonderful to read your newsletter again. Hope you had a wonderful holiday season with family.