Click HERE to read “Needle Threaders, Part 1” if you haven’t already.
In Part 1 of our needle threader examination we talked about how needle threaders work, as well as some tips and tricks to help you use your needle threader more successfully. Today we are going to talk about a super common problem we didn’t cover in Part 1: the tiny wire hook at the epicenter of our needle threader and how it is prone to bending out of shape.
Everyday I see machines where the needle threader’s tiny wire hook is broken off or bent so severely that it cannot be straightened out. In these cases, the needle threader has to be replaced. An average cost for a threader is about $12, but they can be as high as $40 depending on the machine.
To Review:
At the center of the needle threader mechanism, there is an extremely tiny hook-shaped wire that is critical to the success of your needle threader.
When you engage your needle threader, that tiny wire hook passes through the eye of the needle, from the back to the front.
The wire hook passes through the eye of the needle and sits there, waiting for you to give it some thread that it can pull through the needle eye.
Our job is to deliver the thread to that tiny wire hook. If we do our job properly, then that tiny wire hook will pull the thread through the eye of the needle when the needle threader is released.
The automatic needle threader is an incredible feature on your sewing machine. However, that tiny wire hook is very delicate and can become bent out of shape. When bent, it renders the needle threader useless. You can follow all the steps to perfection, but your needle threader will not work if that tiny wire hook is bent out of shape.
What causes the wire hook to bend?
When that tiny wire hook gets bent, 99% of the time it is because the wire hook has crashed into the needle instead of passing through the needle eye.
Below I have given you a list of the top 5 things you can do to prevent this crash.
(1) Using a needle with too small an eye
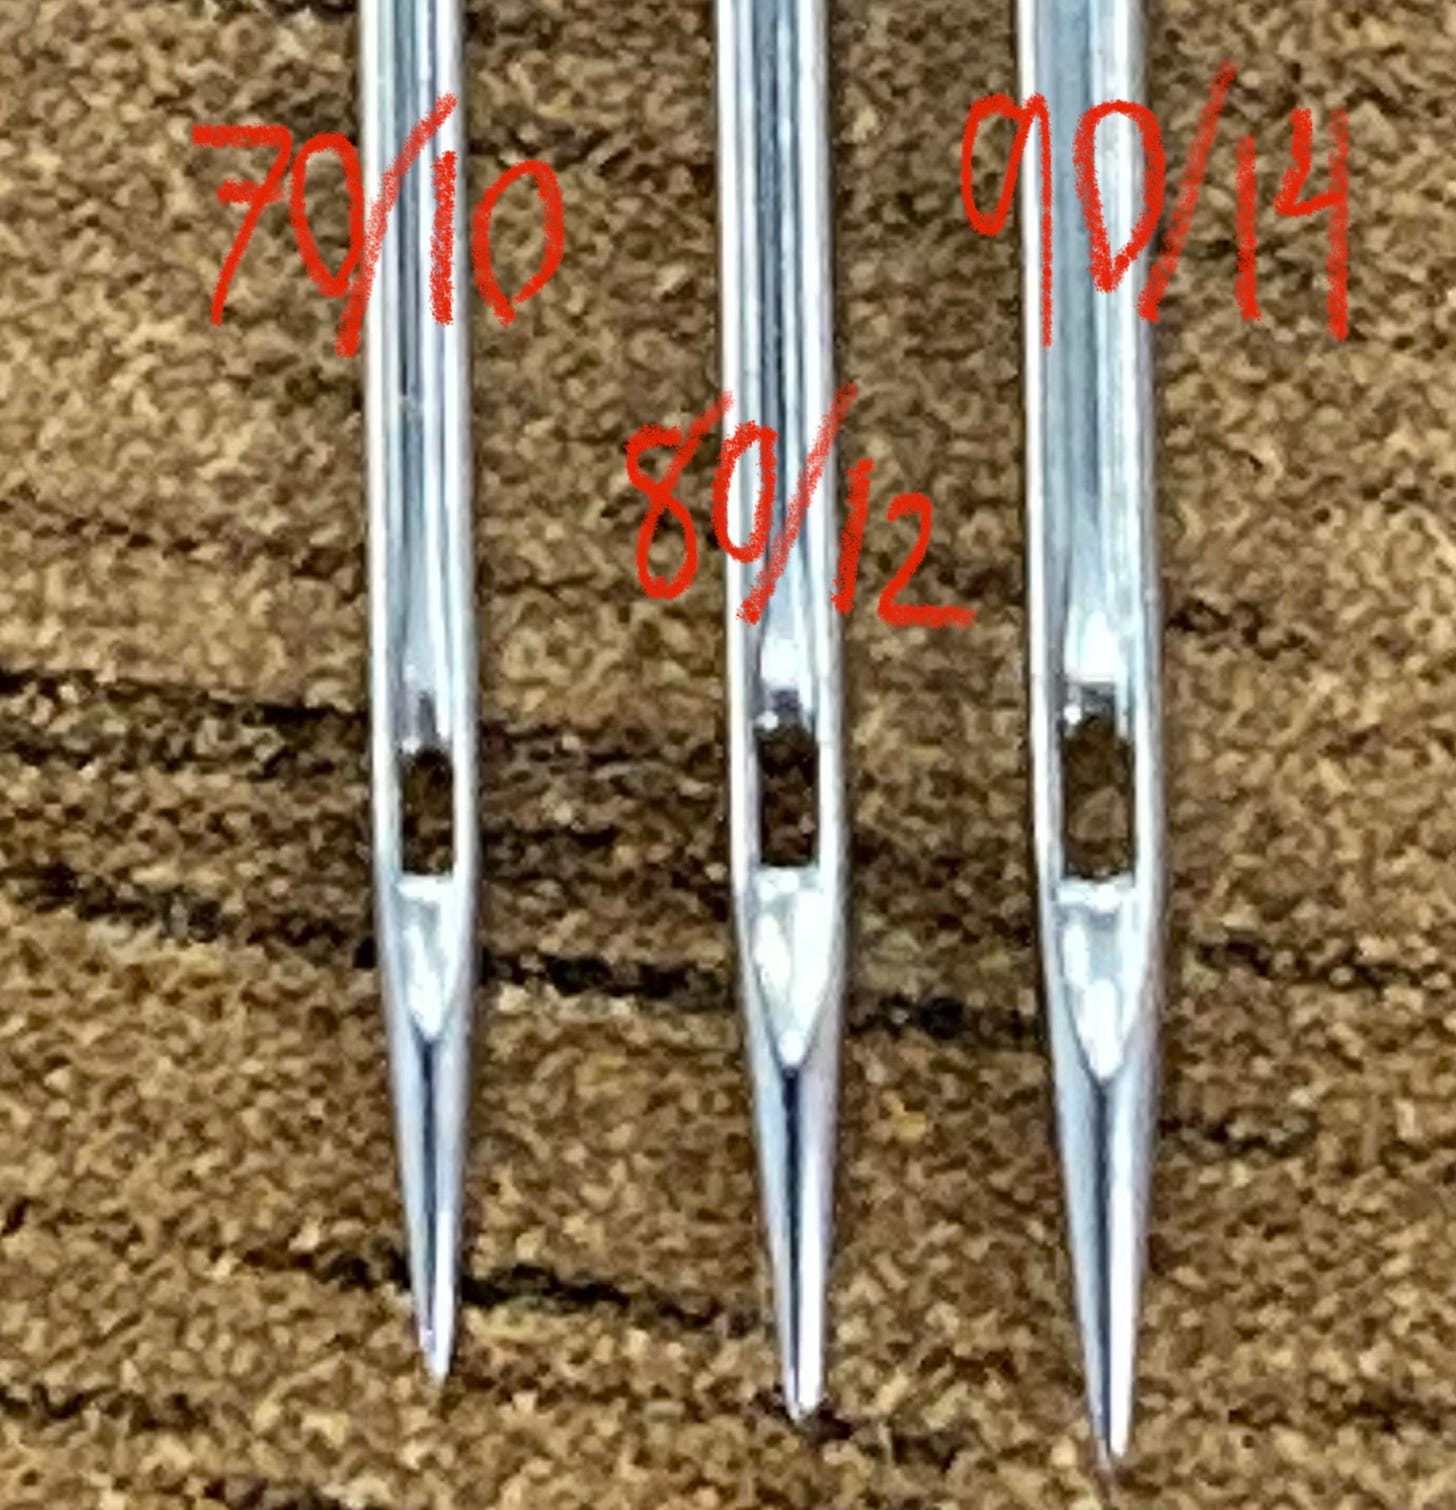
Needle eyes get larger with needle size. For example, a 90/14 size needle has a larger eye than a 80/12 needle, and a 80/12 needle has a larger eye than a 70/10 needle.
On any needle below size 80/12, the eye of the needle is too small for the needle threader’s tiny wire hook to pass through successfully. From my experience as a technician, as well as my father and uncle’s wealth of experience (over 70 years combined between the two of them), we can tell you that the tiny wire hook is guaranteed to get bent out of shape if you attempt to use your needle threader on any needle below size 80/12.
Now, I am not saying you can’t use needles below size 80/12 to sew. You certainly can. 75/11, 70/10, 60/8, etc.— they are made for a reason. But, if you do, I highly recommend that you thread those needles by hand instead of using your needle threader.
(2) Utilize your needle up/down button
Needle threaders are designed to work with both the needle and take-up lever in their highest position. If you pull down your needle threader lever when the needle is not in the highest position, the threader’s tiny wire hook will not be properly aligned with the needle eye. The wire hook will crash into the needle and get bent.
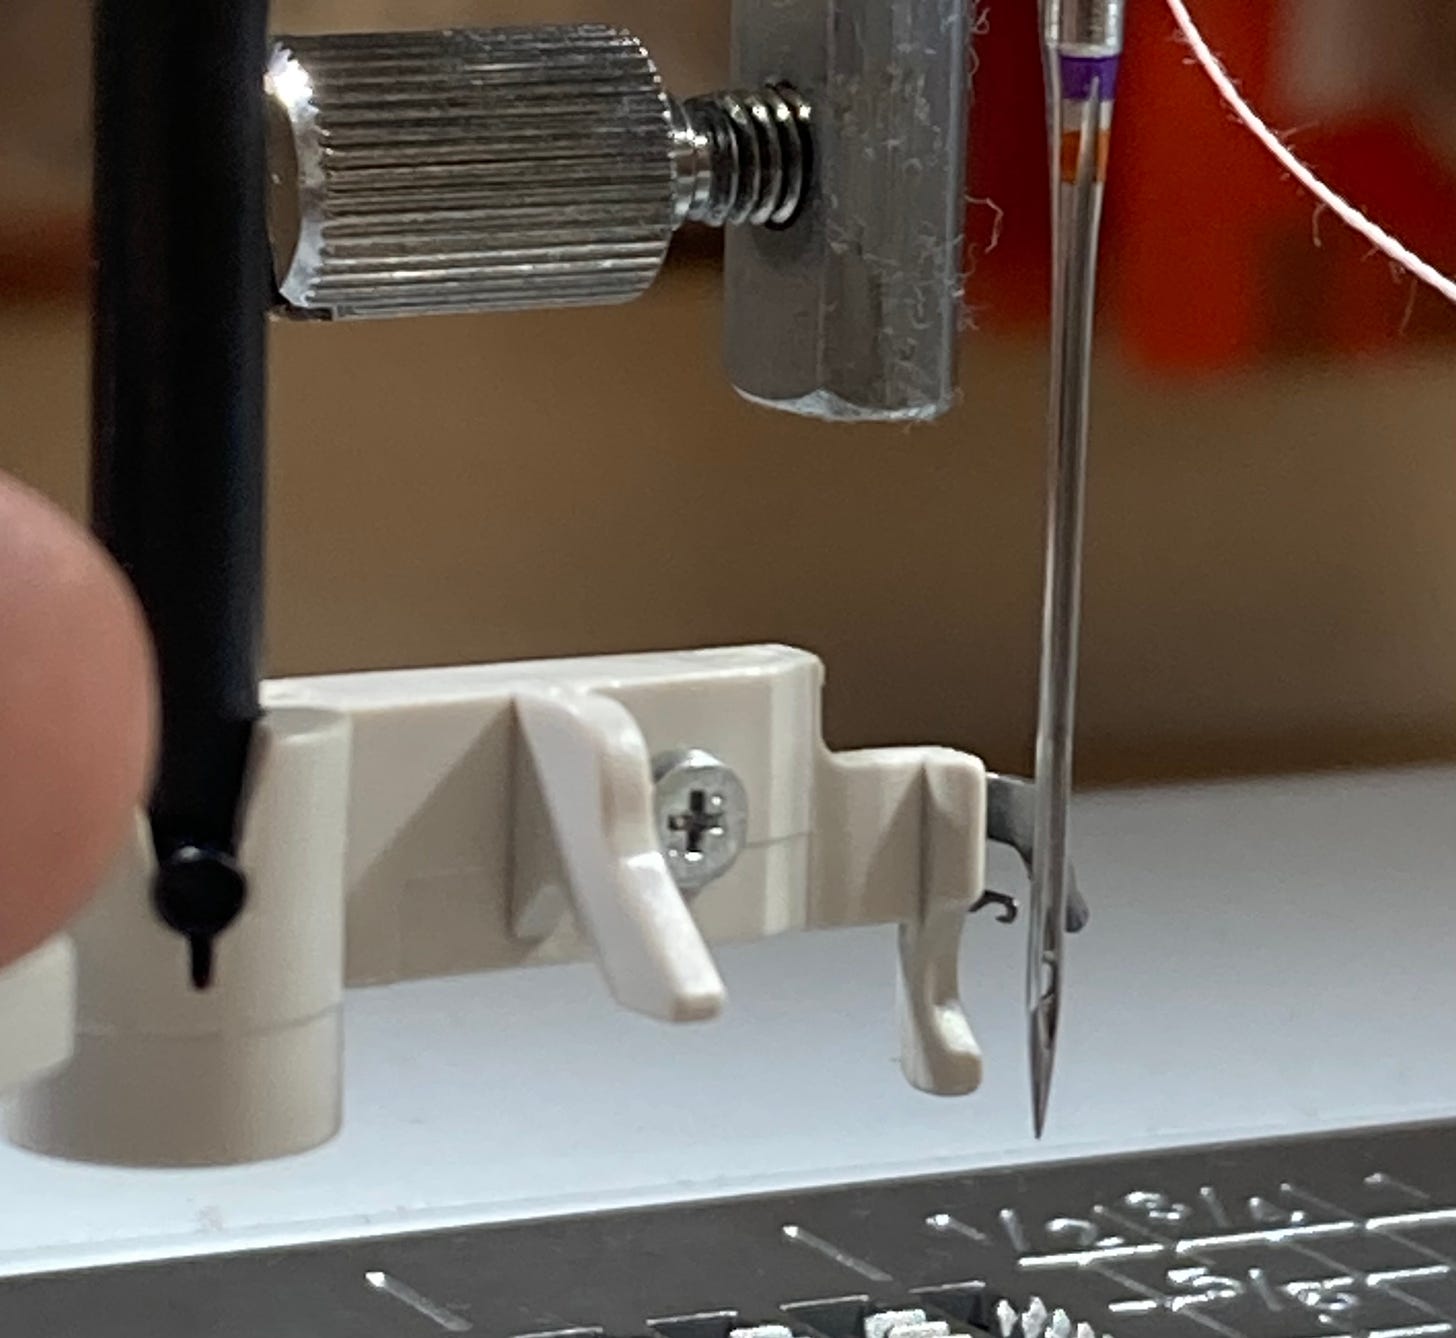
Part of the challenge here is that it is difficult for us to visually gauge whether or not the needle is truly in the highest position. You can see this in the photograph below— the needle looks like it’s in its highest position, but it’s not quite all the way up. Therefore, the tiny wire hook is doomed to crash into the needle right above the eye.
The good news is that the companies who make sewing machines are aware of this problem. Therefore, they have started putting a needle up/down button on most of the modern machines.
I strongly recommend you get in the habit of pressing the needle up/down button before you thread the top half of the machine. It will position the needle in the highest position (the ideal position for threading) and help you prevent the tiny wire hook from crashing.
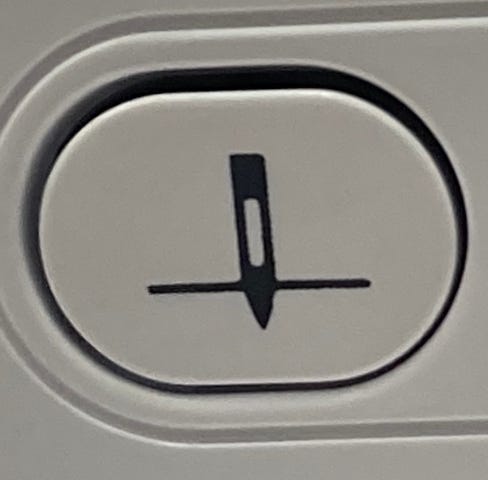
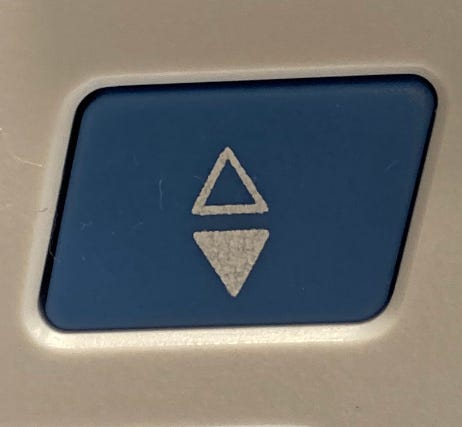
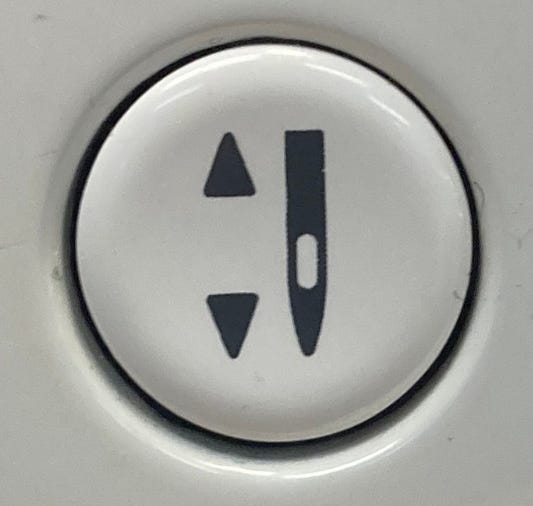
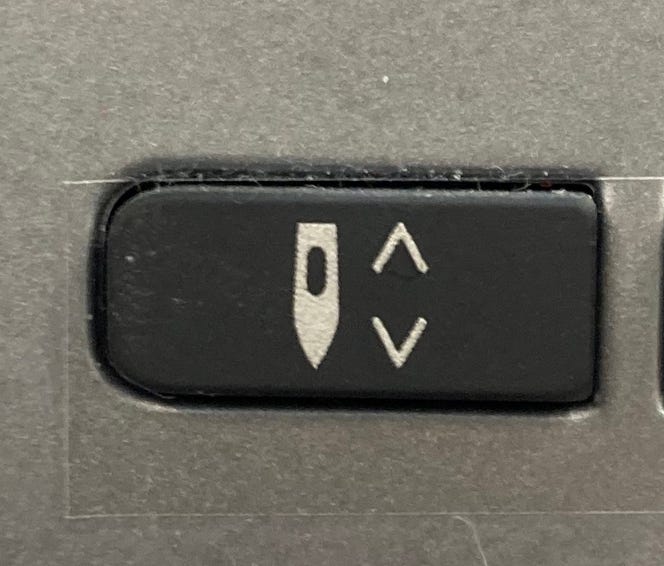
For those of you who do not have a needle up/down button, the same principle applies: your needle threader is designed to be used when both the needle and take-up lever are in their highest position. Therefore, turn the hand wheel until both the needle and take-up lever are in the highest position, then engage your needle threader.
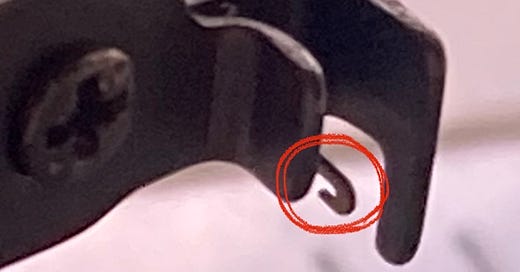
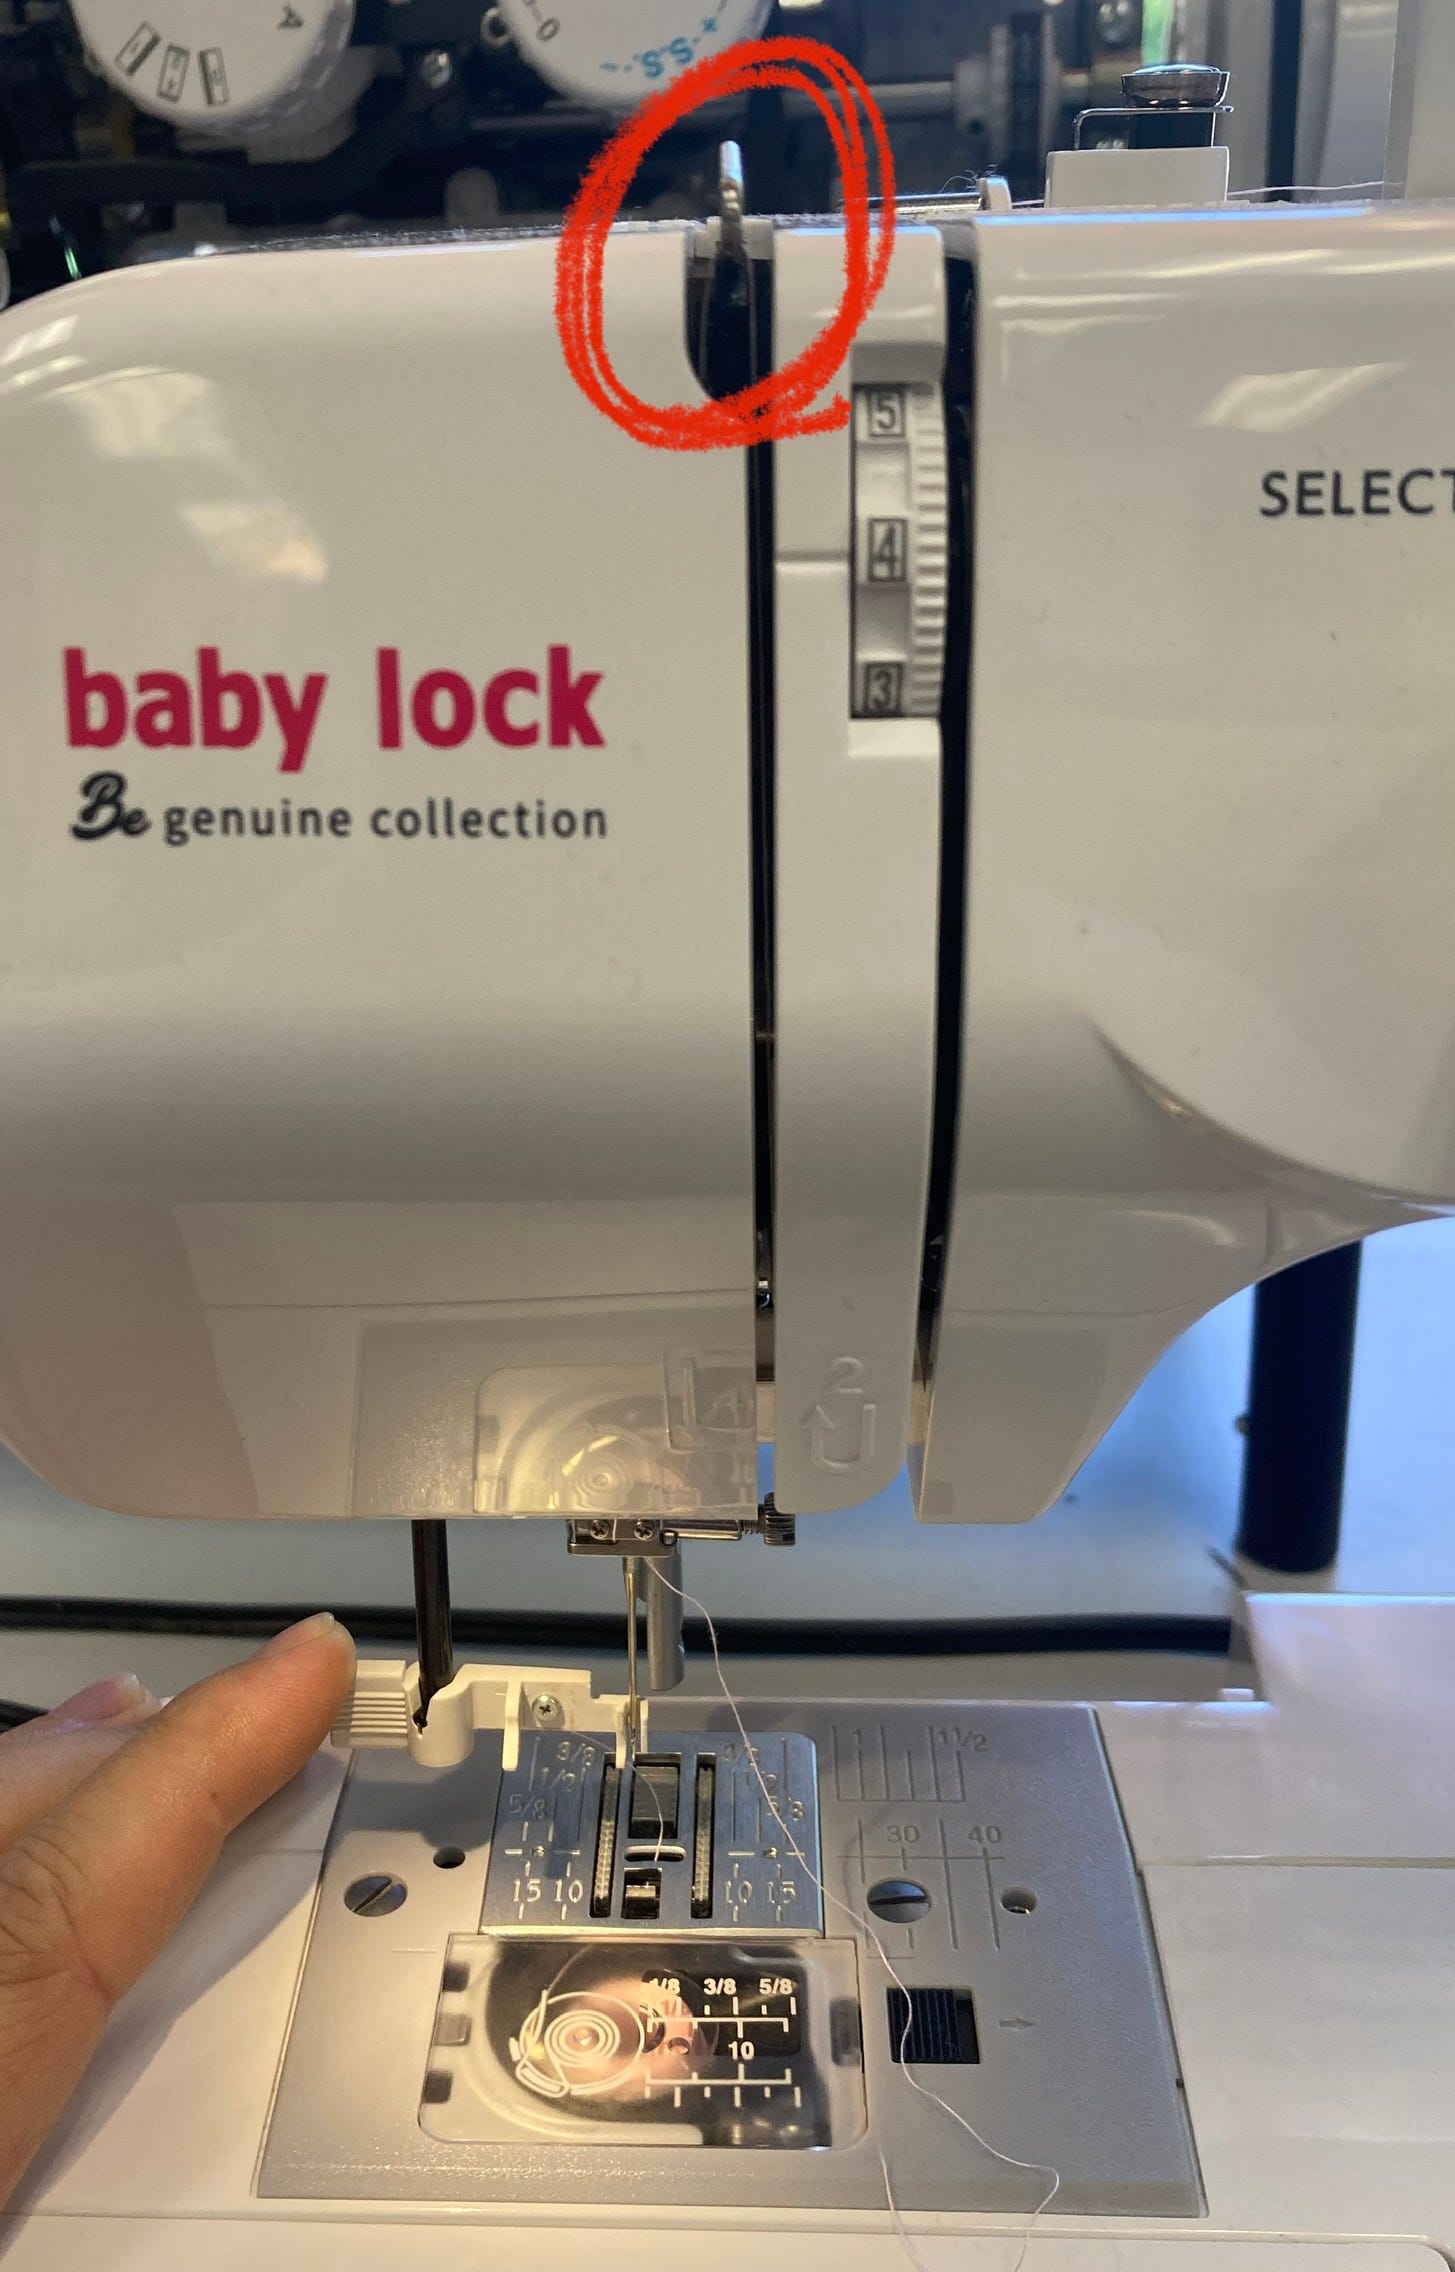
What is the take-up lever? It is the mechanism shaped sort of like a shepherd’s crook on the top-left side of your machine. In the photograph below I have circled the take-up lever in red.
(3) Bent needles
Imagine your needle threader’s tiny wire hook passing cleanly through the needle eye.
Now imagine your needle is slightly bent to the left or the right.
Instead of passing through the eye cleanly, the tiny wire hook may now rub against the inside wall of the needle eye and bend slightly, or perhaps it crashes into the needle head-on and bends badly. OR maybe the needle is bent to the point where the wire hook misses the eye completely. Any way you cut it, changing your needle relatively often will help save your needle threader (it will help save you from other problems, too, which I discussed in an early article “Bent Needles & Skipped Stitches”).
(4) Needles not fully inserted
If your needle is not fully inserted into the machine, the tiny wire hook will crash into the needle and bend.
How do you know if your needle is fully inserted?
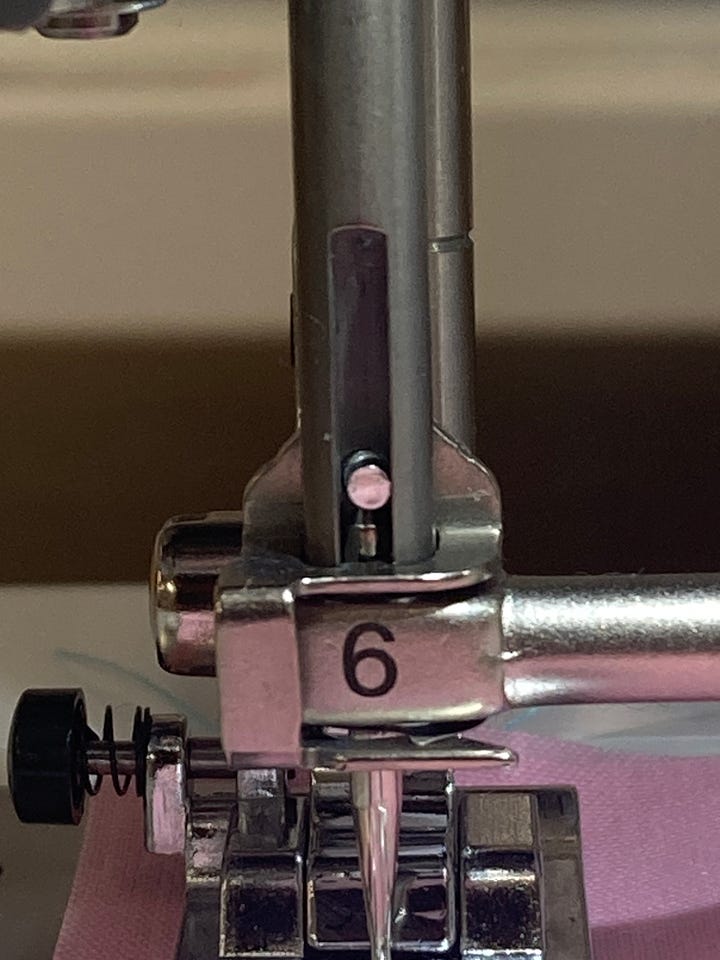
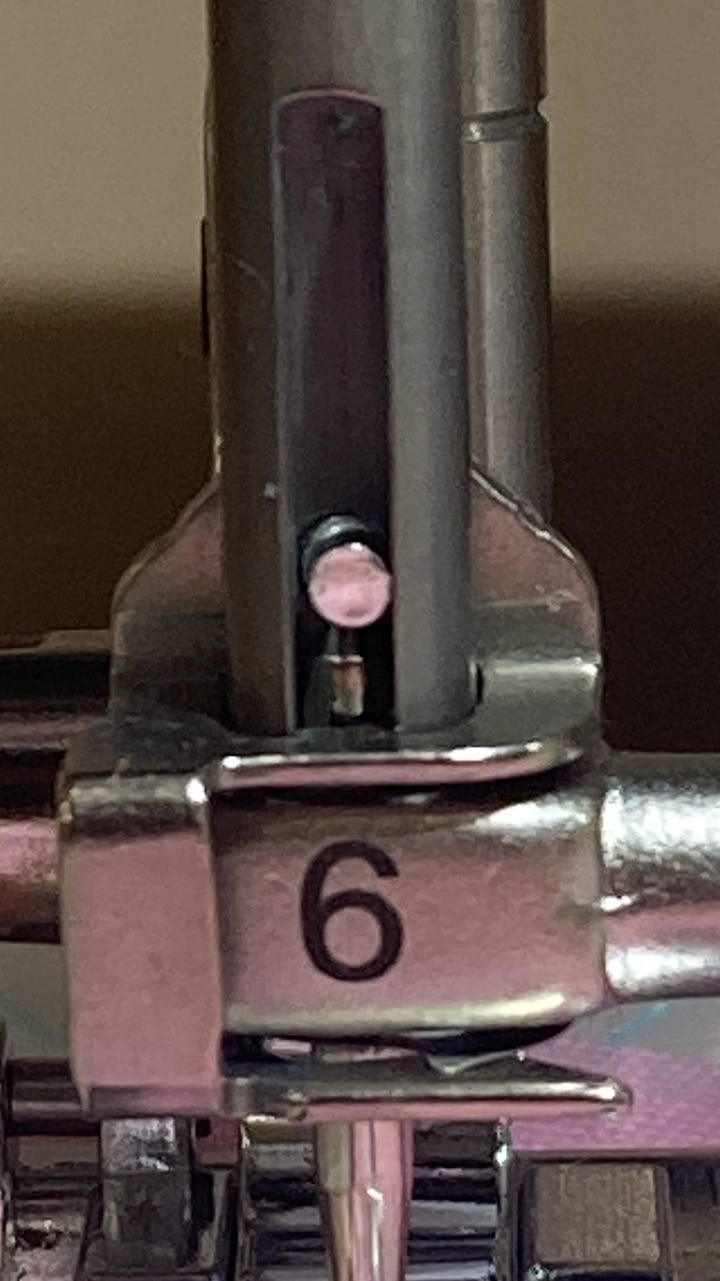
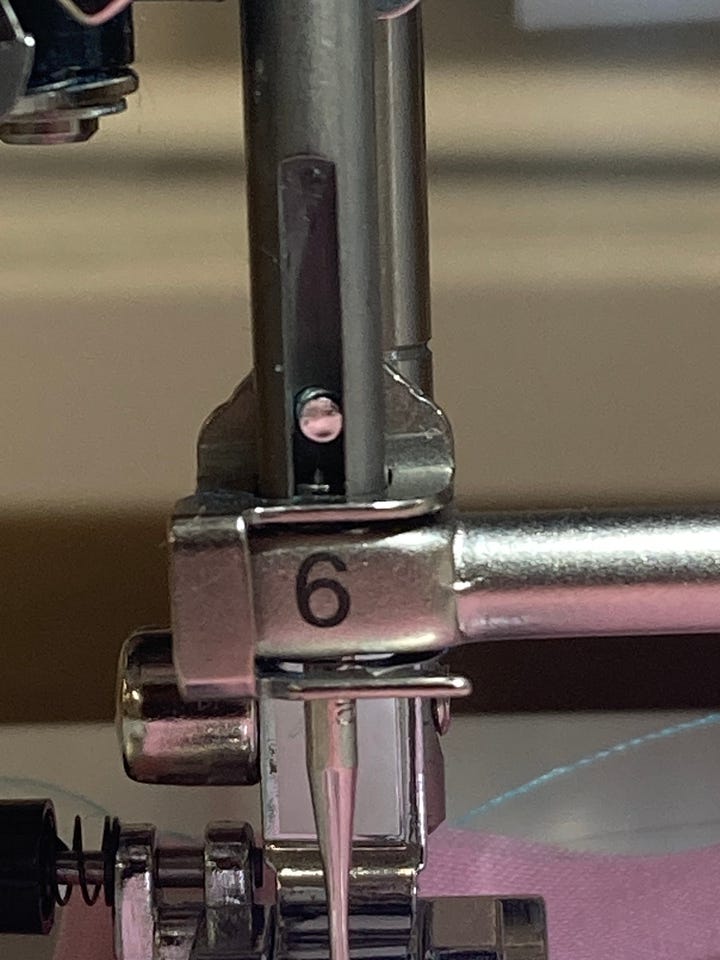
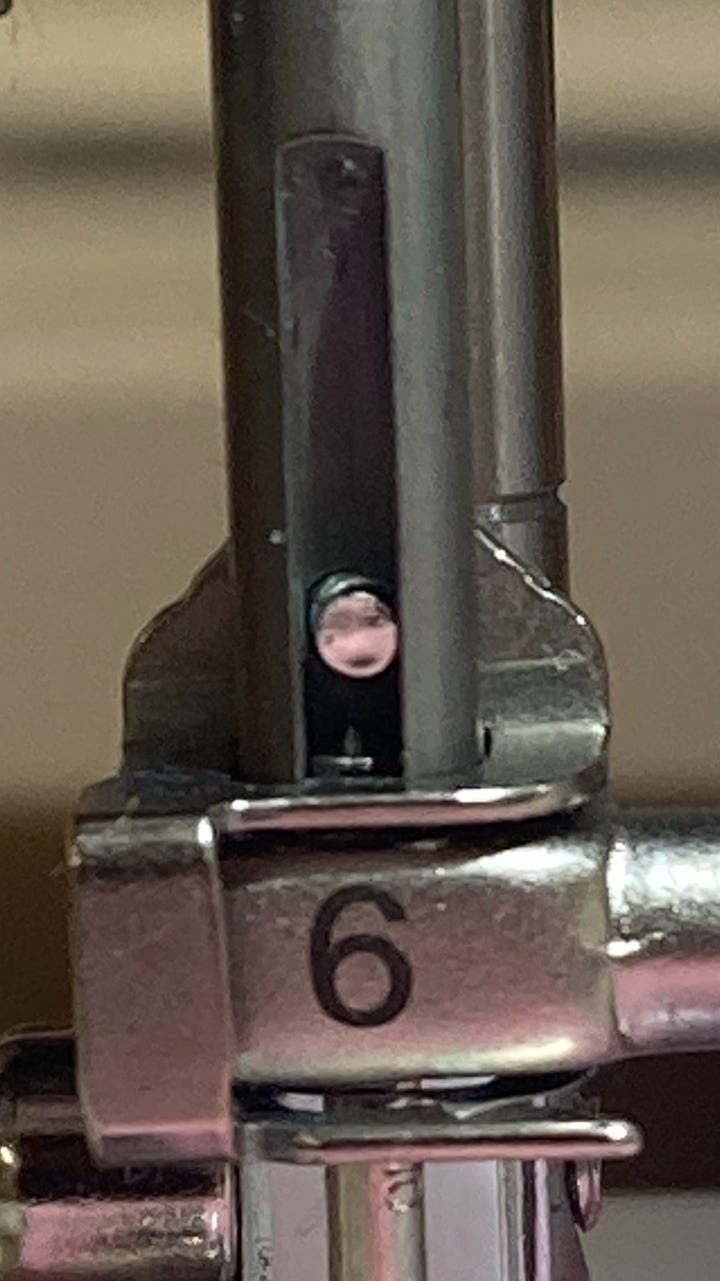
The hole in the needle bar in which you insert your needle— there is a pin that stops the needle from being pushed up any higher. Make sure you insert your needle all the way up until it hits that pin.
Below, the two photos on the top row show the needle inserted all the way up until it has hit the pin. The two photos on the bottom row show a needle that has not been fully inserted— you can see a little bit of daylight between the top of the needle and the pin and that daylight makes all the difference. If we were to attempt to use our needle threader, the tiny wire hook would crash into the needle (above the eye) and bend.
(5) Pull the lever straight down
This only applies to the more basic semi-automatic needle threaders, oppose to the fully automatic needle threaders.
When you pull down the needle threader lever, the telescopic shaft that you lower is thin and has flex in it. It is important to pull the shaft straight down without any lateral force left or right. If you apply lateral force, this may cause the threader wire to crash into needle, or miss to the outside of the needle.
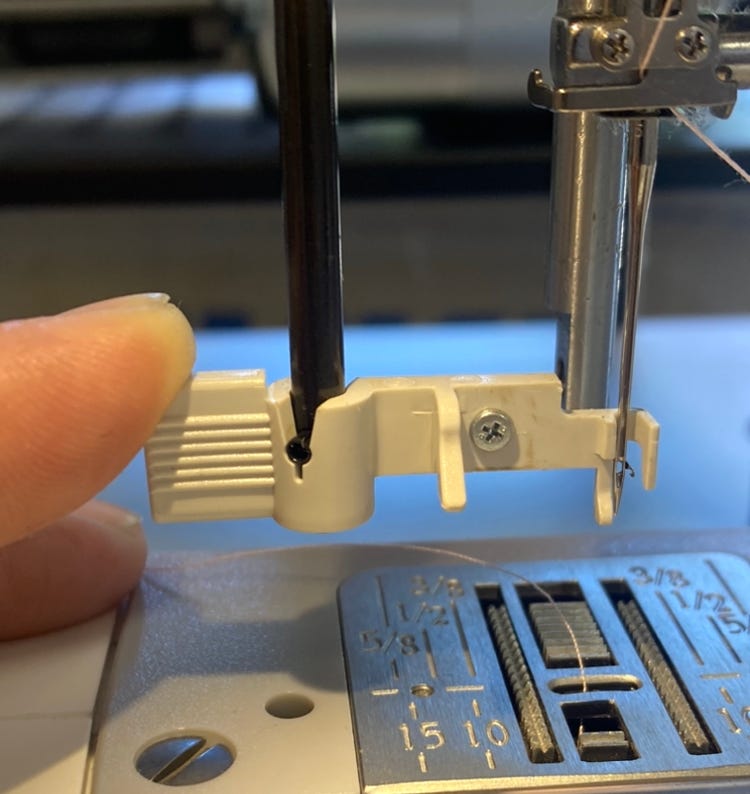
In the photo below, notice how my finger is positioned toward the left side of the lever. The position of my finger creates lateral force to the right, and you can see the wire hook is missing the needle eye to the right.
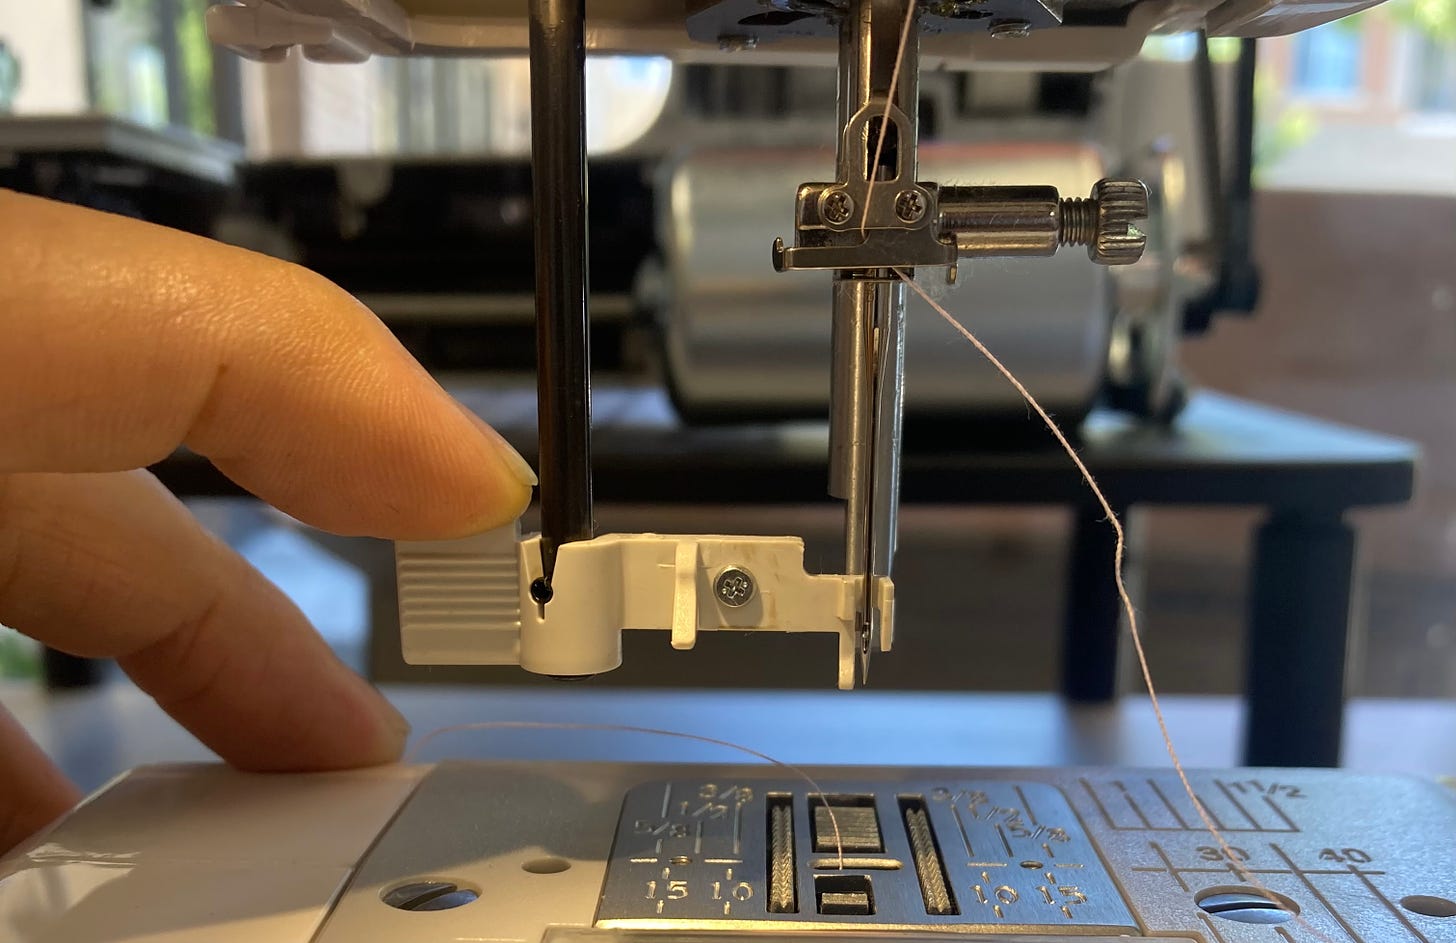
In this next photo, my finger is positioned directly on top of the lever, pulling straight down. No lateral force whatsoever, and the wire hook passes through the eye of the needle without a problem.
Un-bending the bent hook…
Sometimes the tiny wire hook can be un-bent. Sometimes it can’t and will need to be replaced.
If it’s merely bent to the left or right, there’s a good chance you’ll be able to straighten it out. However, if that tiny wire hook is kinked, it will most likely have to be replaced.
Either way, it is no easy task. That tiny wire hook is really small and delicate, so un-bending it requires a certain level of coordination and eyesight. It also requires patience because there is lots of trial and error involved.
Here is the tool our technicians use to straighten out:
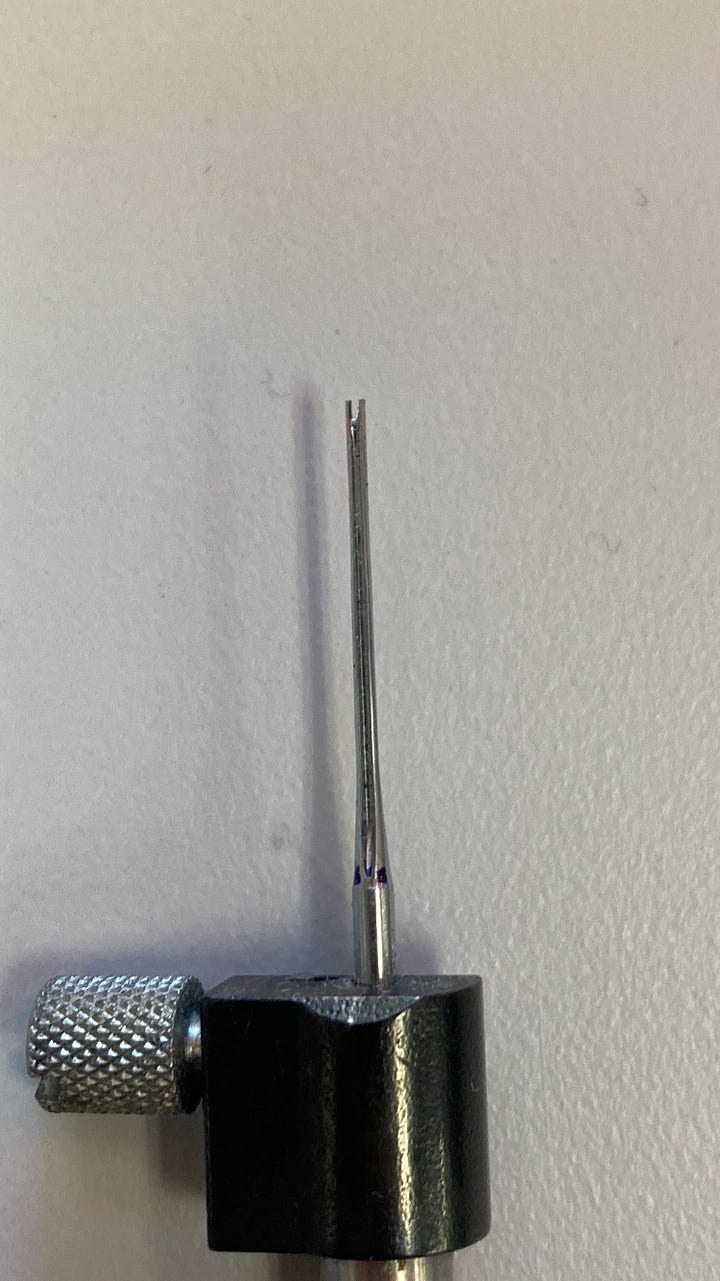
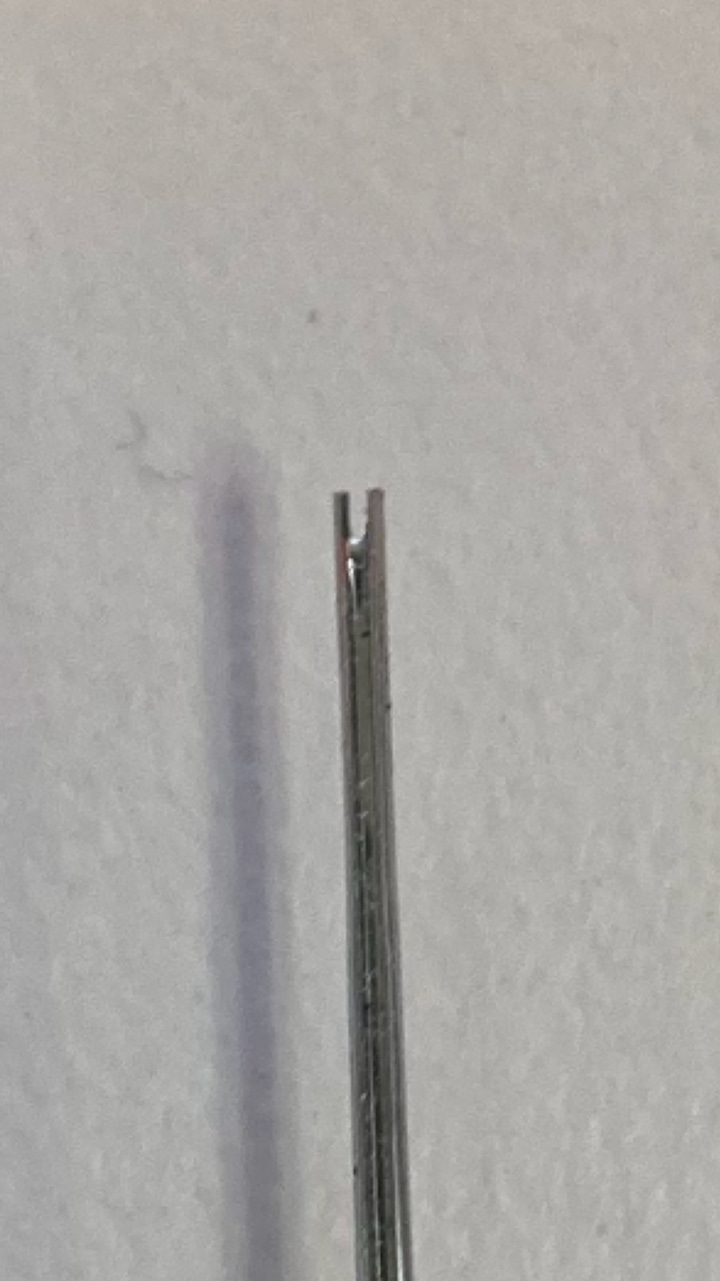
We shaved off the tip of a needle so that we can use the narrow walls of the needle eye to tweak the thin wire hook in one direction or the other and hopefully straighten it out again.
In conclusion…
Needle threaders are an incredible feature, but they are delicate mechanisms. There’s not a lot of room for error, and I believe we can help reduce user error by gaining a better understanding of how they work. The information I put in this article came from fixing hundreds and hundreds of needle threaders over the years , so I hope you found it helpful.
What did you think of this article? Do you have any questions I can help clarify? What other sewing machine topics would you like me to cover? Please let me know in the comment section!
-Cale



Very well done!!! Especially liked the info on how to prevent lateral movement of needle threader and your straightening tool.
I look forward to your articles. I find them very helpful. I dislike breaking things, so I will try to heed your cautions. Thank you