The Sewing Machine Technician's Checklist
a comprehensive list of the things a sewing machine technician does when he services your machine
Greetings everybody,
I am excited to announce that my father, Dan Schoenberg, has written an article for The Sewing Machine Newsletter, which I will be publishing later this week.
In anticipation of his article, today I am going to share the technician’s checklist my dad made for me to follow when I first began servicing machines in high school. He called it the COA Checklist, COA being an acronym for Clean, Oil Adjust. It is a comprehensive list of everything a trained sewing machine technician does when they service your machine.
I hope you find it interesting.
-Cale
When someone brings their machine to our shop for service, it is usually because the machine has started to have a particular problem.
Common problems include:
Unusual sounds (squeaking, growling, etc.)
Electronic issues (no power, error messages of some sort, etc.)
Fabric feeds poorly
The most important thing a sewing machine technician must remember is to do his work in a precise sequence because one adjustment affects another. For example, you must always check and adjust feed timing before hook timing. Changing feed timing always changes hook timing but changing hook timing does not change feed timing. In fact, most adjustments performed have a direct effect on every other adjustment.
There are basically two main categories of adjustments. They are the feeding system and the stitch-forming system. Then there are additional minor areas such as bobbin winding, needle threader, and electronic calibrations.
The Checklist:
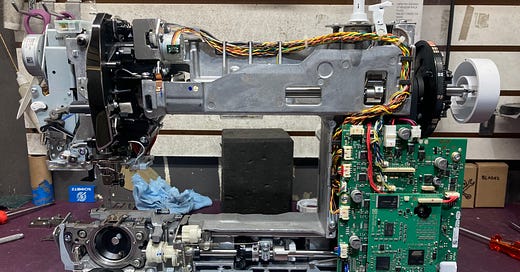
1. Remove all external covers to expose all inner workings.
2. Disconnect key electrical connection and remove circuit boards as needed.
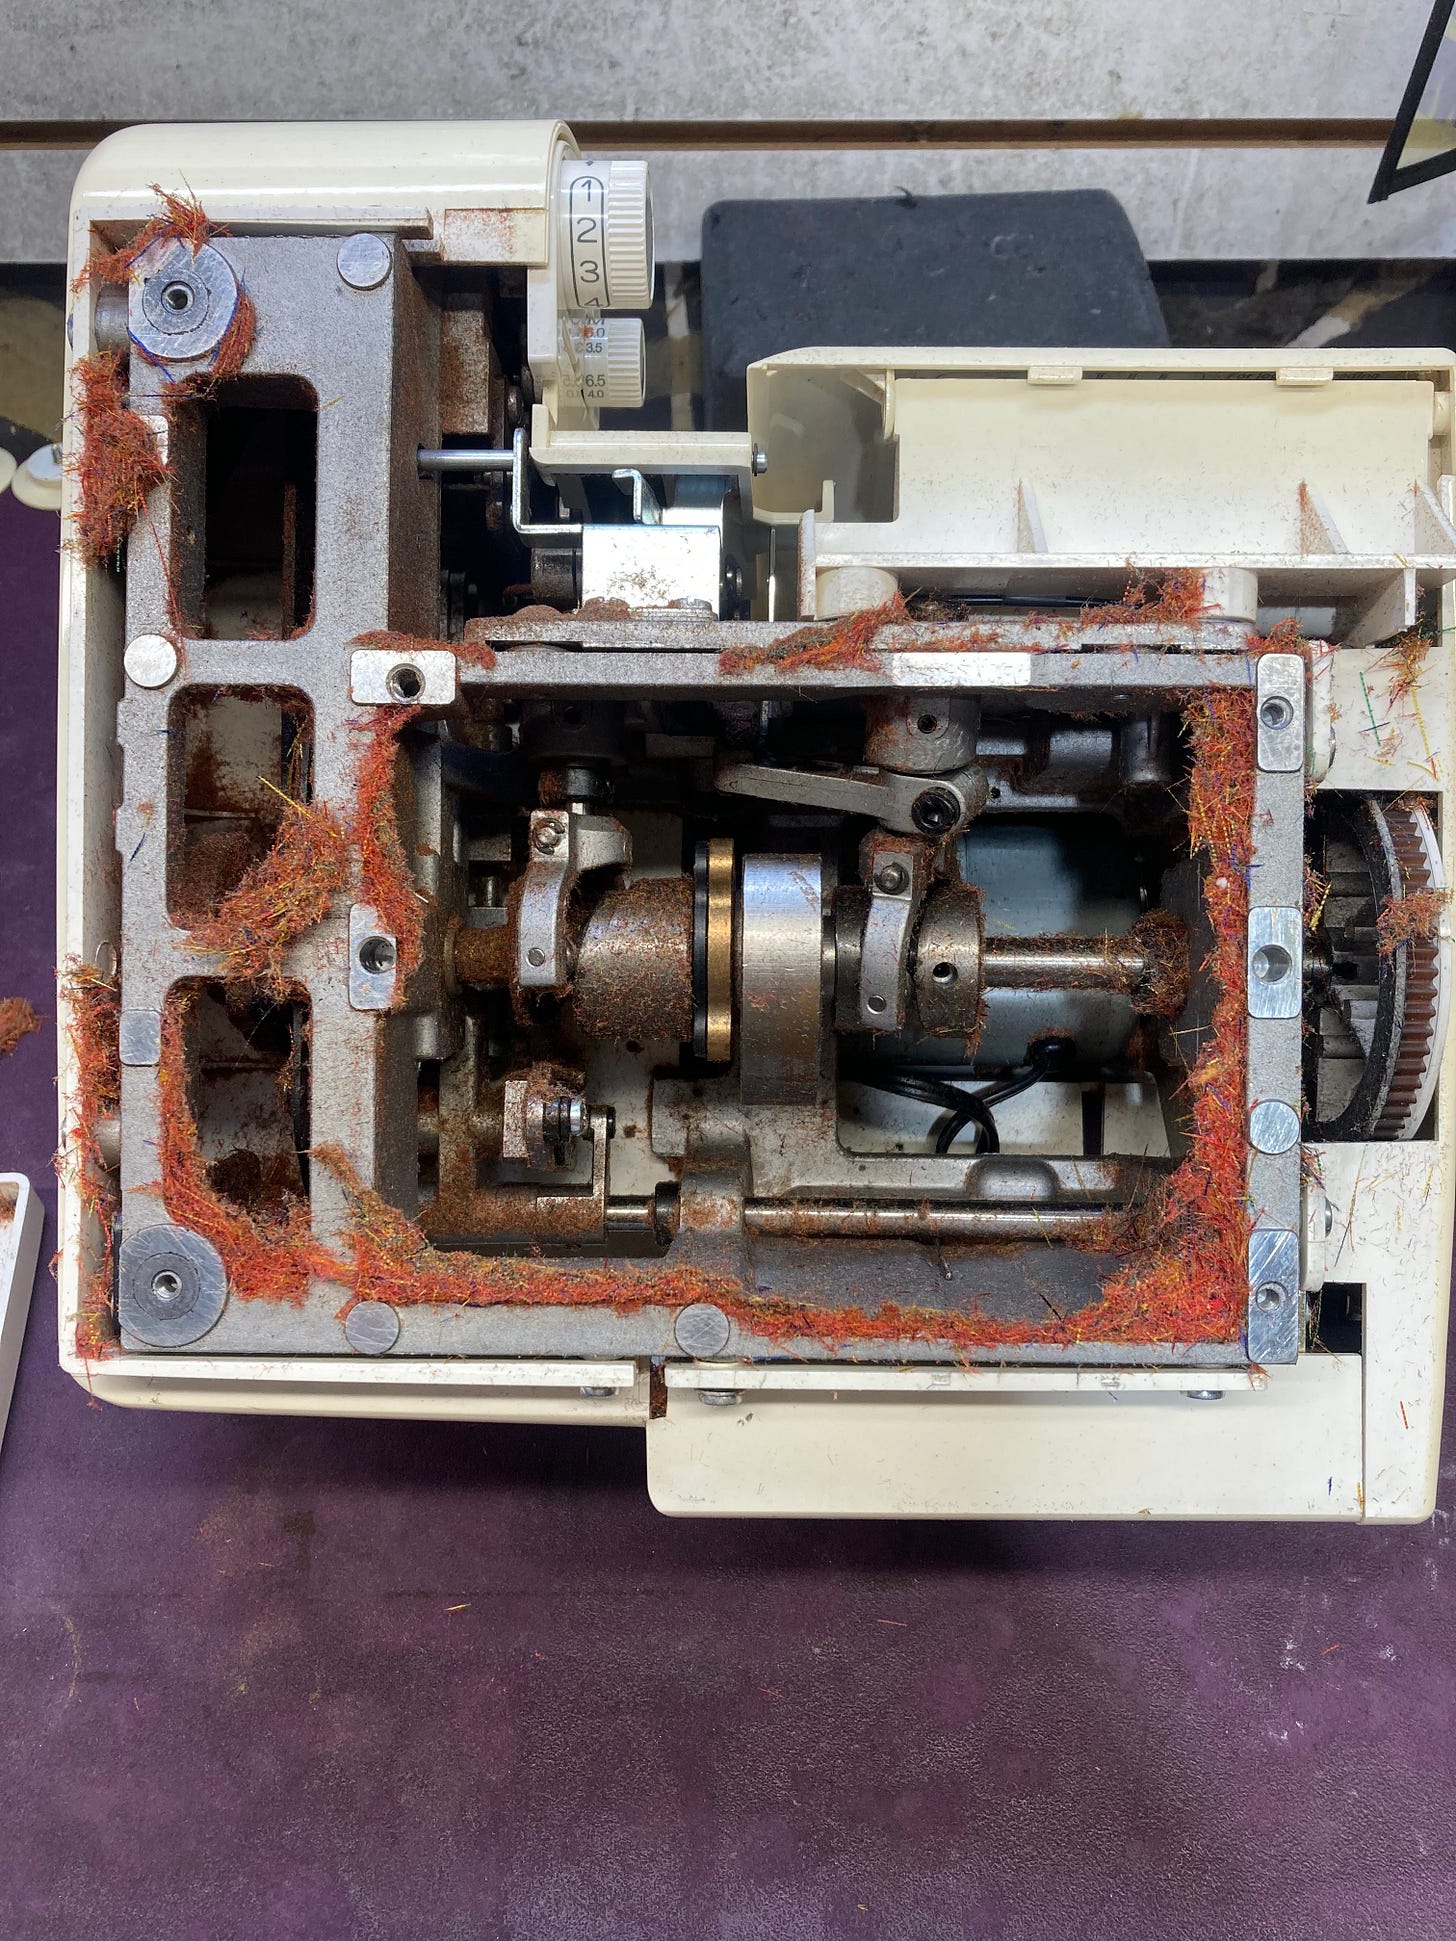
3. Clean machine with compressed air and remove all shredded or caught up thread.
4. Inspect for worn or broken parts.
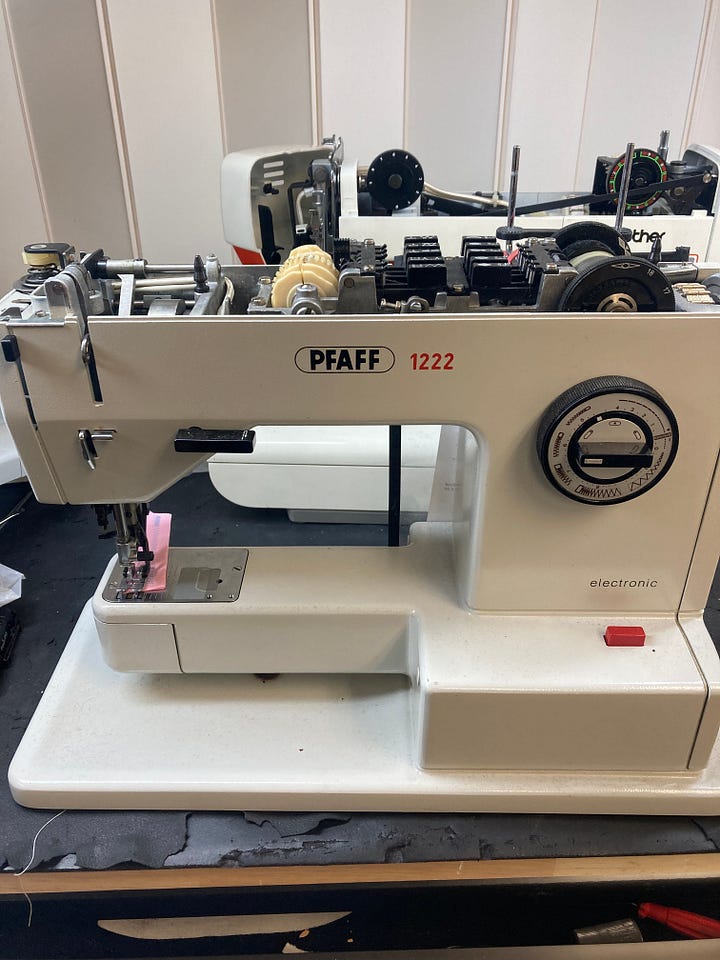
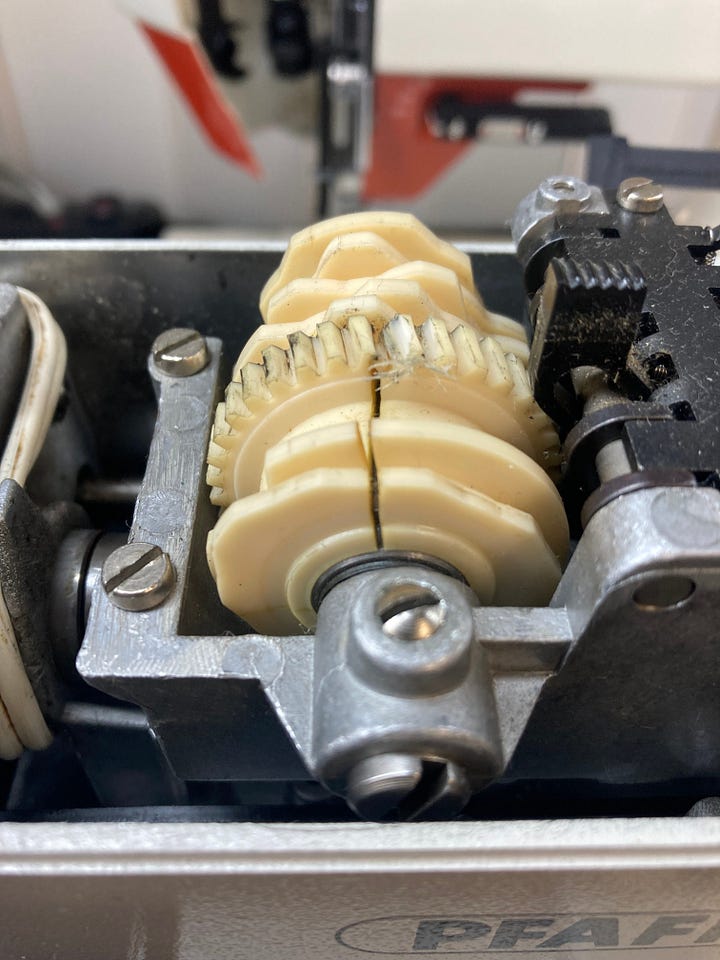
5. Take up shaft play and gear lash (translation: make loose parts tight again).
6. Lubricate machine (We do not use any grease as a general rule).
Feed System Adjustments:
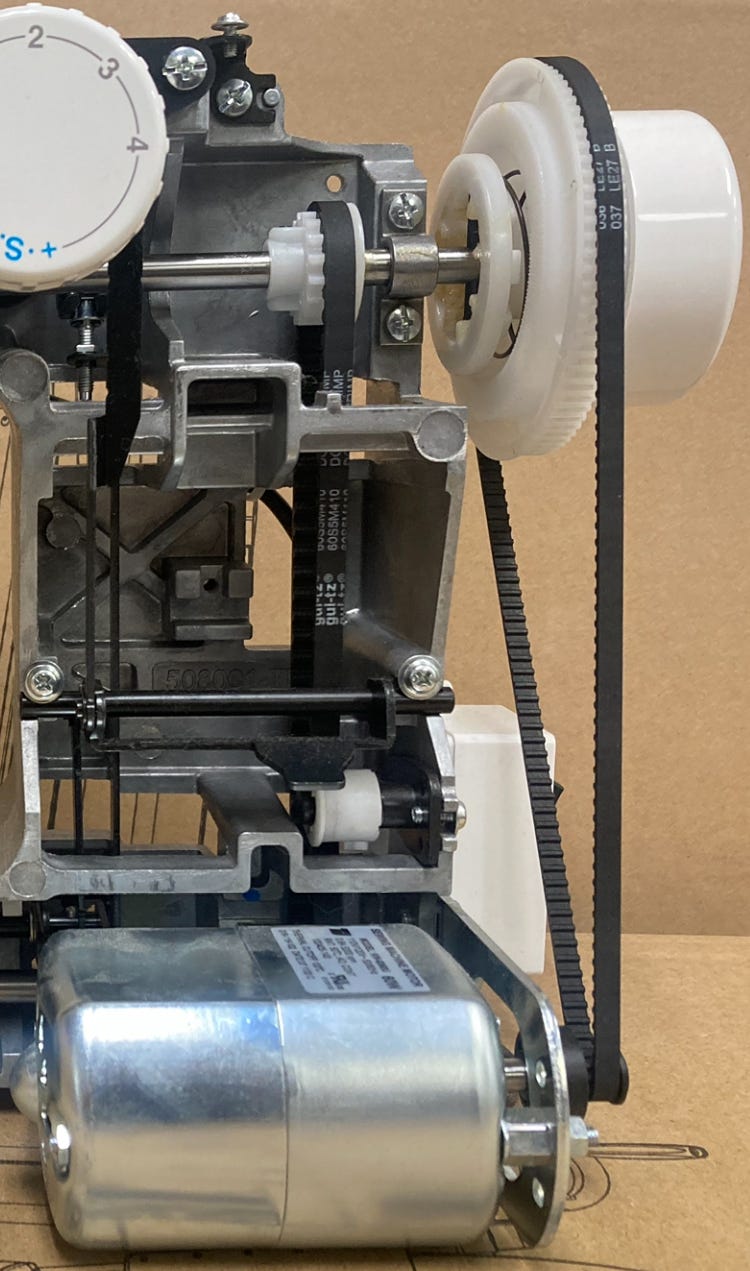
7. Motor belt tension
8. Feed dog position in needle plate
9. Timing of feed motion
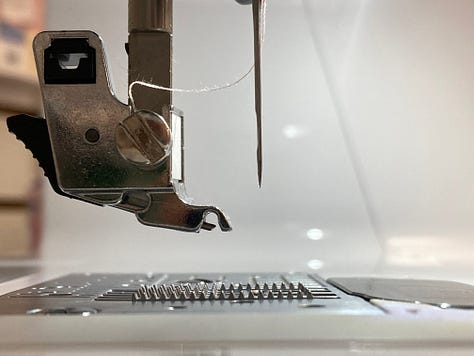
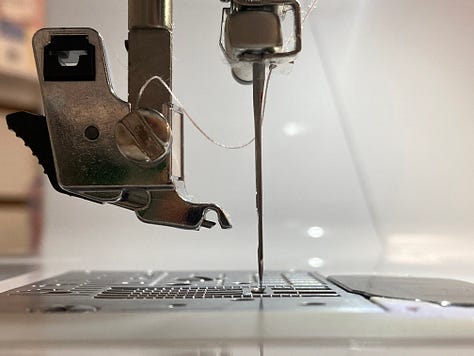
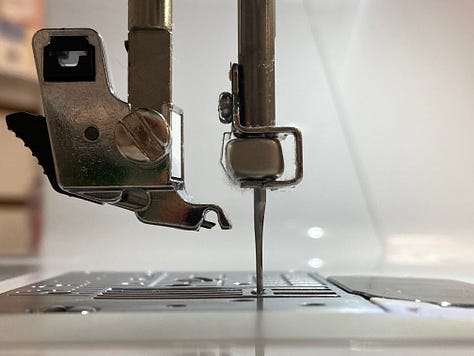
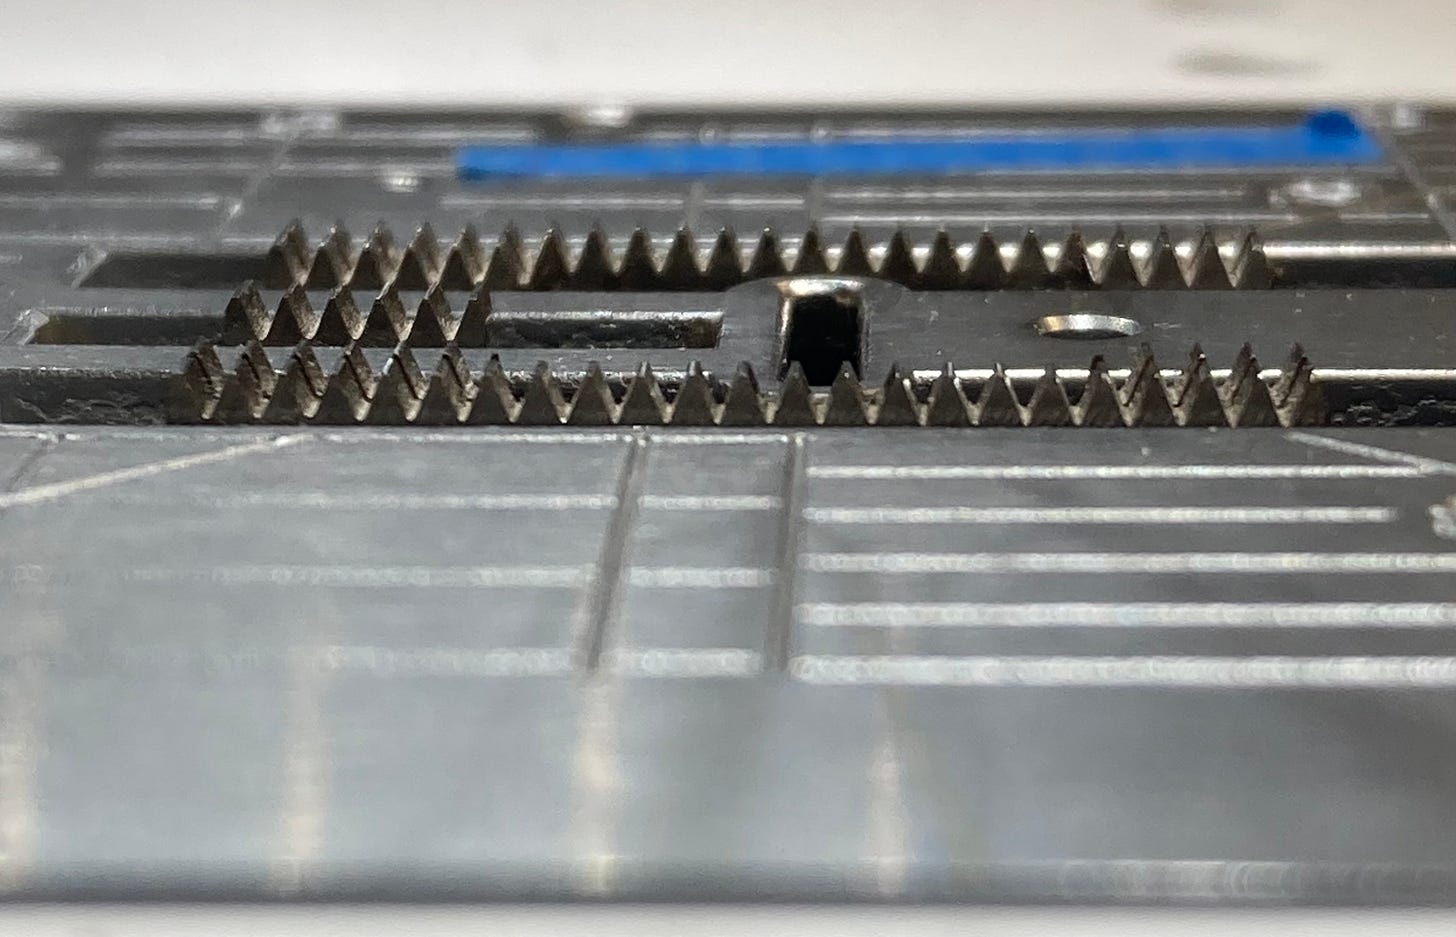
10. Feed dog height
11. Synchronizer (you wouldn't want needle moving right and left in the fabric)
12. Presser foot alignment and height
Stitch Forming Parts:
13. Position of needle in needle plate (left to right and front to back)
14. Hook to needle clearance (must be close but not touching)
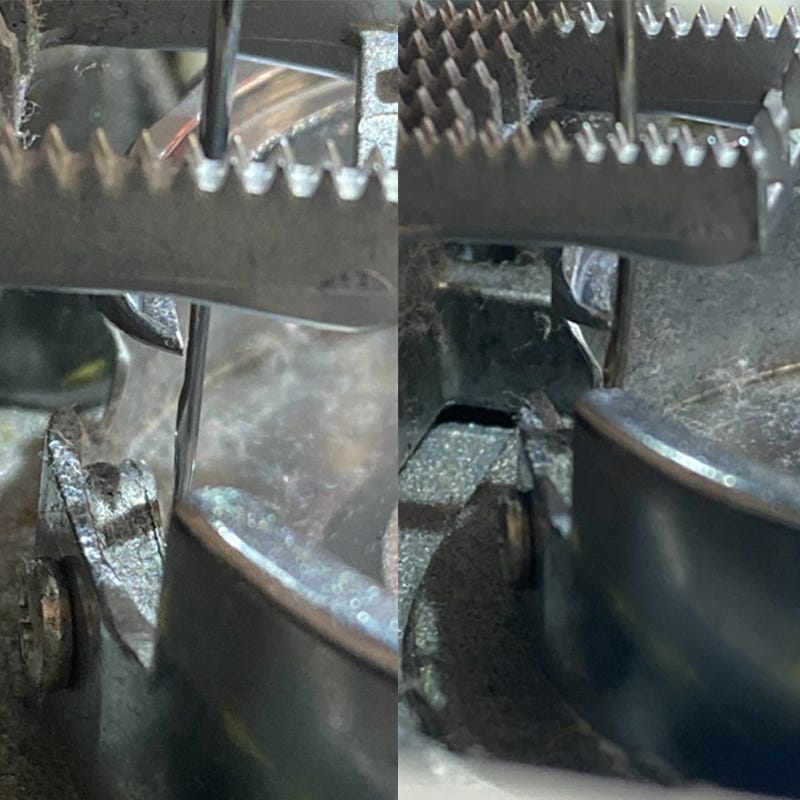
15. Hook timing
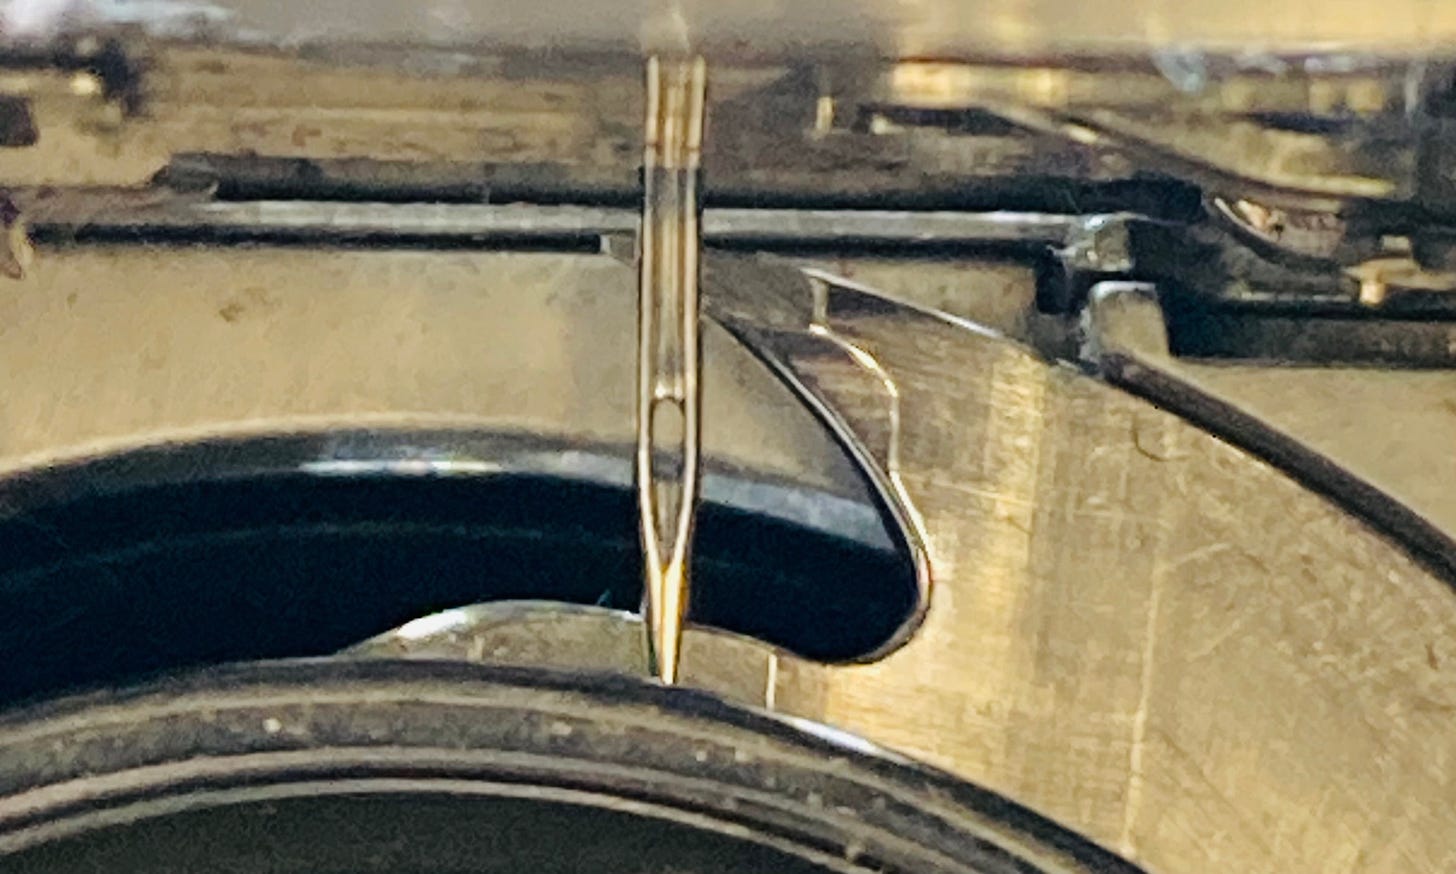
16. Needle bar height
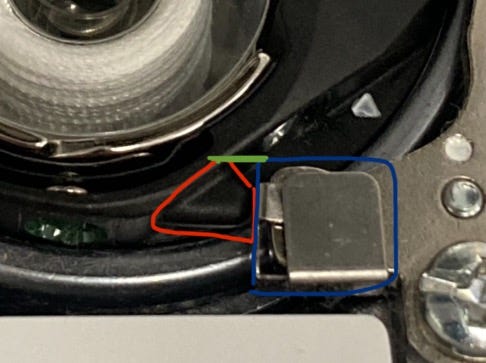
17. Bobbin case position finger or bracket
Sew Off Adjustments:
18. Bobbin winder and Bobbin winder auto stop
19. Bobbin Case thread tension
20. Check spring travel
21. Top thread tension
22. Forward and reverse feeding (machine should feed forward the same as reverse)
23. Foot control speed calibration
There are probably 20 other secondary adjustments that I have not listed.
In addition to the checklist, a technician will address all of the customer’s particular issues that prompted them to come to us in the first place.
Thank you for reading.
Please feel free to share with anybody you know who might find this information interesting or helpful.
Thank you,
-Cale



Thank you sooo much for your very informative article. I look forward to reading more in future, like your father’s article!
Very thorough and clearly explained information! I am sure that I will be referring to it frequently in future.
My machine is an old Bernina Record 930. And I am always trying to find more info about minor repairs.
I used to have a sewing factory here in NYC. All industrial equipment of course. But I was able to aquire the mechanics books for each second hand machine that I bought. I really enjoyed taking them apart and tuning up or repairing them!
So I found your article fascinating! And thanks again🙏 !!
Fascinating, as usual. Looking forward to Dan’s article.